Video Editor

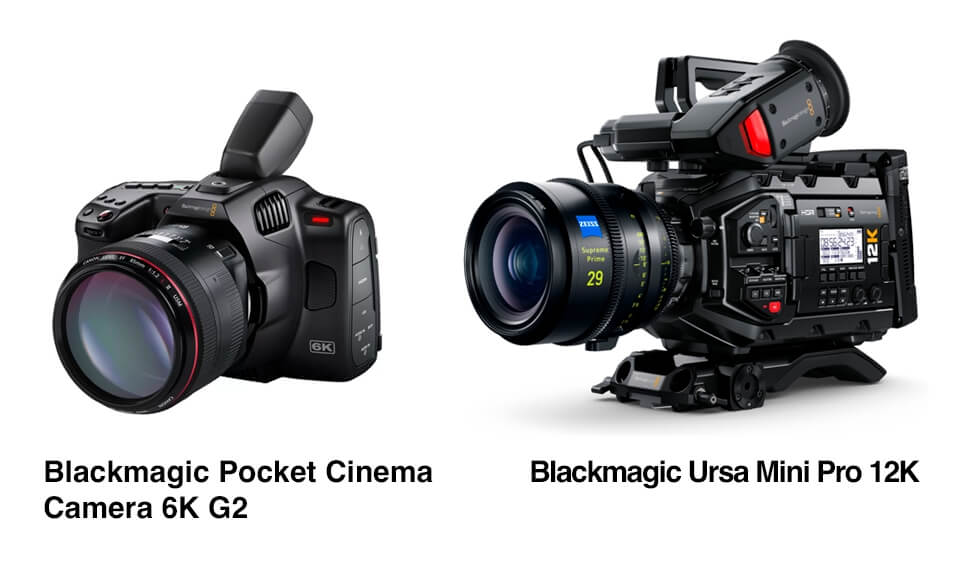
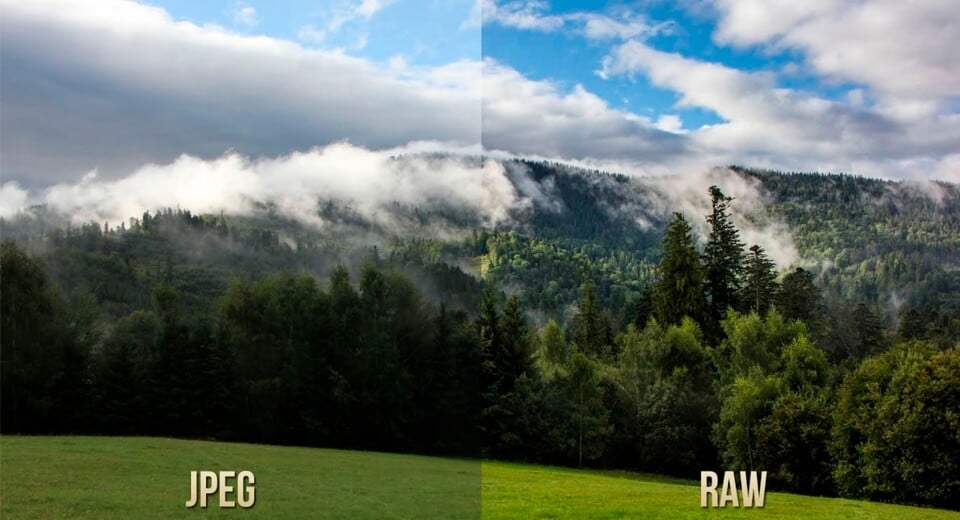
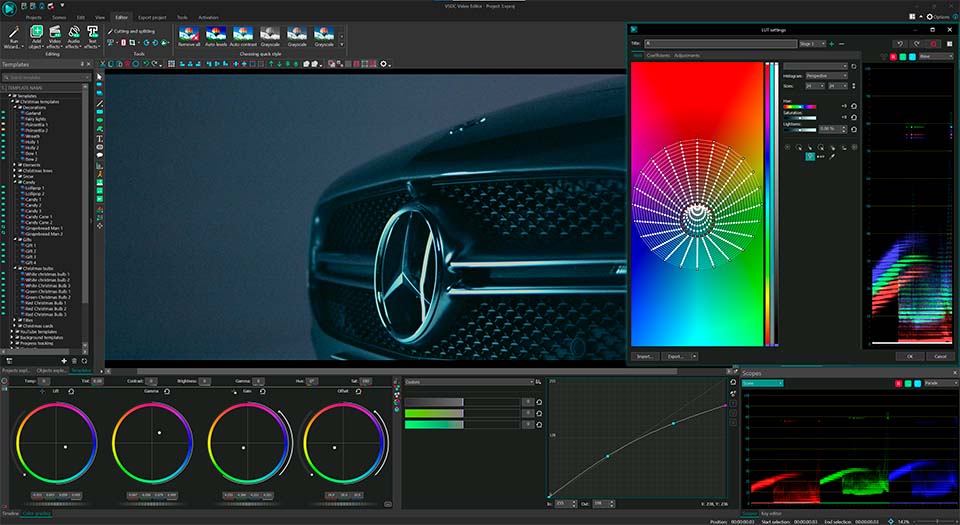
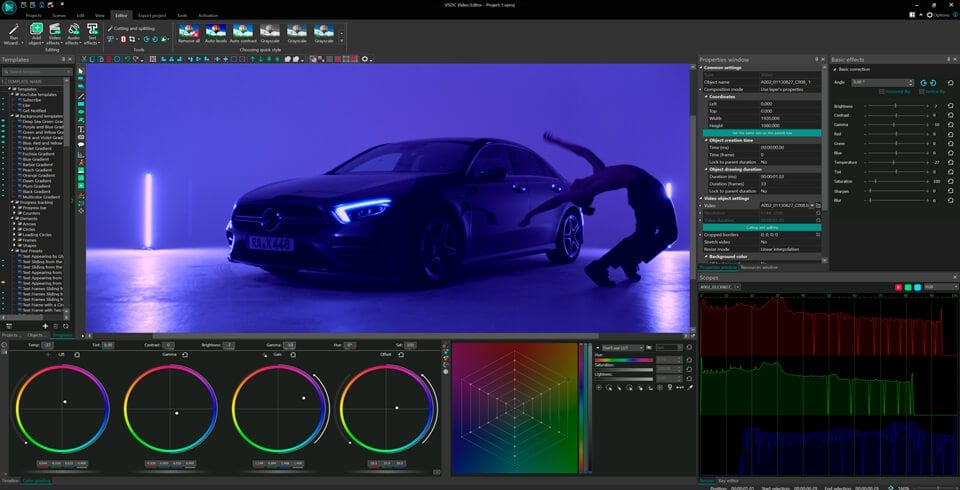
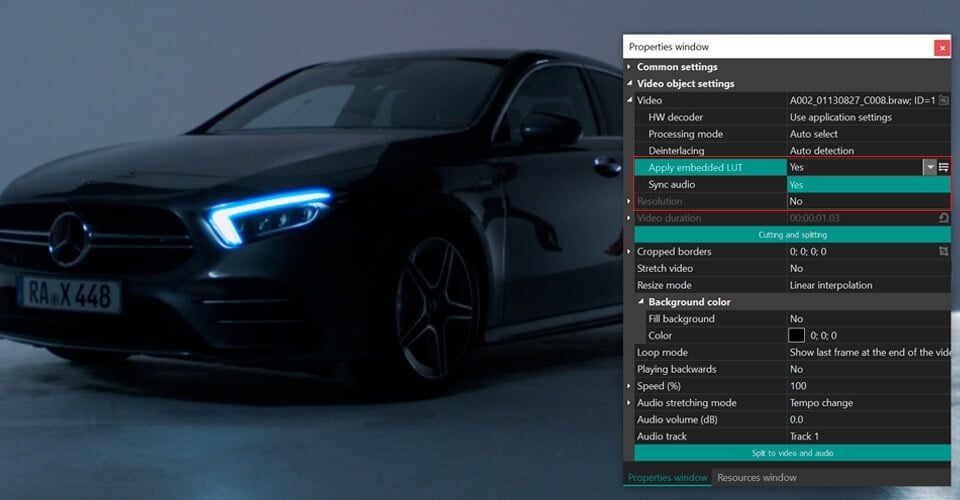
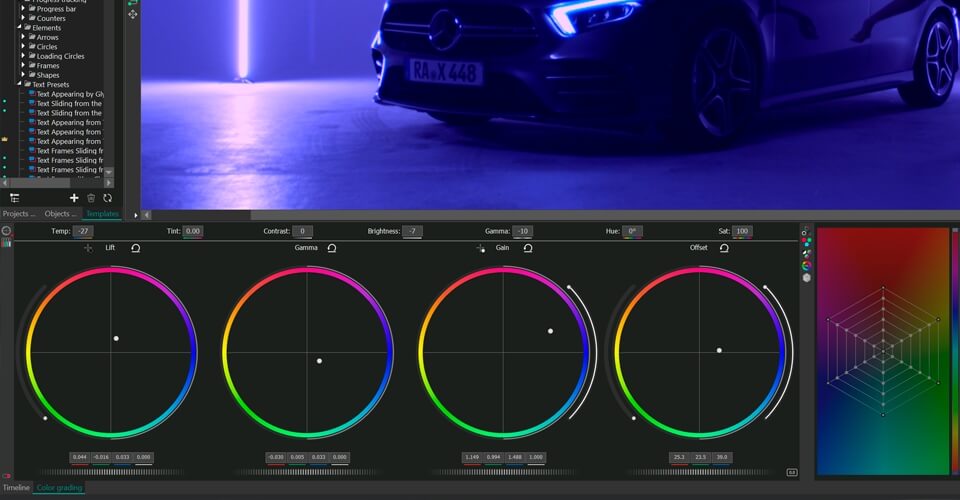
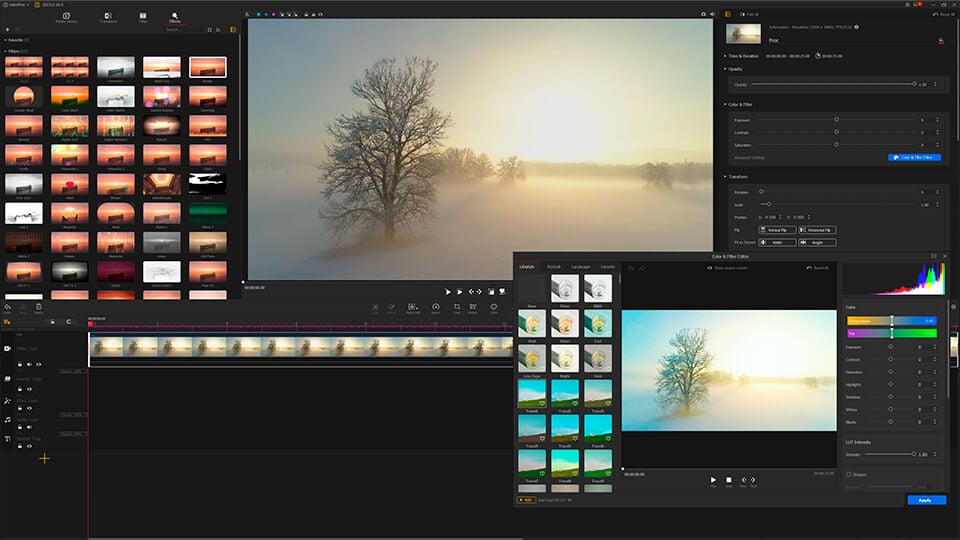
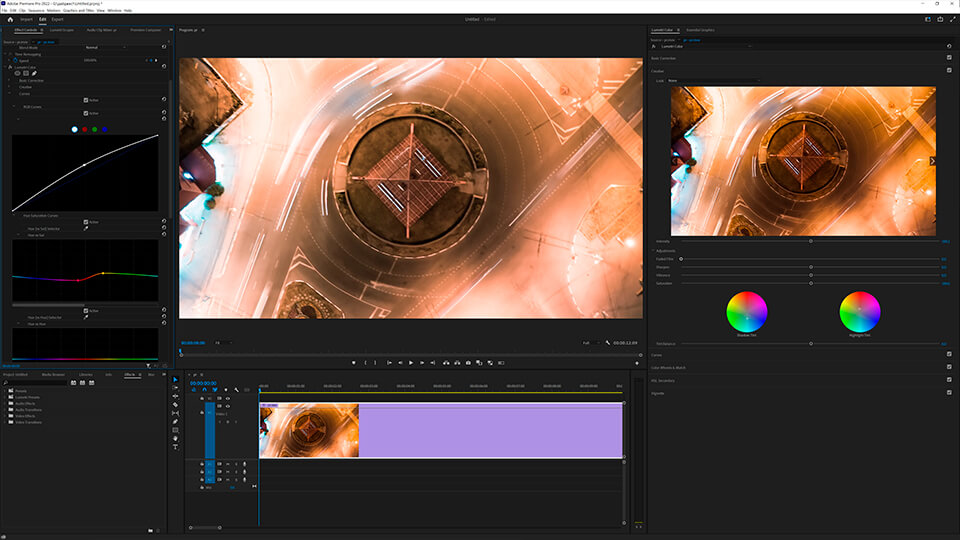
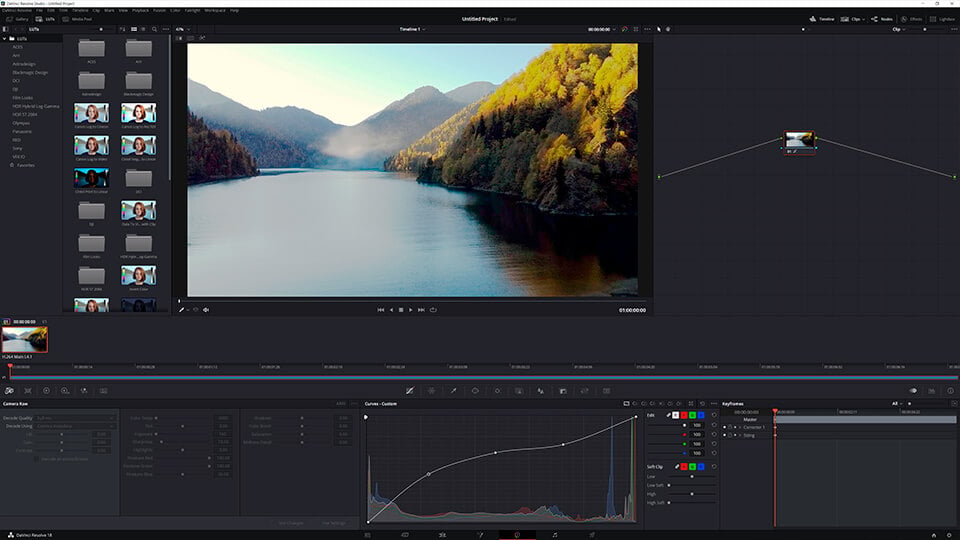
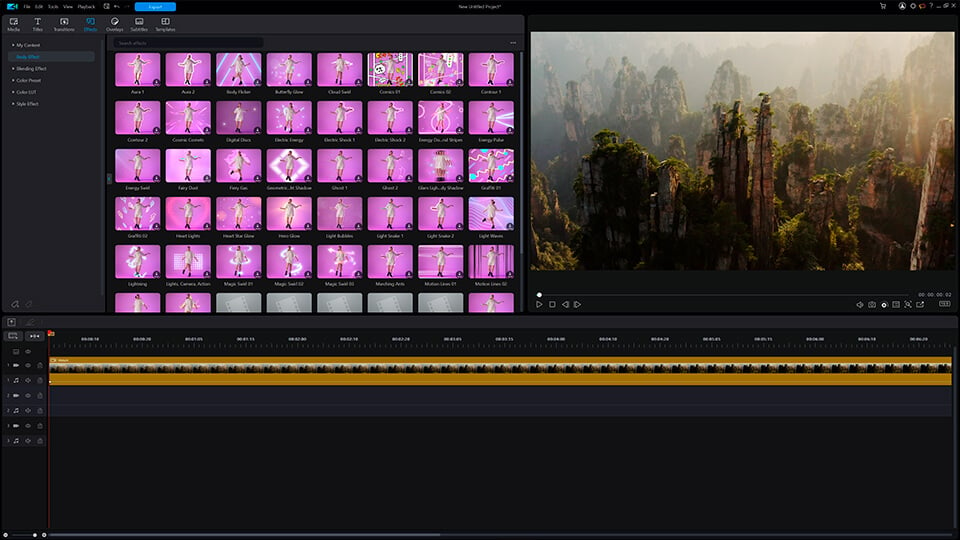
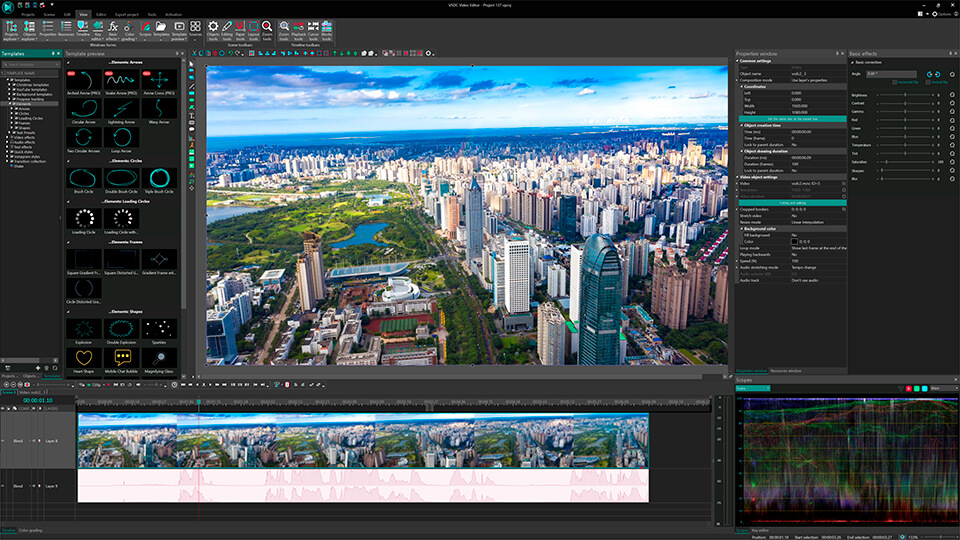
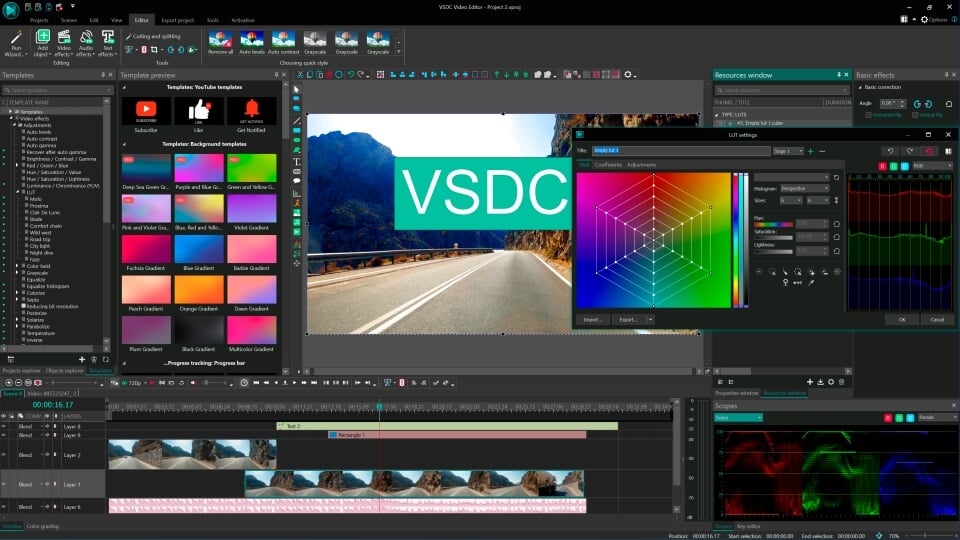
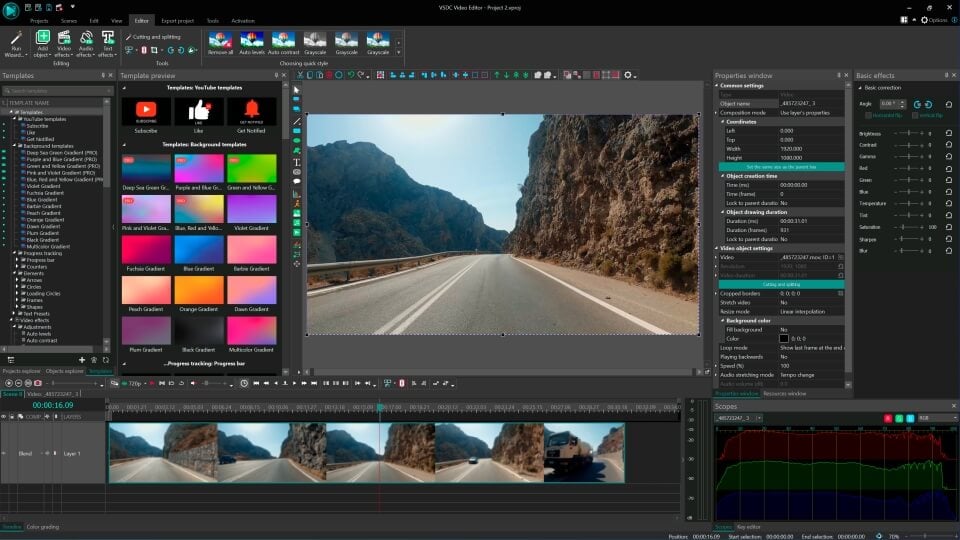
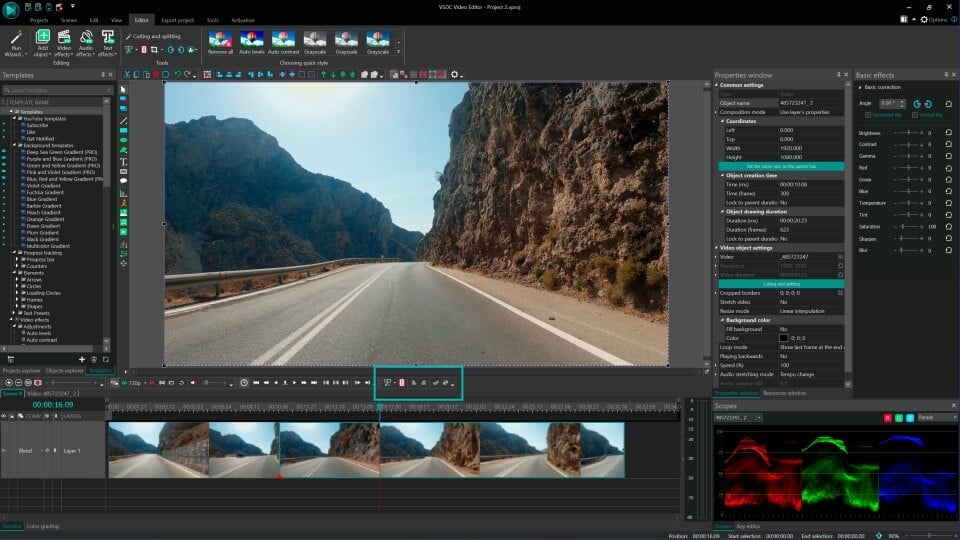
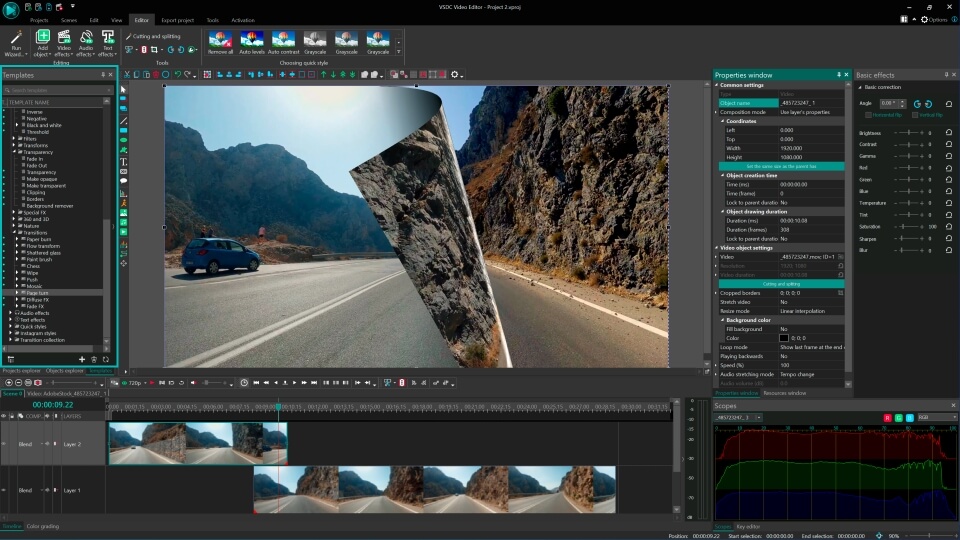
Download and use the free video software to create and edit videos of any complexity from a family greeting card to a company presentation. Apply vsdc free video editor for light edit hdr-video, any raw-video formats from cams - BRAW, ProRes RAW, any high resolution 4k or more due to video proxies technologies in the editor.
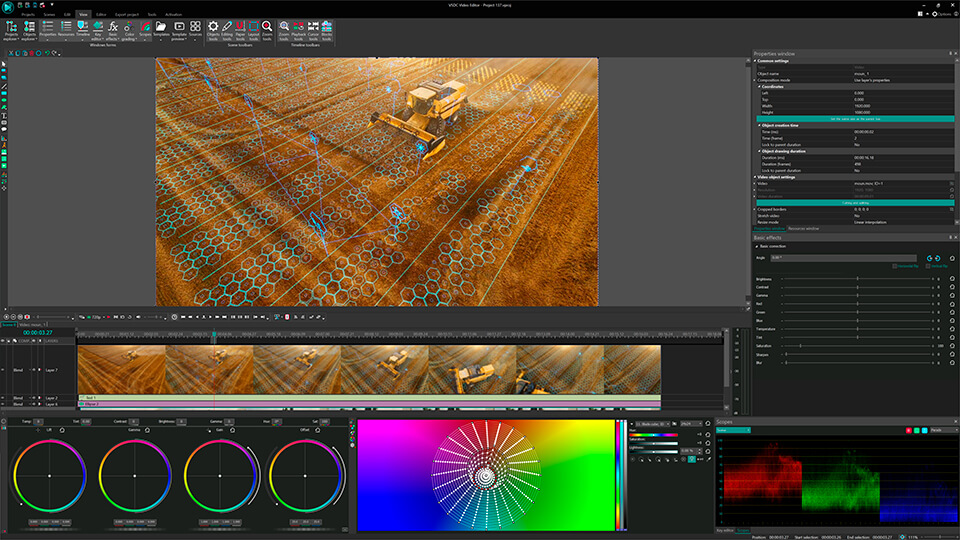
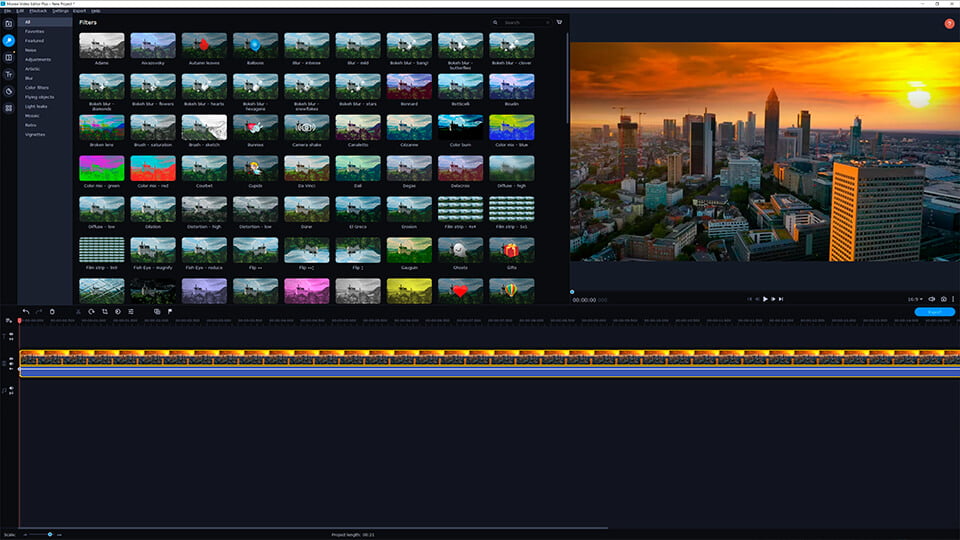
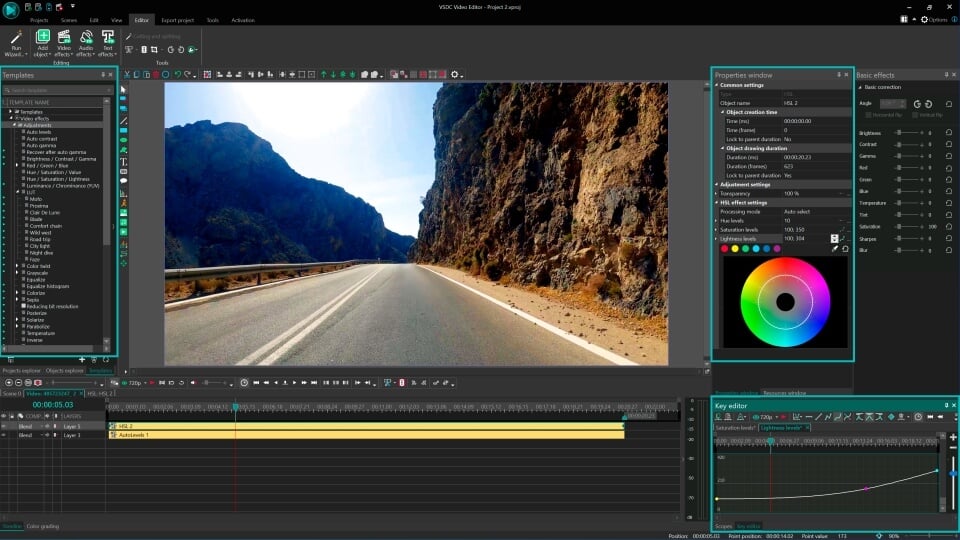
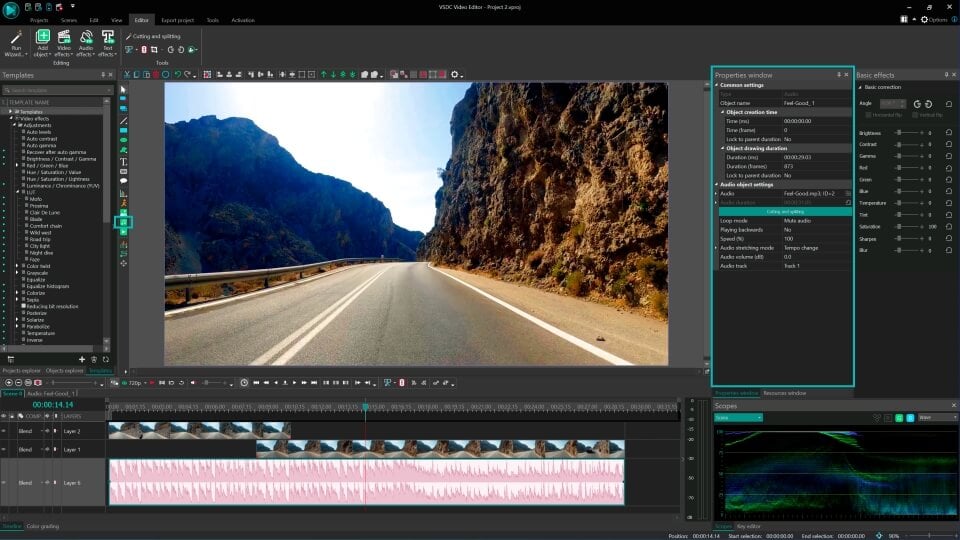
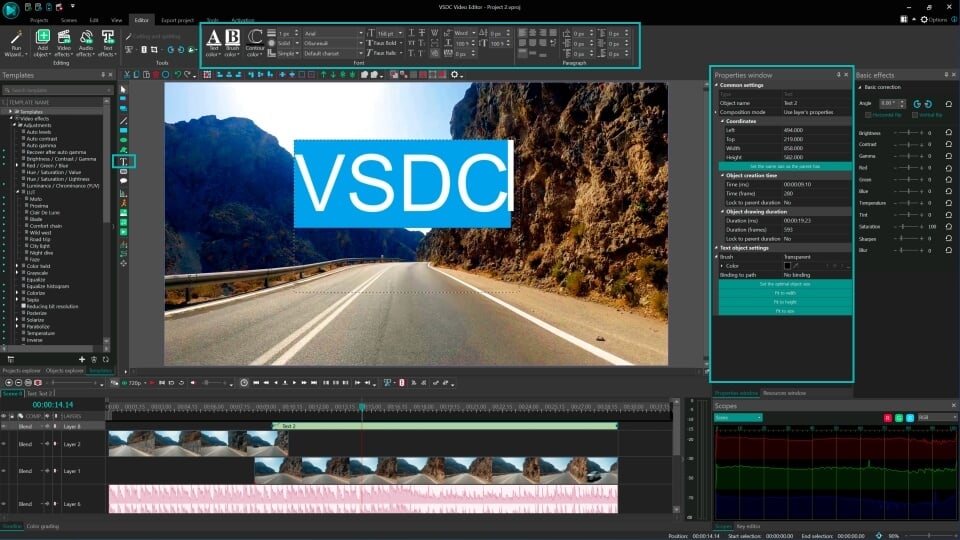
Cut, merge video files, apply visual and audio effects, use filtration and image correction, make slideshows and add an appropriate soundtrack. Use multi-color Chroma Key and advanced parameters settings to give your video a professional look.
All popular video and audio formats are supported.

Read more about Video Editor...

Video Converter

This program is intended for converting video files from one format to another. Nearly all popular video formats are supported (both reading and saving). In addition, the program drastically simplifies the task of converting videos for playback on specific multimedia devices, such as iPhone, Samsung Galaxy or Huawei P30 Pro. The program is extremely easy to use, has a modern interface and all necessary video processing functions.

Read more about Video Converter...

Audio Converter

The audio converter will help you convert audio files from one format to another. All key audio formats and codecs are supported. The program also allows you to manage playlists and meta tags, extract audio from video files and save these tracks on your computer in any format.

Read more about Audio Converter...

Audio CD Grabber

This audio tool is intended for grabbing audio tracks from compact discs and saving them to the user’s computer in any format. Nearly all popular audio formats and codecs are supported. The program can also extract track details from the FreeDB server for automatic file renaming and updating meta tags.

Read more about Audio CD Grabber...

Multifunctionality

Multifunctionality

A wide array of multimedia processing tools in one free video software suite.

High speed

High speed

Our programs use fast
and high-quality algorithms optimized for single and multi-core CPU’s.

Affordability

Affordability

VSDC video software is freely available for download to Windows OS-based PCs and laptops.

How to Work with Color Keyframes in Effects

Color plays a vital role in establishing the atmosphere and mood of a video. Different color palettes evoke various emotions in viewers, ranging from vibrant and bright to dark and somber. While classic color correction can help create the desired mood, effects can further enhance the impact.

Mastering Color Keyframes in VSDC: Create Stunning Animations

In the latest update 8.2, the VSDC team has expanded the functionality of effects by introducing color keyframes. This new feature allows you to create keyframes and modify colors within effects. It provides you with greater flexibility to experiment with colors according to your preferences and evoke the desired emotions in your audience.

Let's dive into this new feature and explore how it can assist you in adding a unique and memorable style to your videos.

download windows versionDownload Free Video Editor

Step 1 – Create additional keyframes

To begin, create a project and simply drag the desired media file from the desktop to the timeline. Alternatively, you can use the Add an object option located to the left of the preview window. Next, select the media file on the timeline and apply an effect with color parameters. For instance, let's select the LensFlare effect (Editor - Video effects - Nature).

Click on the effect to select it, and the properties window will appear on the right-hand side. If the properties window does not show up, right-click on the effect and choose Properties. Look for the Color Tone property within the properties window. This is where we will create and adjust the keyframes. To access the keyframe window, click on the three dots next to this parameter.

Color Tone

By default, the effect contains two keyframes - the first and the last one. On the timeline, these keyframes are represented as squares of a uniform light brown color. In the properties window, the keyframes are displayed as diamond-shaped icons within the Color Tone parameter. If the diamond icon is filled with color, it means that a keyframe has been created. If you see only the outline of the diamond icon, it indicates that no keyframe is present, and you can create one.

Color Tone parameter

To create a keyframe:

  • Place the cursor on the timeline where you want to create a keyframe
  • Go back to the properties window to the Color tone parameter and find a diamond-shaped icon
  • Click on the icon to create a new keyframe

Add as many keyframes as necessary to achieve the desired effect.

To navigate between frames, use the arrows located to the left and right of the keyframes icon. This allows you to move back and forth between the created keyframes.

If you want to remove a keyframe, simply place your cursor on it and click on the filled diamond-shaped icon. This will delete the selected keyframe from the sequence.

Step 2 – Assign colors to keyframes

After creating keyframes, you can assign different colors to them, thereby adding vibrancy and expressiveness. To select a desired color, follow one of these actions:

  • Double-click on a keyframe on the timeline to open the color palette.
  • Go to the properties window and click on the small color square that represents the current tone of the keyframe. This will open the color palette.

From the palette, you can choose a color by clicking on it or by specifying its RGB or HEX value. You can also change colors by moving the keyframe up or down on the timeline while holding the Shift key. This allows you to select the desired position.

To select a color from the scene itself, use the Eyedropper tool located in the properties window. Click on the tool and then select a color from the scene. Please note that the Eyedropper tool is only visible when the timeline cursor aligns with a keyframe.

Each keyframe can have a different color, and the algorithm will ensure a smooth transition between them. The gradient line below the keyframes on the timeline will automatically update, showing how the effect color will change during playback.

If you want to adjust when a keyframe appears or disappears in the video, simply move it to the right or left on the timeline while holding the Shift key.

Above the timeline in the keyframe window, you will find a quick access panel for the main keyframe functions. Here, you can create and delete keyframes using the diamond-shaped and bin icons, and configure other keyframe parameters. Let's examine them in more detail.

Configure other keyframe parameters

If you want to assign one color to all keyframes, select the Constant parameter value option. It will remove all previously created keyframes except for the first and the last one. The color of the last keyframe will adapt to the color of the first one.

If you want to create a smooth transition between the colors of the first and the last keyframes, select the Linear parameter change option. You can assign different colors to the first and the last keyframes, and the algorithm will ensure a smooth transition between them.

If you want to go back to the mode with multiple keyframes of different colors, select the Linear parameter change along a trajectory function. All created keyframes except for the last one will be restored.

If you have already achieved the desired result, you can finish the lesson at this step. However, if you wish to change the weight of the color or add another effect, continue following the instructions.

Step 3 – Experiment with the color weight

If you want the color to last longer during the transition between keyframes, you can adjust its weight. Follow these steps:

  • Place the cursor on the timeline at the keyframe you want to extend.
  • Click on Parameter change along a Bezier curve.
  • While holding down the Ctrl button, you can horizontally extend the vectors from the keyframe to the left or right. It's important to note that changing the vertical position of the vectors will not affect the color's weight.

These vectors represent the extension of the color of the keyframe. The longer the vector, the longer the color will remain constant without transitioning to another color. If the vector is not visible, it indicates a smooth transition between keyframes, as both colors have a similar weight.

By adjusting the weight of the color, you can emphasize the importance of a certain color and create the desired effect in your video.

Step 4 – Add effects and synchronize parameters

You can synchronize colors in keyframes when you have several identical effects applied to the object. For example, you can add one or more additional LensFlare effects to the object.

To synchronize the colors of the keyframes, follow these steps:

  • Select two or more identical effects on the timeline.
  • In the properties window, locate the Color tone parameter and find the synchronize icon. Click on it.

Now, all the keyframes of the second effect will have the same colors as the first one. Therefore, it is important to ensure that the first effect you select is the one from which you want the colors to be copied to the other effects.

Wrapping up

We hope that this lesson has helped you understand the new capabilities of VSDC and has inspired you to experiment with keyframes. Creating a dynamic color palette for your videos can greatly enhance the visual experience and add uniqueness to your projects.

We encourage you to explore and implement your artistic vision in your projects. Use the new tools, play with colors, create stunning transitions, and compose expressive visuals. The possibilities are endless.

If you encounter any issues or need assistance, please don't hesitate to reach out to our support team at This email address is being protected from spambots. You need JavaScript enabled to view it. or through our social media channels on Facebook or Twitter. We are here to help.

Good luck with your artistic projects!

How to Use Multicam Editing Mode in VSDC

Multi-camera editing, also known as multicam, is a technique that allows video editors to combine footage from multiple cameras and audio sources into a single, cohesive video clip. This technique was originally developed for television but it has become increasingly popular among professional video creators.

In response to the popular request, multicam has been added to the VSDC video editing suite starting version 8.1. This means VSDC users can upload footage shot with several cameras and easily switch between angles while maintaining audio and video synchronization on the timeline.

To learn how to work with the Multicam feature, you can either watch a video tutorial below or follow the three easy steps described in the article.

Download VSDC Free Video Editor

Step 1. Upload the files

To get started, open the Resources window on the right. If you can't find it, go to the View tab at the top, select Resources, and click View/Hide window. Once ready, drag files from your desktop into the resources section. Next, select the files you want to include in your multicam clip, right-click on them, and choose Create a multicam clip.

Step 2. Adjust multicam clip settings

After creating a multicam clip, you can start adjusting its settings. A pop-up window will appear providing several options to choose from including sync mode, camera name, and default track. Let's explore these options below.

Sync mode

The Sync mode algorithm helps you define the way your video clips will be synchronized.

There are four synchronization options available in the menu:

  • In — for synchronizing videos based on their beginnings
  • Out — for synchronizing videos based on their endings
  • Timecode — for synchronizing videos according to their timecodes
  • Sound — for synchronizing videos based on the audio tracks

We recommend using the Sound mode as it simplifies the process of aligning media from all sources. This method allows you to use audio tracks for accurate matching of video files and provides more precise synchronization.

Camera name

The Camera name menu provides options to name video files in the Source window by using a sequential, angle, camera metadata or other approach. Feel free to choose any preferred option, as their only purpose is to help you quicker understand which footage you are currently using.

Default track

The Default track menu helps you choose the default audio track for the multicam clip from the selection of available files.

Once you have finished with the settings, click OK to apply the changes and proceed to the next step to begin working with your newly created multicam clip.

Step 3. Edit multicam clip

After applying the settings, return to the Resources window. Find the new multicam clip among resources and drag it onto the timeline.

On the timeline your multicam clip will look like a regular video with just one difference: there will be green markers indicating the beginning and ending of each file.

Keep in mind that your multicam clip contains all the video and audio files you've added within a single track. VSDC 8.1 does not yet allow you to double-click the multicam clip and manually edit the tracks within it. However, this feature will be available in the next update, so stay tuned.

If you need to switch video angles or edit the tracks in the multicam clip, go to the View tab and open Sources. This panel contains all the camera angles and audio files you've added to the multicam clip.

To switch between angles, select the desired file, and the audio or video file will adjust accordingly on the timeline. You can do it both during the playback and when the playback is paused.

To edit tracks within the clip, you have 3 options:

  • Choose Split audio and video to edit both video and audio tracks simultaneously
  • Choose Split video to edit video tracks independently from audio tracks
  • Choose Split audio to edit audio tracks independently from video tracks

The same set of tools is also available in the Multicam toolbar (see Multicam tab), so feel free to use it wherever is more convenient for you.

Wrapping up

Now that you know how to use the multicam editing mode in VSDC, you can start creating more dynamic videos that will impress your audience.

If you’re using the free version of VSDC, you can create multicam clips with up to two camera angles. To use more than two angles, upgrade to VSDC Pro.

Should you have any questions or concerns, don't hesitate to email us at This email address is being protected from spambots. You need JavaScript enabled to view it. or message us on Facebook and Twitter. Our team is always here to help you make the most of your editing experience.

How to Add Motion Blur to a Video

Motion blur effect often occurs naturally, both in photos and videos, when objects are moving faster than a camera can capture. It’s especially common if you’re shooting at a low frame rate. However, you may want to intentionally add motion blur to your video, and there are several ways to do that during post-production.

In this tutorial, we’ll show you how to make a motion blur video effect using VSDC, a free video editor for Windows.

DOWNLOAD VSDC FREE VIDEO EDITOR

It’s an easy effect that will take you a few minutes, and you’ll be able to adjust it to your needs – for instance, by changing the motion type or fine-tuning blur levels. More so, you can apply the effect to the entire video, selected frames, or added graphics including text, shapes, or images.

But before we move on, let’s answer one important question.

What will the result look like?

Motion blur effect is a broad term, so it can be perceived differently. Some creators expect a video with a blurred background and an object that remains in focus. Others expect a visible motion trail created by the object’s movement – this effect is also known as a visual echo effect.

In this tutorial, we’re covering the first example of motion blur. If you’d like to learn how to make a visual echo effect, read this guide instead.

Now that we’ve sorted that out, let's get started!

Step 1. Upload your video to VSDC

To get started, launch VSDC on your computer and import your video into the program. You can either use the Import content button on the start screen or create a blank project and drag the footage to the scene.

VSDC Free Video Editor, start screen

Now, if you want to apply the effect to the entire video, move on to step 2. If you want to apply it to a fragment, use the razor icon at the top (or press Ctrl + K) to split the video and separate the desired fragment.

Step 2. Apply the motion blur effect

Select the video on the timeline, then open the Video effects menu, proceed to Filters, and select Motion blur.

How to find the Motion blur effect in VSDC

In the next sections we’ll show you the difference between three motion blur presets and explain how to adjust their looks.

Select the motion blur preset for your video

Once you’ve applied the effect, it will open in the second tab on the timeline. From there, you’ll be able to adjust the appearance of motion blur using the Properties window. If you struggle to find the Properties window, make a right mouse-click on the effect, and select Properties – the corresponding window will slide in from the right.

Motion blur effect settings in VSDC

In the settings, you can select one of the three motion types available:

  • Linear motion
  • Radial motion
  • Zoom motion

Based on the name of these presets, you can probably assume what they look like. Linear motion is the motion in straight lines; radial motion is the circular motion around the center of the effect; zoom motion is the motion in the background of the object that’s zoomed in and appears slightly more in focus.

Since a picture is worth a thousand words, here is a quick demo:

Adjust the settings

Each motion type has slightly different settings, but essentially, there are two things you can change: distance and angle. The former defines the length of blur streaks, and the latter defines their angle. For example, if you select linear motion, you can adjust both, blur distance and blur angle. If you select zoom motion, you can only adjust blur distance, and if you select radial motion, you can only adjust blur angle:

Notice that you can move the center of the effect by dragging the crosshair around the scene and thus control the area that stays in focus.

Pro tip: you can also make the effect increase or decrease over time. If you expand the blur angle or blur distance menu, you’ll be able to set the initial and final values for these controls. For example, if you set the final value higher than the initial value, the video will be getting blurrier over time. This approach might work well for transitions, intros, and outros.

Step 3. Export your video

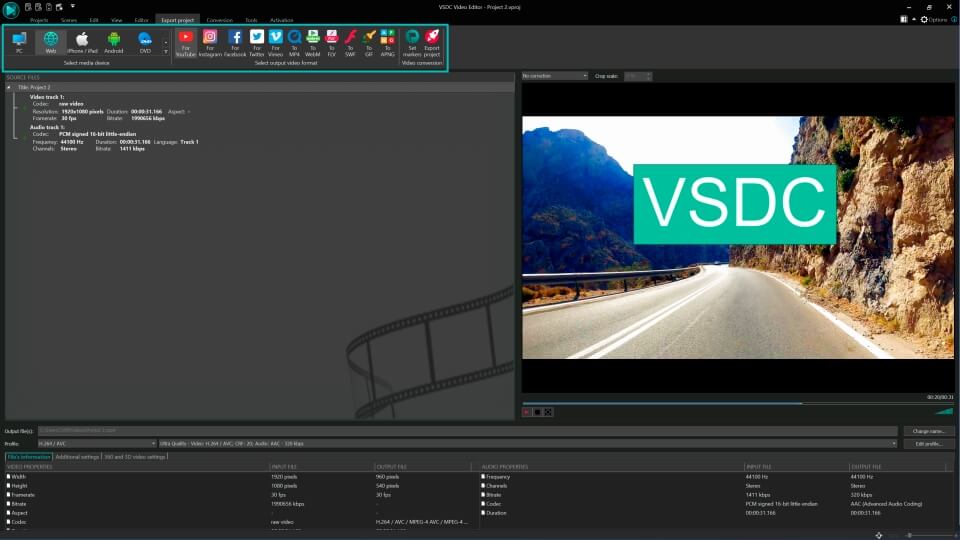
When you’re done, open the Export project tab and select the platform where you intend to use your video; then hit Export. For example, if you’re planning to publish it on YouTube, select Web —> YouTube. To change the video quality or other parameters, use the Edit profile menu under the preview window.

Bonus: how to add motion blur to text in a video

Before we wrap up this tutorial, let’s see an example of motion blur applied to text in a video. You can use this effect to create a stylish title intro or artistic captions.

Once you’ve added text to your video, select it on the timeline and apply the motion blur effect following the steps we described earlier. Since added text objects are static per se, we recommend either adding movement to the text or setting different initial and final values for the effect, as demonstrated below:

In the same manner, you can apply motion blur to any other added graphics in your video including images, shapes, and icons.

Wrapping up

There are a few reasons why you might want to use a motion blur effect in your videos. First, motion blur can help you create a sense of action and emphasize fast movement – whether it’s the movement of the object in your video or the background. Second, zoom motion is an excellent way to drive the viewers’ attention to the object in focus. Finally, blurring the video is a popular artistic approach used to convey a sense of drama or excitement, especially when transitioning between scenes.

With VSDC, you can add motion blur to your videos within minutes. Give it a try and explore other tools and effects this software brings at zero cost.

DOWNLOAD VSDC VIDEO EDITOR

How to work with curve lines in VSDC

VSDC 8.1 has brought curve lines to the graphic object toolbar, and it opens a lot of new possibilities for video creators.

You can use curve lines in your videos to outline objects, underline text, and even create beautiful animations. In this tutorial, we’ll walk you through the following:

  • How to create a curve line in a video
  • How to fill a curve line with a gradient
  • How to use a curve line as a movement trajectory
  • How to wrap text around a curve line
  • How to make a curve line move in a video

After mastering all of these techniques, you'll be able to create incredible results by combining them with other effects or layering these lines on top of each other. For instance, check out our video below on how to create the Stream of Light Effect, or download the project file and start experimenting yourself. The possibilities are endless!

Without further ado, let’s get started.

How to add a curve line to the scene

To get started, create a new project and select Curve line from the toolbar (at the top or on the left). Then click OK in the pop-up window to confirm the default settings.

Adding a curve line to a video in VSDC

Like free shapes, curve lines consist of control points and splines. To start drawing the line, place two or more control points on the scene with mouse clicks.

Drawing a curve line using control points in VSDC

To turn straight lines into smooth splines, select any control point, press and hold the Ctrl key and start dragging the point to the side. Two vectors will appear from the control point: red and green. Use them to continue fine-tuning the shape of the curve line until you achieve the desired look.

Turning straight lines into smooth splines

In the following sections, we’ll talk about curve line settings, and show you how to turn a curve line into a beautiful graphic object or animation.

To access the settings menu, double-click on the curve line layer and head over to the Properties window. There are two groups of settings available: Common settings and Curve line settings.

Curve line settings menu

Common settings allow you to rename the object on the timeline, set up the exact time when the curve line will appear on the screen, and define how long it will remain in the video. You can also use this group of settings to adjust the position coordinates of the curve line on the screen.

Curve line settings allow you to set the thickness and the color of the line, choose fill type, create animation, and customize the object.

Let’s review the parameters from this group one by one.

Curve line settings

The first group of parameters allows you to adjust the basic characteristics of the curve line: its color, thickness, and fill type.

Pen

There are 5 fill types available under the Pen menu:

  • Solid
  • Gradient
  • Point gradient
  • Image pattern
  • Path mode

Curve line fill types in VSDC

Depending on the selected mode, you’ll be able to set up additional parameters. Let’s walk you through the settings of each mode.

Solid

Solid means solid color fill of the curve line. In this mode, you can select the fill color and the thickness of the line. Note that you can set the difference between the Initial and Final values, which means that the line will be getting thicker or thinner during the playback.

Solid fill settings for curve line

Gradient

Gradient mode creates a simple gradient fill between the first and the last points. For this mode, you can either select two colors or use one of the patterns from the Gradient settings menu.

Gradient fill type for curve lines type 1

Gradient fill type for curve lines type 2

Point gradient

The next mode is called Point gradient, and it creates a multicolor gradient fill by assigning individual colors to each control point.

In this mode, you need to select the desired control point, then click Add parameters, and proceed to Pen gradient settings.

Point gradient fill for curve lines

From there, you can pick a color for the control point, adjust its weight (the spread of the color assigned to the point) and the opacity of the adjacent area.

Multicolor gradient for curve lines in VSDC

Image pattern

The Image pattern mode allows you to import an image to the program and use it as a pattern to fill the curve line. We recommend using small PNG images with transparent backgrounds, however, it’s not a requirement. This is what the result looks like:

Image pattern fill mode for curve lines

In this mode, you can also adjust the starting position and the visible length of the pattern. If you start changing these parameters, the image pattern will be disappearing from the start of the curve line or its end accordingly.

Path mode

Finally, the Path mode is designed to turn curve lines into movement paths. If you select this mode, the curve line will be invisible on the scene and serve as a trajectory for a moving object.

Here is how to use this mode.

Go back to the main timeline tab and make a right mouse-click on the curve line, then select Convert to movement path. In the conversion pop-up window click OK to confirm the default settings.

Converting a curve line into a movement path in VSDC

Once you convert the curve line into a movement path, select the Movement layer on the timeline and copy it:

Selecting a layer on the timeline in VSDC

Then go back to the main timeline tab and import or create the object you want to animate. For our example, we’ll be using a small image. Make a double-click on that object and paste the movement layer to the timeline. This is what the result will look like (remember that the curve line will be invisible in this mode):

Note that if you go back to the curve line settings, you can adjust the parameters named Starting position and Visible length. They define the point from the start of the line where the object starts moving and the point before the end of the line where the object stops. For example, if you set Starting point at 25%, the object will start moving 25% down the line; if you set Visible length at 25%, the object will stop moving 25% before the end of the line.

How to wrap text around a curve line

The Path mode also allows for wrapping text around the curve line while maintaining the line invisible. Here is how it works.

Make sure you’ve selected Path mode in the dropdown menu first, then go back to the main timeline tab and add a text object.

Adding a text object to the scene in VSDC

Make a double-click on the text object and go to the Properties window; open Binding to path options and select the curve line you created earlier. Your text will adjust accordingly:

Wrapping text around a curve line in VSDC

Note that the original text object is only visible in the editing mode. As soon as you activate the playback, it will disappear.

There are a couple more parameters you can use to adjust the appearance of the wrapped text:

Mode allows you to place the text above, in the center, or below the curve line.

Stretch to length allows you to stretch the text to the length of the line or keep the original length.

Clipping allows you to create a clipping mask using the original text object frame.

Approximation allows you to smooth text curves.

How to animate curve lines

In the last section of this tutorial, we’ll show you how to animate curve lines. To do that, you’ll be using three parameters:

  • Direction (clockwise or counterclockwise)
  • Starting position
  • Visible length

Let’s start with the basic concepts.

Starting position defines the point on the line where the fill starts being visible. Visible length defines the percentage of the line that is visible. For example, if you set 20% for the former and 70% for the latter, the gradient fill will not cover the first 20% and the last 30% of the line:

Starting position and Visible length settings for curve lines in VSDC

If you leave these settings as is, the curve line will remain still. However, if you expand the menus and set the Initial and Final values, you can create animation. For example, if you set the Initial value for Starting position at 0% and the Final value for Starting position at 50%, the fill will be slowly disappearing during the playback:

You’ll get a similar result if you set the following parameters for Visible length:

  • Initial value: 100%
  • Final value: 0%

The only difference is that the fill will be disappearing from the end of the curve line:

Finally, you can play around with the settings and select the desired values for both parameters. For example, you can create an effect of a moving line by setting the Visible length at 10% and the Starting point at 0;100%:

Note that if your curve line is closed, the movement will continue for as long as the curve line object is visible on the screen.

Curve lines are already available in the free version of VSDC

Now you know everything to get started with curve lines. Go ahead and try adding them to your videos! Curves are available in the free version of VSDC unless you choose to use a non-linear parameter change mode for the initial-final value change.

Got any questions? Email us at This email address is being protected from spambots. You need JavaScript enabled to view it. or Facebook DM and Twitter.

Download VSDC Free Video Editor

How to Use Tracking Point Animation

Tracking point is a tool that allows you to apply movement to coordinate-based effects in VSDC, such as Lens flare, God rays, Shattered glass, Text animation, and many more (at the end of this tutorial, you’ll find the complete list of effects you can animate). With tracking points, you can easily create a custom movement trajectory and pin the desired effects to it. As a result, the effect will move along the trajectory at the speed of your choice.

Below, we’ll walk you through the steps of setting up a tracking point and show you examples of what you can achieve with it. Feel free to watch the video below to see how different effects look when bound with tracking points.

Download the latest version of VSDC

Step 1. Import your content

To get started, import your footage to the editor using the Import content option on the start screen. Then place the playhead on the timeline, where the animation should start.

Step 2. Add a tracking point to the scene

Go to the left-side toolbar and select Tracking point. Then click on the scene to indicate the starting point for the movement trajectory.

Step 3. Сreate a movement trajectory

Double-click on the tracking point block on the timeline and go back to the left-side toolbar to select the Movement tool. Then create a movement trajectory using vectors.

If you’ve never used the Movement tool in VSDC, and you need a more in-depth walkthrough, read this tutorial. Keep in mind that you can also apply ready-made movement trajectories created via the Motion tracking module.

Step 4. Select an effect to bind with the tracking point

Now that the path for the tracking point is ready, it’s time to select the effect you want to bind with it. Go back to the main timeline tab, select your footage, then open the Video effects menu and choose one of the effects eligible for binding. Here is a list of those effects:

  1. Motion Blur (Filters)
  2. Shattered glass (Transitions)
  3. Lens flare (Nature)
  4. Bokeh glare (Nature)
  5. God rays (Nature)
  6. Shadow (Nature)
  7. Distort (Transforms)

For our example, we’ll use Lens flare.

Step 5. Bind the effect coordinates with the tracking point

Once you’ve applied the effect to the footage, make a right mouse-click on it and select Properties. In the Properties window, find the following settings:

  1. Center coordinate type -> Tracking point
  2. Tracking point binding -> Select the tracking point you created earlier

Then activate the Preview mode to see what the result looks like. The effects should be moving along the trajectory you’ve created:

Notice that even after applying the effect, you can change the movement trajectory by going back to the Tracking point tab and adjusting the movement vectors. You can also speed up or slow down the movement by shifting the yellow control points on the timeline.

Binding several effects with the same tracking point

Now that you have an idea of how tracking points work, you can create unique animations by binding several effects together. There are no rules for which effects to combine, so feel free to experiment with the options listed at the end of the article.

To bind an additional effect with the tracking point, apply it to the main footage first. Then open the Properties window and find the parameter defining the type of coordinates (it might have a slightly different name for different effects). Select Tracking point and apply “binding” using the same approach we described earlier.

Here is an example of the Lens flare effect combined with the Fish eye effect:

If you have a text object in your video, such as a title, you can bind it with the tracking point or with another effect as well. All you have to do is apply the Text Shift Position effect to the text, then move to the Properties window, find Initial glyph position, and select Tracking point; then apply the binding.

As a result, the text will be appearing on the screen, letter by letter, coming from the tracking point, as illustrated below:

List of coordinate-based effects you can animate with tracking points

Only few effects in VSDC can be bound with tracking points. To help you identify these effects as well as the binding settings, we’ve put together a table. Consider checking it out before applying this animation type.

Name of the effect
Parameter in the properties window
Text shift position (Text effects)
Initial glyph position
Motion blur (Filters)
Lens Flare (Nature)
Bokeh glare (Nature)
God rays (Nature)
Shattered glass (Transitions)
Center coordinate type
Shadow (Nature)
Shadow coordinate type
Distort (Transforms):
- Polar
- Fish eye
- Lens
- Z-drop
- Polar Coordinates
Center coordinate type, Inner/Outer coordinates.


Got any questions? Email us at This email address is being protected from spambots. You need JavaScript enabled to view it. or tweet us at Flashintegro.

DOWNLOAD FREE NOW

News

Major VSDC 10.1 Update: Advanced HDR, GPS Telemetry, New Effects, Great Variety of New Templates and Tools For Different Needs

published Amy Shao 6/10/25 The wait for something new and unusual is finally over! The update is here and it isn’t just another version: it’s VSDC 10.1! VSDC 10.1 Update: Advanced HDR, GPS Telemetry,...

VSDC Christmas Update 9.4: Enhanced Effect Management, 100+ Background Templates and Streamlined Editing

This holiday season embraces new beginnings with the latest update of VSDC Video Editor! We’ve listened to your feedback and decided to focus on enhancing the tools you love most—all while laying the...

How VSDC Free Became My Secret Weapon for Watermark (Free 4K Editing in 2025)

Hi, I'm Mattea Wharton, a travel videographer from Seattle. For three years I battled with video editors that slapped ugly watermarks on my videos until I found VSDC. This free no-subscription editor completely...

VSDC 9.3: 150+ Templates, Text Transformer, Sprite Auto-Detect and GUI Update

Change is all about improvement, and this process wouldn't be possible without your input. After carefully reviewing your feedback, we’ve addressed several key issues and introduced updates designed...

Best Special Effects Software

Intro In 2024 the options range for creating visual effects is incredibly diverse and it becomes more and more challenging to identify the top choices. Here you can find a guide to the top visual FX...

VSDC 9.2: AI Segmentation Models, 300+ Transitions, VSDC Cloud and New Templates Pack

Are you ready to explore new heights with the latest major VSDC update? Finally, Version 9.2 is here! Packed with groundbreaking features, including the new AI-powered Segmentation tool, this update offers...

How Black and White Movies Were Colorized

Are you a fan of classic black and white films? Ever been curious about how they would appear if they were in color? Many filmmakers have pondered the same, leading to numerous classic movies being colorized....

The Best Online Video Editors in 2025: Benefits and Drawbacks

May 15, 2025 published by Amy Shao In today’s digital landscape, the popularity of video content is gaining momentum, with users increasingly turning to video creation both for personal advantage and...

New Transition Addition Methods, RAW/BRAW Files Support and Free Waveform

Welcome to the next level of video editing with VSDC's latest release, Version 9.1! Packed with an array of fresh features and enhancements, this update is designed to make your video editing experience...

VSDC 8.3 – 100+ New Templates, Key Editor Window, AV1 and Enhanced GUI

Welcome to the latest VSDC update, Version 8.3! We've been working hard and we’re ready to present a feature-packed release for you to discover an exciting array of over 100 fresh free video templates,...
 

Screen Recorder Box

This program allows you to capture the video of your desktop and save it on your PC in various formats. Coupled with a video editor, the program is a great tool for creating presentations, tutorials and demo videos.

Read more about Screen Recorder...


Video Capture Box

The program captures video from external devices and records it to computer in a free format. You can save video from video tuners, webcams, capture cards and other gadgets.

Read more about Video Capture...


Reviewed by


"VSDC Free Video Editor is a surprisingly powerful, if unconventional video editor"

- PC Advisor


"This video editor gives you tons of control and editing power"

- CNet


"The editor handles many common formats and boasts a good deal of capabilities when it comes time to alter lighting, splice video, and apply filters and transitions in post production"

- Digital Trends