 User Help Manual
  Learn FAQ
  Send us feedback
 ")


Video Editor
Download and use the free video software to create and edit videos of any complexity from a family greeting card to a company presentation. Apply vsdc free video editor for light edit hdr-video, any raw-video formats from cams - BRAW, ProRes RAW, any high resolution 4k or more due to video proxies technologies in the editor.
Cut, merge video files, apply visual and audio effects, use filtration and image correction, make slideshows and add an appropriate soundtrack. Use multi-color Chroma Key and advanced parameters settings to give your video a professional look.
All popular video and audio formats are supported.
Video Converter
This program is intended for converting video files from one format to another. Nearly all popular video formats are supported (both reading and saving). In addition, the program drastically simplifies the task of converting videos for playback on specific multimedia devices, such as iPhone, Samsung Galaxy or Huawei P30 Pro. The program is extremely easy to use, has a modern interface and all necessary video processing functions.
Audio Converter
The audio converter will help you convert audio files from one format to another. All key audio formats and codecs are supported. The program also allows you to manage playlists and meta tags, extract audio from video files and save these tracks on your computer in any format.
Animated Intro & Title Templates
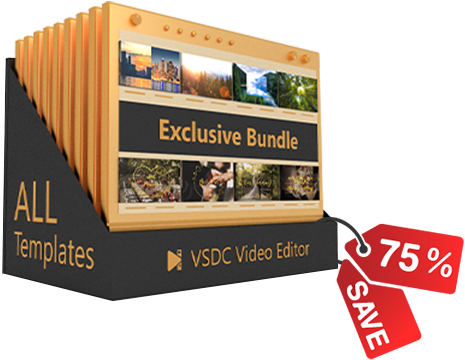
Explore the VSDC Template Store with ready-made video templates for intros, animated titles, lower thirds, logo reveals, slideshows, glitch transitions, LUTs, and color grading presets. Drop a template into the VSDC Video Editor timeline, edit text, timing, and colors, and finish professional video projects in minutes.
Choose from 300+ exclusive packs of video transitions, LUT packs, text effects, GPS telemetry widgets, animated elements, and animated backgrounds for VSDC. All templates are fully customizable, support up to 4K resolution in 16:9, and help you build intros, wedding slideshows, travel videos, and tutorials much faster.
VSDC Cloud - Online video management
Keep your work safe, organized and always accessible! Back up your video projects, store media files online and access them from any device. Enjoy collaboration, share project updates and exchange files easily.
 Video Editor
 Video Converter
 Audio Tools
 Templates store
 Cloud
Cloud

Multifunctionality
A wide array of multimedia processing tools in one free video software suite.

High speed
Our programs use fast
and high-quality algorithms optimized for single and multi-core CPU’s.

Affordability
VSDC video software is freely available for download to Windows OS-based PCs and laptops.
News:
- Published by Amy Shao on June 30, 2026 Meet the new major update ...
- Published by Amy Shao on March 11, 2026 What is the best gift for...
- published Amy Shao 11/19/25 Meet the long-awaited VSDC 10.2 update: a new ve...
- Hi, I'm Mattea Wharton, a travel videographer from Seattle. For three years I ba...

VSDC
Store
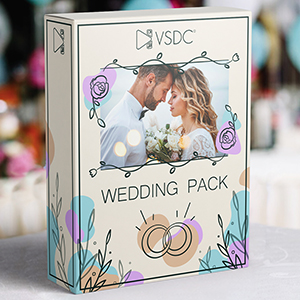
Wedding pack #1
20 intro templates
Description
Access 20 unique wedding video templates that will help you combine your magical day's memorable moments into one masterpiece, preserving the day forever. Customize each template by adjusting colors, sizes, and animations, and incorporate your favorite elements into the main video.
Design details
Resolution: 3840x2160
File Size: 10.3MB
Text Placeholders: 74
100% Fully Customizable
Colors: Full-Colored
Duration: Up to 15 seconds
VSDC
Store
Templates / Video Transitions / Push Collection
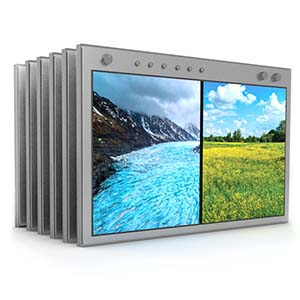
VSDC Push Collection Pack
24 transition templates
$9
BuyDescription
The VSDC Push Collection features a variety of transition templates where one scene element is seamlessly replaced by another, as if being pushed out. With multiple directional options and diverse visualizations, this pack enables smooth transitions where object boundaries blur upon displacement, denoted by either black or white frames or without any boundaries at all.
Key Features
Aspect Ratio: 16x9
Resolution: Up to 4K
File size: 15MB
100% Fully Customizable
Number Of Items: 24
VSDC
Store
VSDC Slide Collection Pack
32 transition templates
$9
Buy
Description
The VSDC Slide Pack features a collection of versatile slide transitions, enhanced with various effects like Blur or Fade. This pack provides choices for various movement directions and designs, including linear shapes and borders in black or white, enabling dynamic and tailored video transitions.
Key Features
Aspect Ratio: 16x9
Resolution: Up to 4K
File size: 15MB
100% Fully Customizable
Number Of Items: 32


 / @VSDCFreeVideoEditor