 User Help Manual
  Learn FAQ
  Send us feedback
 ")


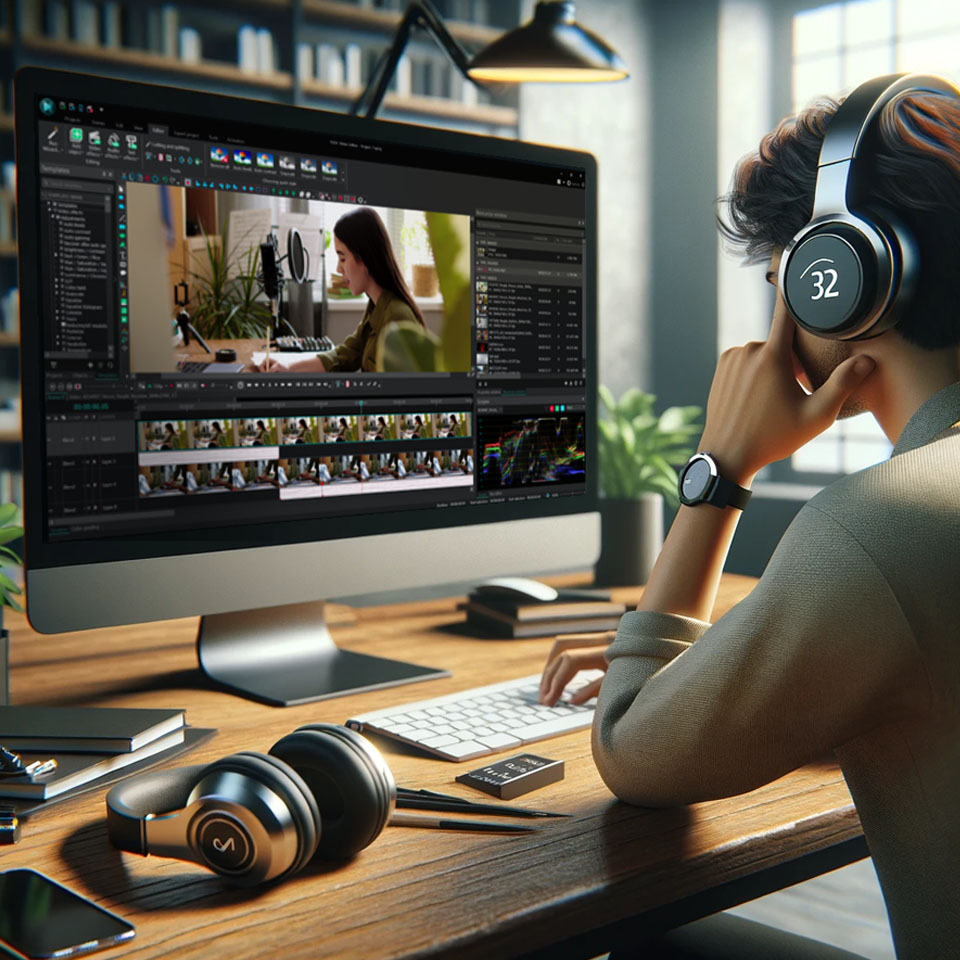
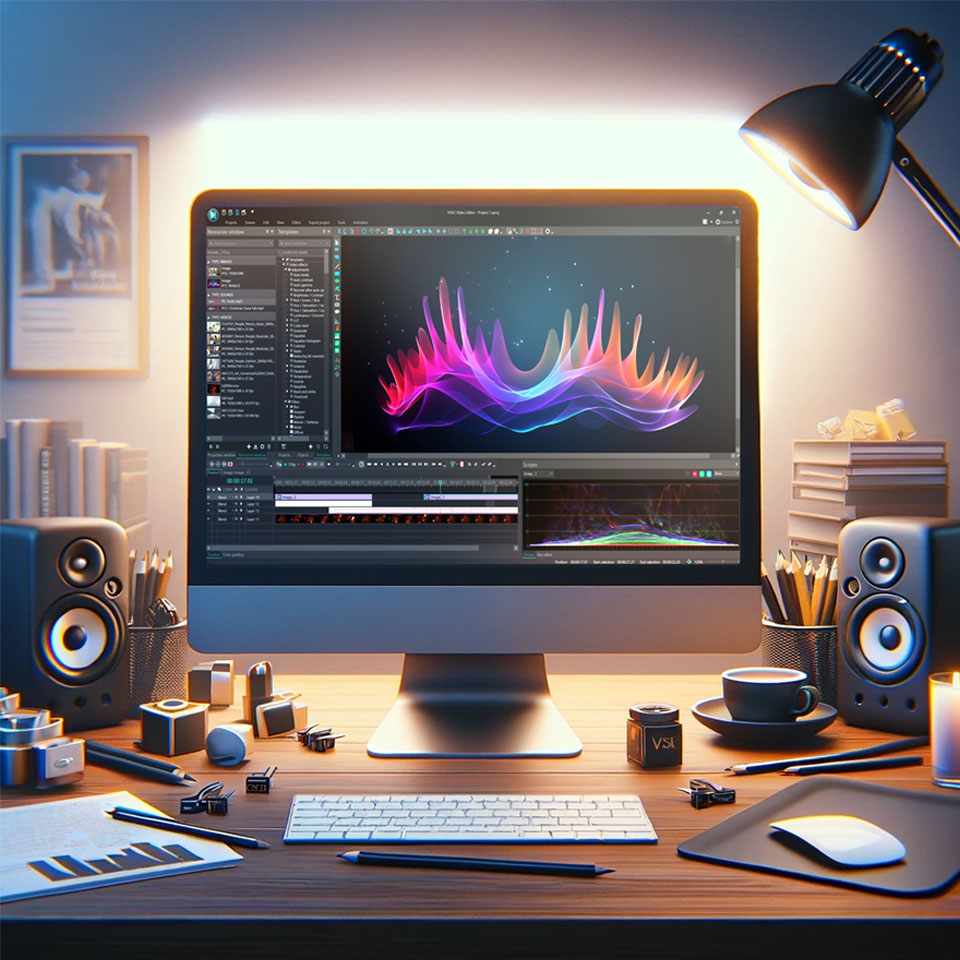
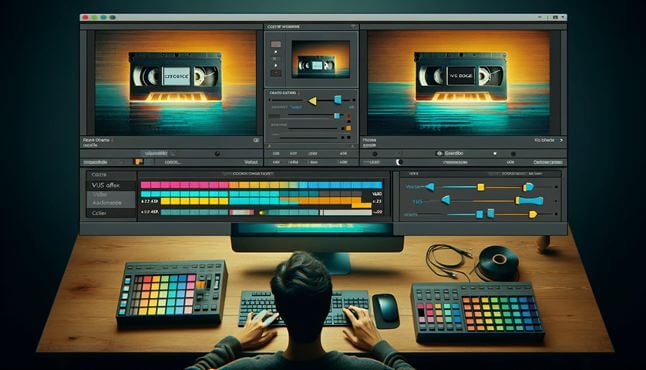
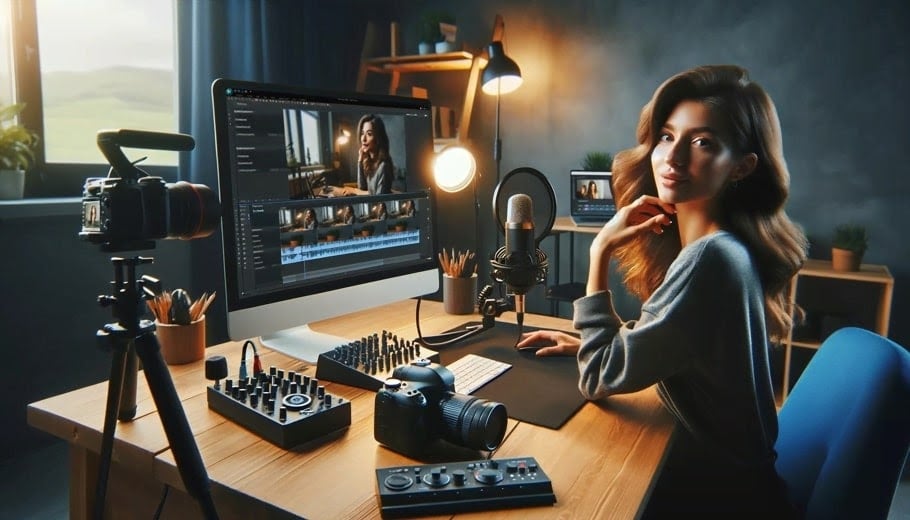
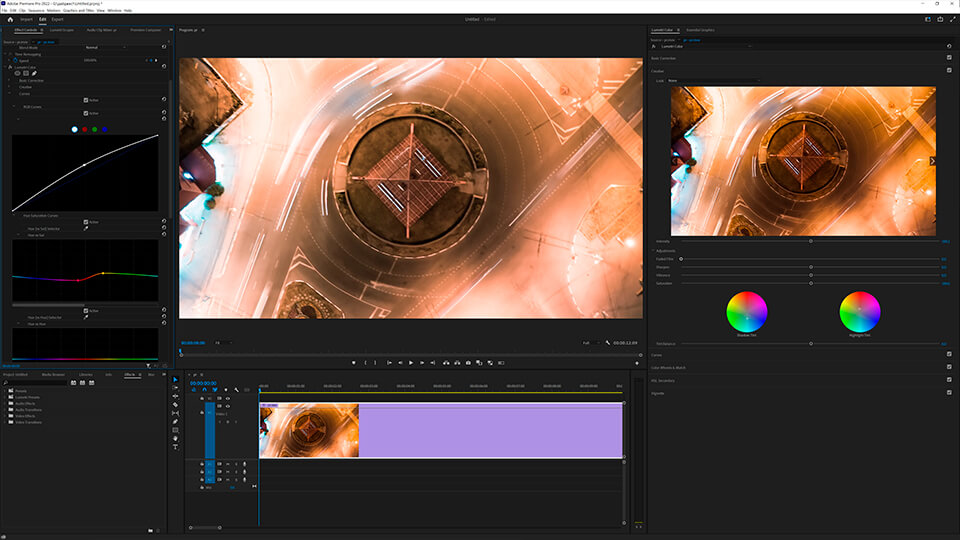
Video Editor
Use free video software to create and edit videos of any complexity from a family greeting card to a company presentation. Cut, merge video files, apply visual and audio effects, use filtration and image correction, make slideshows and add an appropriate soundtrack. Use multi-color Chroma Key and advanced parameters settings to give your video a professional look. All popular video and audio formats are supported.
Video Converter
This program is intended for converting video files from one format to another. Nearly all popular video formats are supported (both reading and saving). In addition, the program drastically simplifies the task of converting videos for playback on specific multimedia devices, such as iPhone, Samsung Galaxy or Huawei P30 Pro. The program is extremely easy to use, has a modern interface and all necessary video processing functions.
Audio Converter
The audio converter will help you convert audio files from one format to another. All key audio formats and codecs are supported. The program also allows you to manage playlists and meta tags, extract audio from video files and save these tracks on your computer in any format.
Audio CD Grabber
This audio tool is intended for grabbing audio tracks from compact discs and saving them to the user’s computer in any format. Nearly all popular audio formats and codecs are supported. The program can also extract track details from the FreeDB server for automatic file renaming and updating meta tags.
 Video Editor
 Video Converter
 Audio Converter
 Audio CD Grabber

Multifunctionality
A wide array of multimedia processing tools in one free video software suite.

High speed
Our programs use fast
and high-quality algorithms optimized for single and multi-core CPU’s.

Affordability
VSDC video software is freely available for download to Windows OS-based PCs and laptops.
News:
- Welcome to the next level of video editing with VSDC's latest release, Version 9...
- Welcome to the latest VSDC update, Version 8.3! We've been working hard and we’r...
- In today’s digital landscape, the popularity of video content is gaining momentu...
- In today's digital world creativity reigns supreme. It offers endless possibilit...
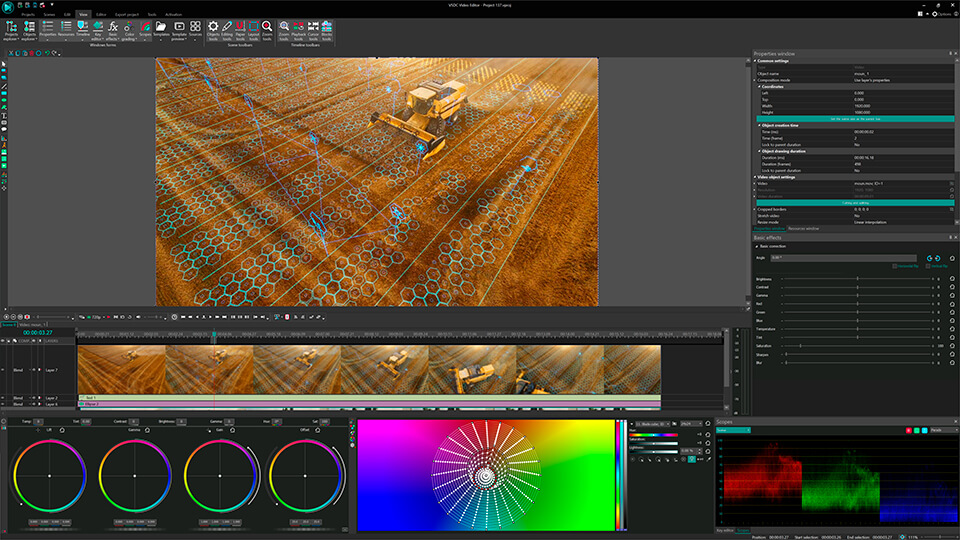
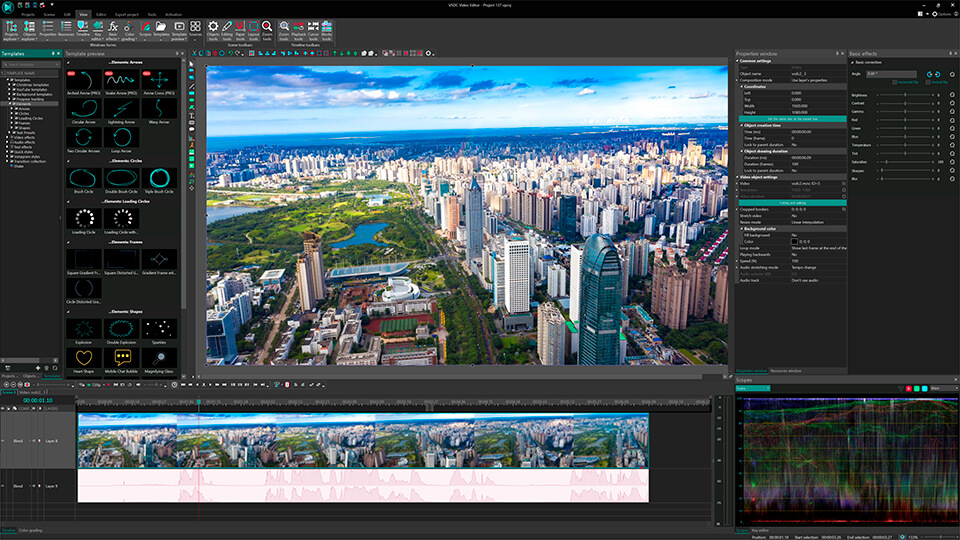
How to Make MP4 Files
The MP4 file format has become a staple in the digital media space due to its compatibility and efficiency. Creating an MP4 file or converting existing media into this format can often be a necessity for video editors and content creators. This article will explore the process of making and converting MP4 files using VSDC, a free video editing software that supports a whole range of formats and codecs.
What is MP4 Format?

MP4 is a type of digital file used to store video, audio, and other data like subtitles and images. It's popular because it works on many devices, keeps file sizes small without losing too much quality, and is great for streaming videos on the internet.
How to Make MP4 File
Making MP4 Video From Scratch
Creating an MP4 video from scratch in VSDC involves several steps:
- Launch VSDC and initiate a new project by importing your media files using the Import Content button.
- Before importing your video for a more precise editing experience, it's advisable to set some parameters such as framerate and resolution. This ensures your video is optimized for editing.
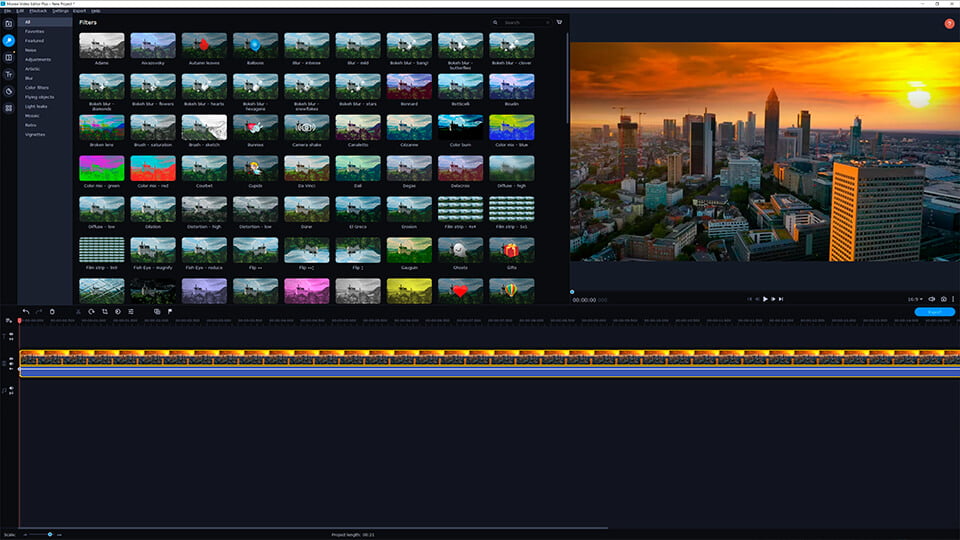
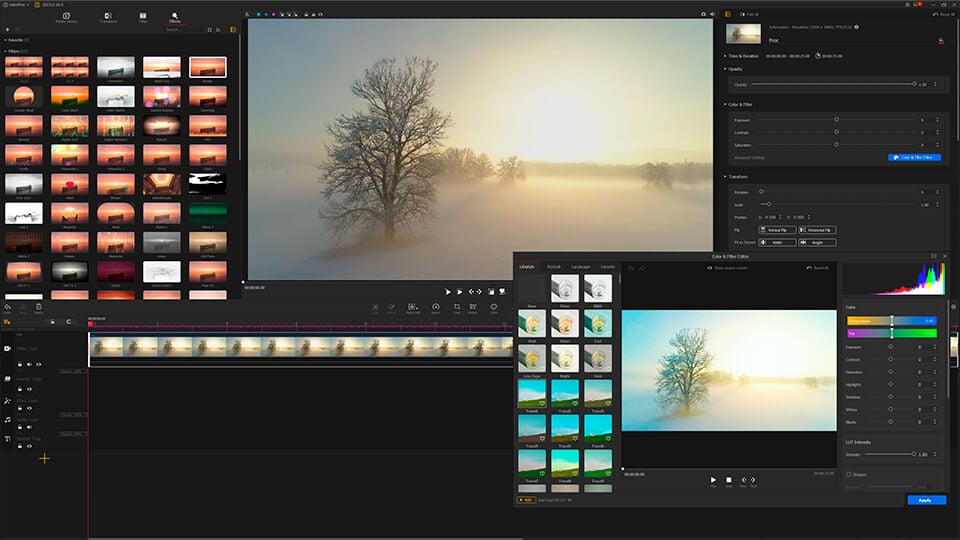
- Utilize VSDC's editing tools to cut, split, trim, add effects, and arrange your media on the timeline.
- After fine-tuning your video, navigate to the Export Project tab on the Ribbon, select your media device in the upper left corner and choose MP4 as the output format on the right.
- When dealing with high-resolution videos, such as 4K, selecting the right codec is crucial. In the Profile field below, you have the option to choose any codec, including the most popular ones like H.264 and H.265, which are especially recommended for 4K video editing.
- You can also adjust the export settings to suit your needs before finalizing the video. To do this, click the Profile button below to select the desired codec.
- Click the Edit profile button in the lower right corner to fine-tune your settings. Set the bitrate accordingly—the higher the resolution, the higher the bitrate should be to maintain video quality and the quality in the encoder mode field to achieve better results. Adjusting the encoder mode quality allows for optimized balance between quality and file size.
- Commence the export process with the red Export project button located just about the preview window, and voilà, your MP4 video is ready!
Converting Video To MP4
To convert videos to MP4 format within VSDC, proceed as follows:
- Launch VSDC Video Editor, navigate to the Tools tab and select Video converter.
- Click the Add files section on the ribbon to import the video you want to convert.
- Select the media device, click on MP4 format on the ribbon and adjust conversion parameters if necessary, considering factors like resolution, codec, and bitrate in the Edit profile section in the lower right corner.
- Initiate the conversion process by clicking the Export project button on the Ribbon and save the new MP4 file to your preferred location in the object explorer.
MP4 files are known for their balance between quality and file size, making them ideal for use on the web. Unlike formats such as AVI or MOV, MP4 files are universally playable on most devices and platforms. They also allow for streaming online without the need for the entire file to be downloaded first. MP4 files are generally more compressed and smaller than AVI files, which can store data without compression, leading to larger file sizes and potentially higher quality at the cost of compatibility and storage space.
FAQ
Is MP4 a good format?
MP4 is considered a good format for its versatility and widespread acceptance. It delivers high-quality video content and is supported by nearly all video players and editing software. Its efficient compression helps in reducing file sizes without a significant loss in video quality, making it an excellent choice for both professional and casual use.
Is it better to convert or make MP4 from scratch?
The optimal approach hinges on your particular requirements. Crafting an MP4 file from scratch affords you greater creative freedom and the opportunity to fine-tune the end product. Conversely, if your goal is to promptly share or playback a video across different devices, converting to MP4 might be your best bet for speed and convenience. With VSDC, both processes are straightforward, ensuring you get a high-quality MP4 file regardless of the method you choose.
Conclusion

The ability to make and convert videos into MP4 format with VSDC means that your content is ready for anything—from professional presentations to social media sharing, to archiving treasured memories. As digital media continues to evolve, the MP4 format remains a constant, providing a reliable and efficient means of storing and transmitting our visual stories. With the help of VSDC, you're well-equipped to navigate the digital landscape, ensuring your videos are accessible and of high quality, no matter where they're viewed.


 Download Video Editor


This program allows you to capture the video of your desktop and save it on your PC in various formats. Coupled with a video editor, the program is a great tool for creating presentations, tutorials and demo videos.

The program captures video from external devices and records it to computer in a free format. You can save video from video tuners, webcams, capture cards and other gadgets.

"VSDC Free Video Editor is a surprisingly powerful, if unconventional video editor"
- PC Advisor

"This video editor gives you tons of control and editing power"
- CNet

"The editor handles many common formats and boasts a good deal of capabilities when it comes time to alter lighting, splice video, and apply filters and transitions in post production"
- Digital Trends
© 2011-2024, www.videosoftdev.com, FLASH-INTEGRO LLC. Privacy policy | Terms of use | About us
All trademarks referenced herein are the sole property of their respective owners.
Copying any materials from this site allowed only with written consent of Site Administration.