 User Help Manual
  Learn FAQ
  Send us feedback
 ")


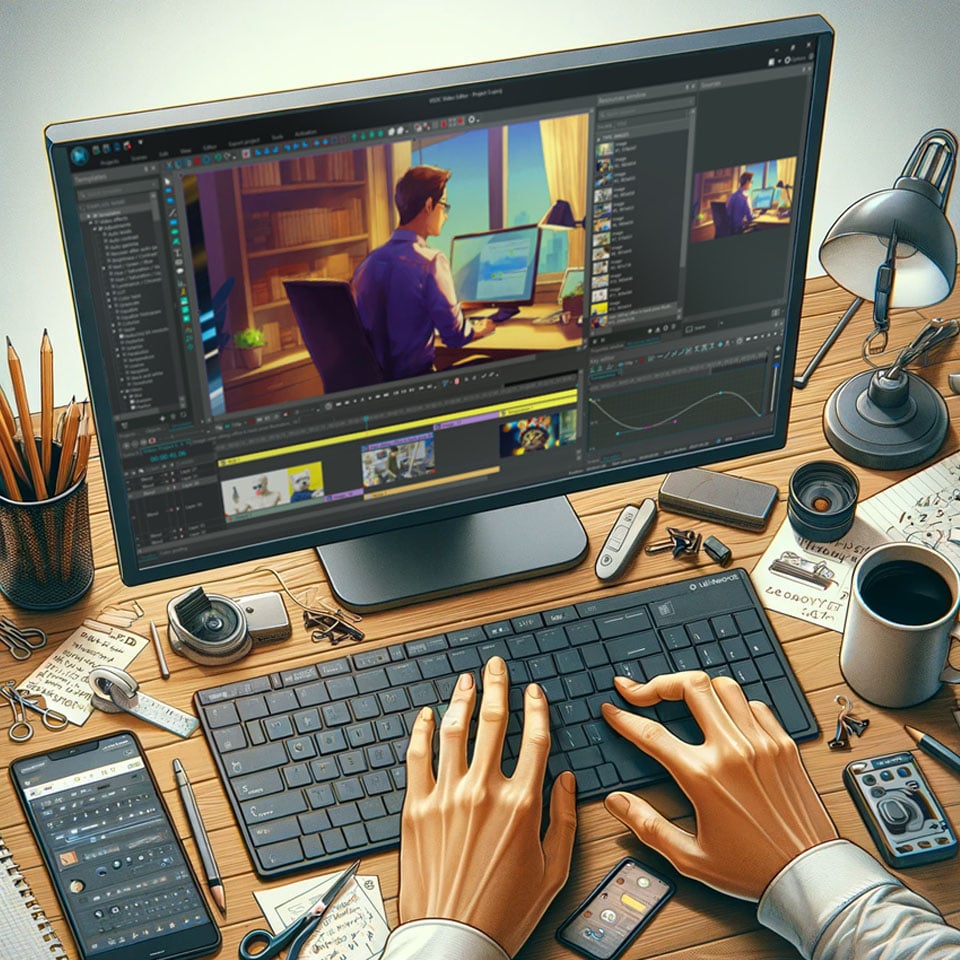
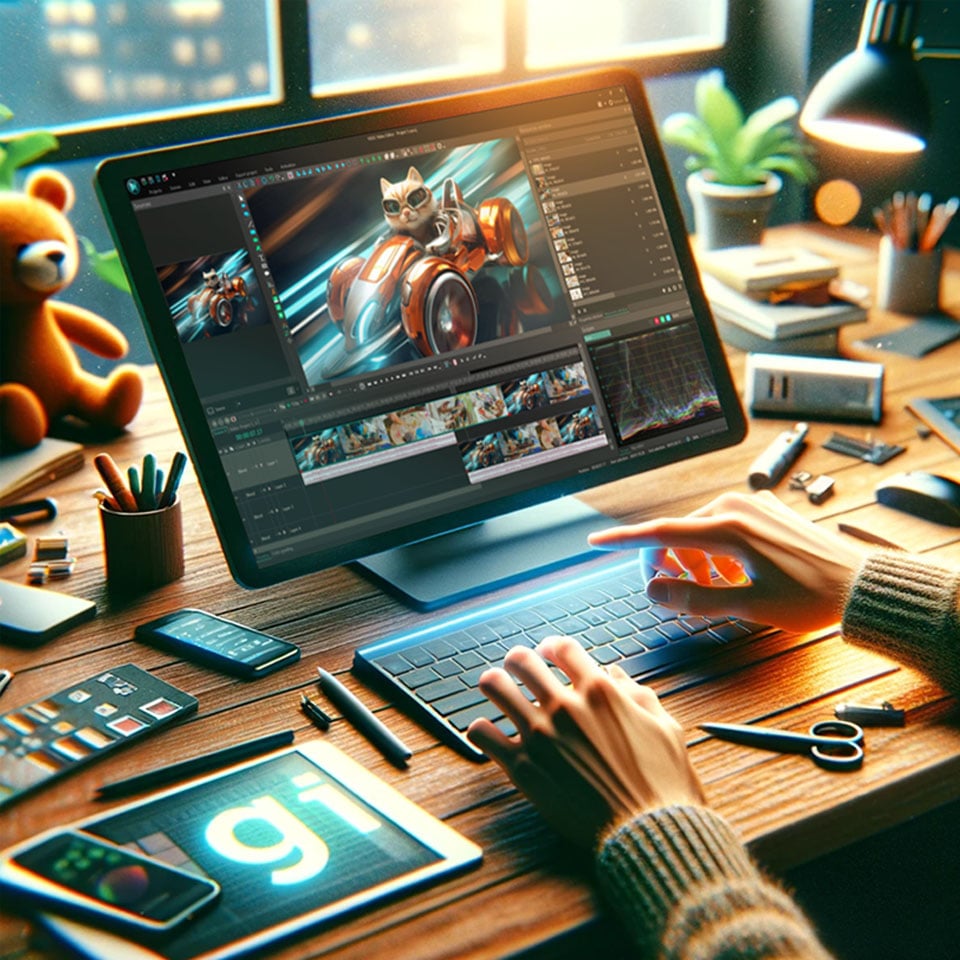
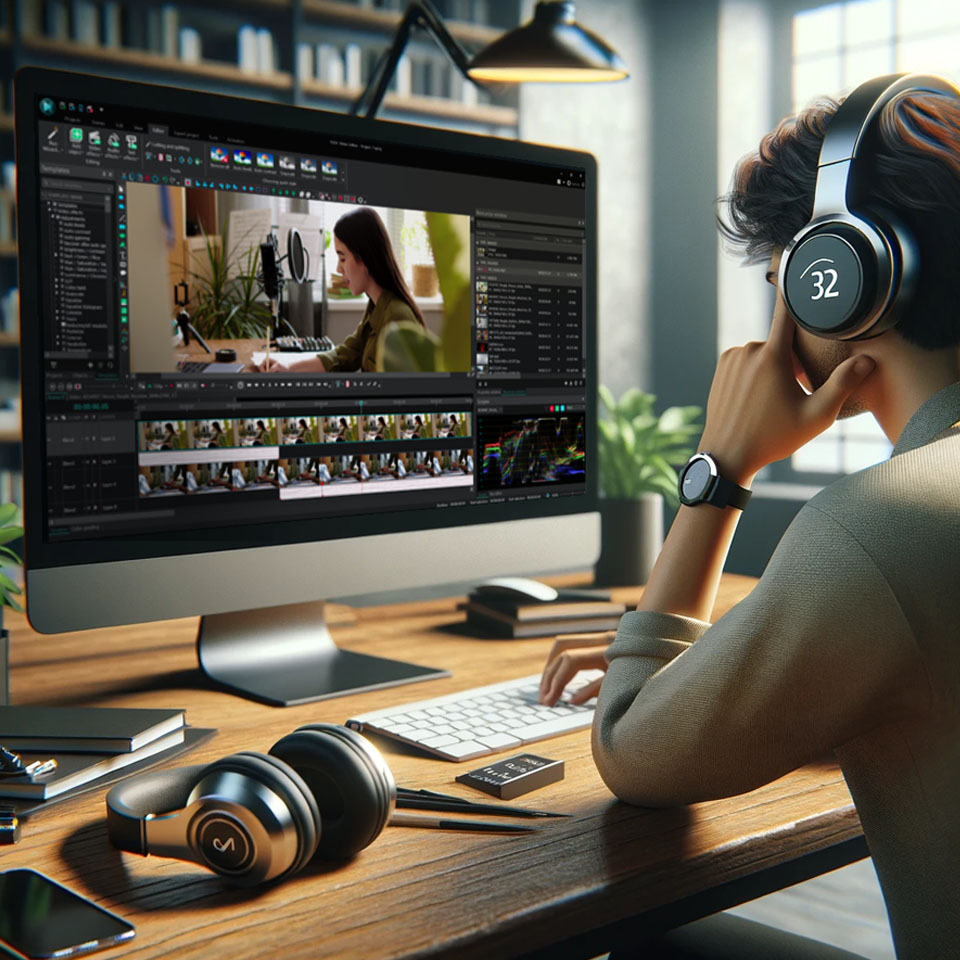
Video Editor
Download and use the free video software to create and edit videos of any complexity from a family greeting card to a company presentation. Apply vsdc free video editor for light edit hdr-video, any raw-video formats from cams - BRAW, ProRes RAW, any high resolution 4k or more due to video proxies technologies in the editor.
Cut, merge video files, apply visual and audio effects, use filtration and image correction, make slideshows and add an appropriate soundtrack. Use multi-color Chroma Key and advanced parameters settings to give your video a professional look.
All popular video and audio formats are supported.
Video Converter
This program is intended for converting video files from one format to another. Nearly all popular video formats are supported (both reading and saving). In addition, the program drastically simplifies the task of converting videos for playback on specific multimedia devices, such as iPhone, Samsung Galaxy or Huawei P30 Pro. The program is extremely easy to use, has a modern interface and all necessary video processing functions.
Audio Converter
The audio converter will help you convert audio files from one format to another. All key audio formats and codecs are supported. The program also allows you to manage playlists and meta tags, extract audio from video files and save these tracks on your computer in any format.
Audio CD Grabber
This audio tool is intended for grabbing audio tracks from compact discs and saving them to the user’s computer in any format. Nearly all popular audio formats and codecs are supported. The program can also extract track details from the FreeDB server for automatic file renaming and updating meta tags.
 Video Editor
 Video Converter
 Audio Converter
 Audio CD Grabber

Multifunctionality
A wide array of multimedia processing tools in one free video software suite.

High speed
Our programs use fast
and high-quality algorithms optimized for single and multi-core CPU’s.

Affordability
VSDC video software is freely available for download to Windows OS-based PCs and laptops.
News:
- published Amy Shao 6/10/25 The wait for something new and unusual is finally...
- This holiday season embraces new beginnings with the latest update of VSDC Video...
- Change is all about improvement, and this process wouldn't be possible without y...
- Intro In 2024 the options range for creating visual effects is incredibly dive...
How to Make Green Screen Videos
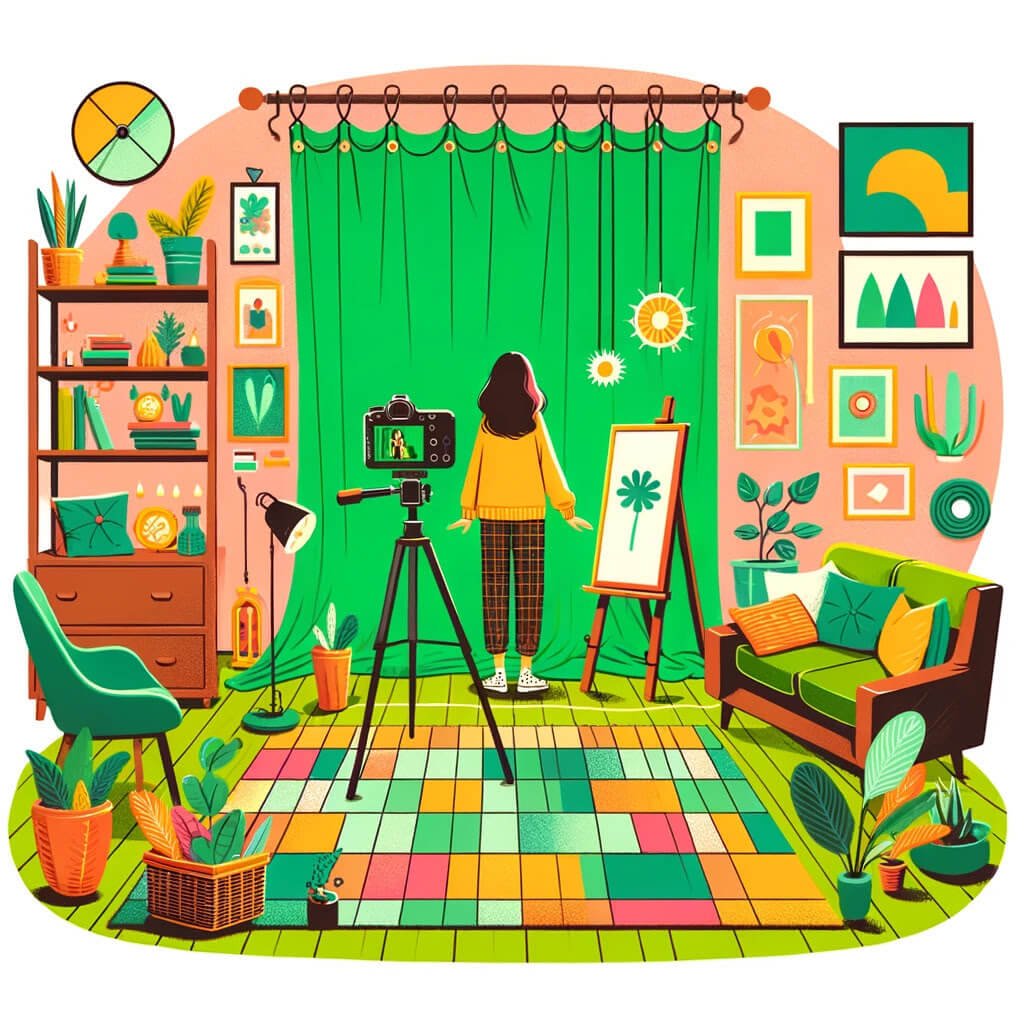
Green screen magic isn't just for big-budget movies or TV studios anymore. Believe it or not, creating cool effects with green screen, or chroma key, is something you can do too. And it doesn't require a lot of money or fancy equipment. All you need is a smartphone or webcam, some green cloth, the right editing software, and a little bit of know-how.
Before we dive into making your own green screen videos, let's cover the basics. What is a green screen, and why would you want to use one? This technique, once limited to those with deep pockets, is now within reach for creators of all levels, allowing you to add amazing backgrounds and effects to your videos. Our guide is here to show you how, from start to finish, making it easy to bring your creative ideas to life, even from your own home.
Key Takeaways
- Understanding the basics of chromakey technology.
- Learning how to set up a green screen for optimal results.
- Mastering the use of green screen in video production.
- Editing green screen footage to create seamless video content.
- Software recommendations.
- FAQ Insights.
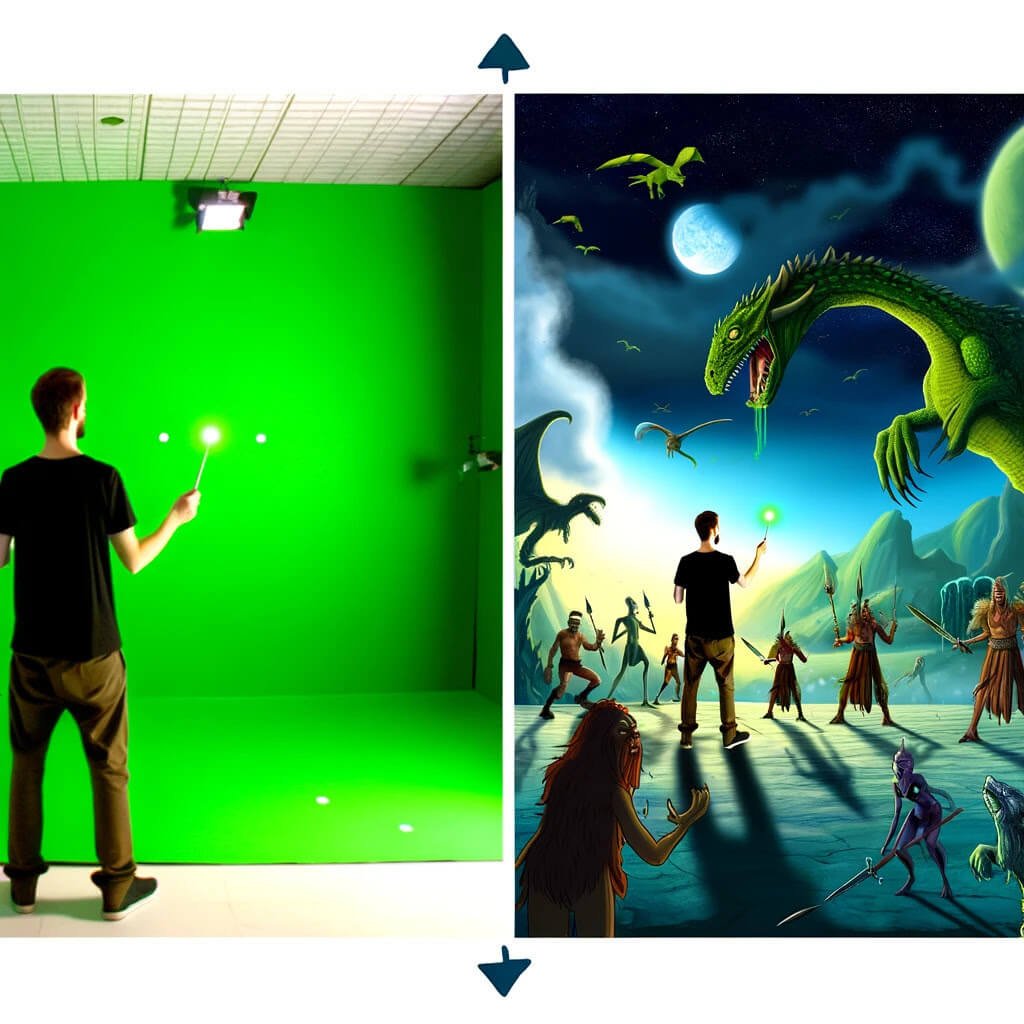
What is Chromakey?
Chromakey is a cool trick that lets you add any background you want to your videos. The most common color used is green, but blue screens are also popular, depending on the subject's color and the specific requirements of the shoot. This technique makes it possible to create scenes that would be otherwise impossible or expensive to film in real life.
How Does Chromakey Work?
Chromakey makes the green or blue background disappear, letting you put in whatever background you like. It works great because the green color doesn’t match skin tones, making it easy to separate people from the background. The most important things are to have even lighting and a solid-colored background so everything looks smooth in the final video.
How to Make Green Screen
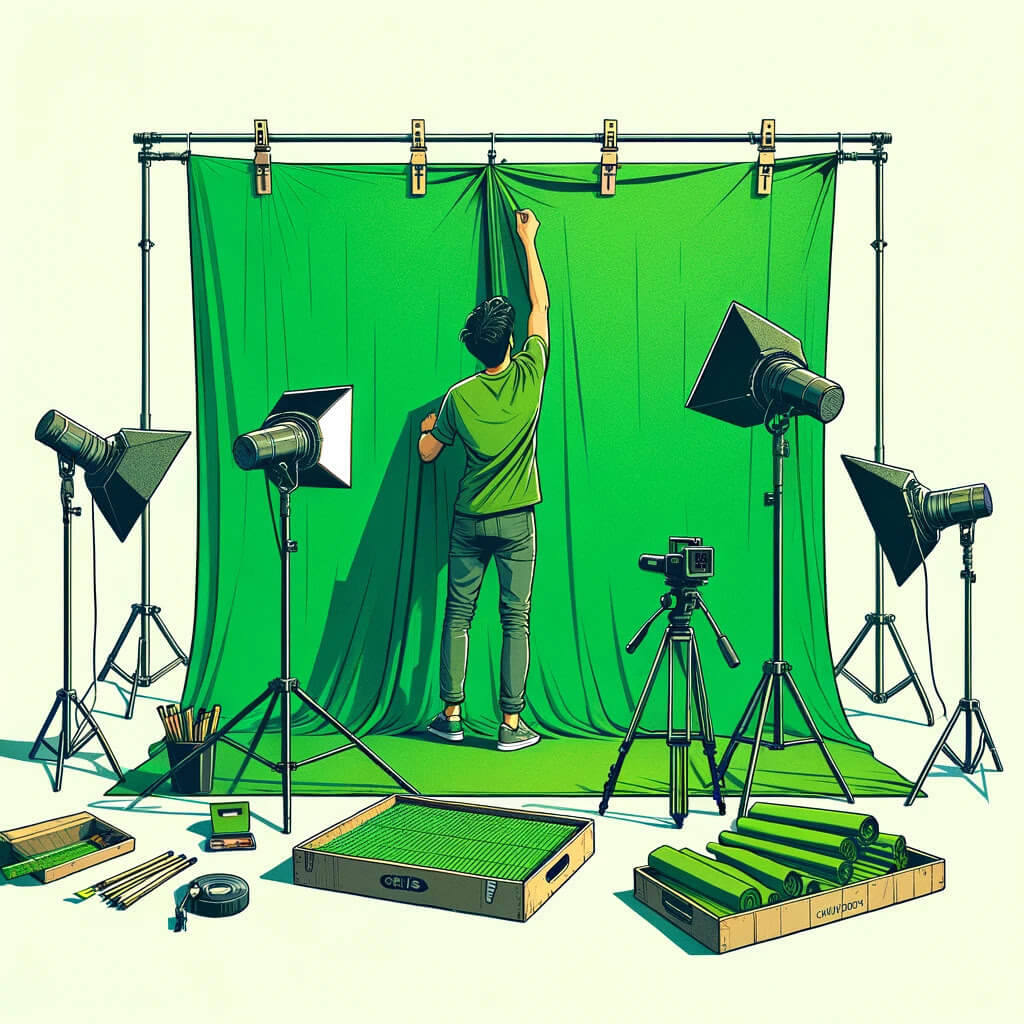
To set up your own green screen, you need:
- Green Backdrop: Anything works—cloth, paint, or paper—as long as it's bright and solid green.
- Lighting: Make sure the green screen is evenly lit to avoid shadows.
- Space: Keep some distance between the subject and the green screen to prevent the green color from bouncing back onto the subject.
How to Use Green Screen
Using a green screen is simple:
- Set it up in a well-lit area without wrinkles or shadows.
- Place the person or object a few feet away from the screen to avoid color spill.
- Light the subject well but separately from the green screen.
- Think about what the final background will look like when you’re setting up your shot.
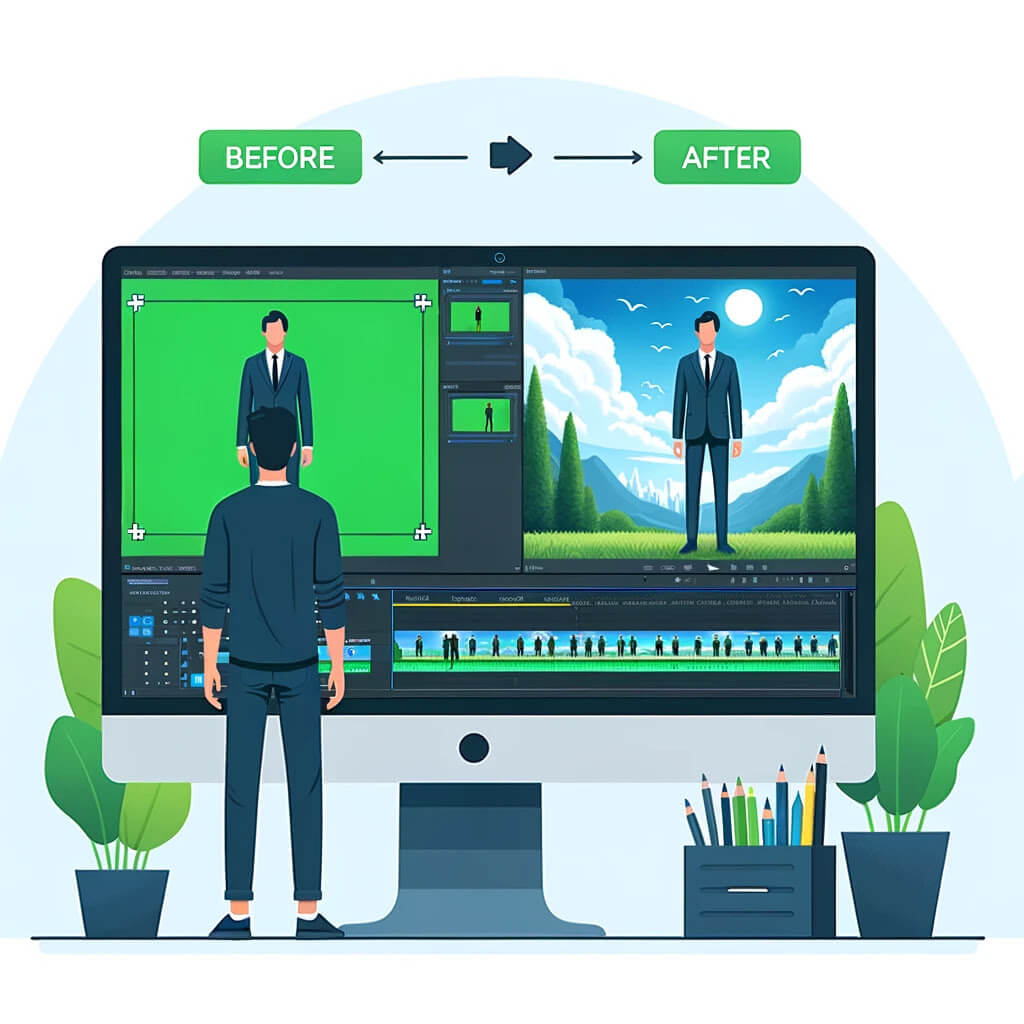
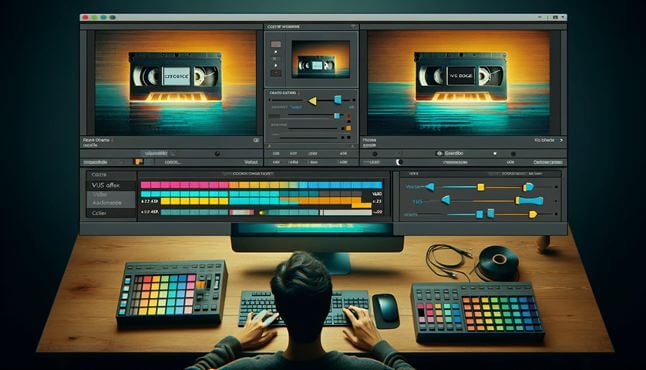
How to Edit Green Screen Videos
Editing green screen footage is where you truly bring your creative vision to life. The process generally involves a few key steps:
- Import your video into an editing software that supports the chromakey feature.
- Apply the chromakey effect to remove the green background, making it transparent.
- Insert the new background you desire behind your subject.
- Adjust the edges around your subject to ensure a seamless blend with the new background.
While there are numerous software options available for this, ranging from professional tools like Adobe Premiere Pro to more user-friendly applications like iMovie, we particularly recommend VSDC Free Video Editor as the best choice among them. VSDC stands out for its balance of being both feature-rich and accessible, making it our top pick for green screen editing. VSDC provides a comprehensive guide on how to make a green screen video.
VSDC not only simplifies the chromakey process but also provides tools for further enhancing your video, such as color correction, filters and special effects. This makes it an all-in-one solution for creating professional-looking green screen videos with minimal effort.
Conclusion
Creating green screen videos can elevate your content and open up a world of creative possibilities. By understanding the basics of chromakey, setting up your green screen correctly, and mastering the editing process, you can produce professional-looking videos without a fancy studio. VSDC Free Video Editor emerges as a standout choice in this process, offering a perfect blend of advanced features and user-friendly functionality. Its comprehensive editing tools, including a precise chromakey function, enable creators to seamlessly integrate diverse backgrounds, ensuring your projects not only look polished but truly captivate your audience. With practice and creativity, the only limit is your imagination.
FAQ
Do I need a fancy studio to make green screen videos?
No, you don't need a fancy studio. With some basic equipment and knowledge, you can set up a green screen in almost any space. Proper lighting and a uniform green background are the most important factors.
What's the best software for green screen editing?
VSDC Free Video Editor emerges as the top choice for green screen editing, thanks to its straightforward interface and comprehensive features. Without the complexity or expense of software like Adobe Premiere Pro or Final Cut Pro, VSDC simplifies creating professional-looking videos with its precise chromakey tool and support for various video formats, making it accessible and highly versatile for all creators.
Can I use a green screen without any editing experience?
Yes, you can start using a green screen without prior editing experience. Many editing programs offer straightforward, user-friendly chromakey features, making it accessible for beginners to create compelling green screen videos. Online tutorials and practice will help you improve your skills over time.


 Download VSDC Video Editor
This program allows you to capture the video of your desktop and save it on your PC in various formats. Coupled with a video editor, the program is a great tool for creating presentations, tutorials and demo videos.

The program captures video from external devices and records it to computer in a free format. You can save video from video tuners, webcams, capture cards and other gadgets.

"VSDC Free Video Editor is a surprisingly powerful, if unconventional video editor"
- PC Advisor

"This video editor gives you tons of control and editing power"
- CNet

"The editor handles many common formats and boasts a good deal of capabilities when it comes time to alter lighting, splice video, and apply filters and transitions in post production"
- Digital Trends
© 2011-2025, www.videosoftdev.com, FLASH-INTEGRO LLC. Privacy policy | Terms of use | About us
All trademarks referenced herein are the sole property of their respective owners.
Copying any materials from this site allowed only with written consent of Site Administration.