 User Help Manual
  Learn FAQ
  Send us feedback


Video Editor
Download and use the free video software to create and edit videos of any complexity from a family greeting card to a company presentation. Apply vsdc free video editor for light edit hdr-video, any raw-video formats from cams - BRAW, ProRes RAW, any high resolution 4k or more due to video proxies technologies in the editor.
Cut, merge video files, apply visual and audio effects, use filtration and image correction, make slideshows and add an appropriate soundtrack. Use multi-color Chroma Key and advanced parameters settings to give your video a professional look.
All popular video and audio formats are supported.
Video Converter
This program is intended for converting video files from one format to another. Nearly all popular video formats are supported (both reading and saving). In addition, the program drastically simplifies the task of converting videos for playback on specific multimedia devices, such as iPhone, Samsung Galaxy or Huawei P30 Pro. The program is extremely easy to use, has a modern interface and all necessary video processing functions.
Audio Converter
The audio converter will help you convert audio files from one format to another. All key audio formats and codecs are supported. The program also allows you to manage playlists and meta tags, extract audio from video files and save these tracks on your computer in any format.
Animated Intro & Title Templates
Explore the VSDC Template Store with ready-made video templates for intros, animated titles, lower thirds, logo reveals, slideshows, glitch transitions, LUTs, and color grading presets. Drop a template into the VSDC Video Editor timeline, edit text, timing, and colors, and finish professional video projects in minutes.
Choose from 300+ exclusive packs of video transitions, LUT packs, text effects, GPS telemetry widgets, animated elements, and animated backgrounds for VSDC. All templates are fully customizable, support up to 4K resolution in 16:9, and help you build intros, wedding slideshows, travel videos, and tutorials much faster.
VSDC Cloud - Online video management
Keep your work safe, organized and always accessible! Back up your video projects, store media files online and access them from any device. Enjoy collaboration, share project updates and exchange files easily.
 Video Editor
 Video Converter
 Audio Tools
 Templates store
 Cloud
Cloud

Multifunctionality
A wide array of multimedia processing tools in one free video software suite.

High speed
Our programs use fast
and high-quality algorithms optimized for single and multi-core CPU’s.

Affordability
VSDC video software is freely available for download to Windows OS-based PCs and laptops.
News:
- Published by Amy Shao on June 30, 2026 Meet the new major update ...
- Published by Amy Shao on March 11, 2026 What is the best gift for...
- published Amy Shao 11/19/25 Meet the long-awaited VSDC 10.2 update: a new ve...
- Hi, I'm Mattea Wharton, a travel videographer from Seattle. For three years I ba...
How to Use the Stabilization Tool
Have you ever captured great footage, only to find it ruined by shakiness? Shakiness in videos can be caused by many things when using handheld devices like smartphones or GoPro cameras when you don’t have a portable stabilizer to set your camera on during recording. That’s why VSDC's Stabilization tool is here to rescue your videos from unwanted jitters. It allows you to remove the effect of camera shake from captured videos, transforming shaky shots into polished, professional-quality content.
The stabilization process involves examining the shaky footage and making frame-by-frame adjustments. This may include cropping the edges, rotating or shifting frames, and using advanced algorithms. The outcome is a smoother, stable video that's visually appealing. Continue reading to learn about this useful tool and watch our video tutorial to see everything with your own eyes.
Getting started
First, launch VSDC and navigate to the Tools tab on the Ribbon command bar in VSDC and select Video stabilization. Please, note that this is an advanced feature and is only available to PRO users.
 Download VSDC Free Video Editor for Windows
After selecting Video stabilization, a pop-up window will appear warning you that the stabilization tool does not have a real-time preview. This means that the effects of the settings you apply will only be visible after you export your video. Click OK to start working with the tool.
To get started, you need to add your footage. Use one of the following options above the Source files panel:
- Open files: Use it to select one or multiple files from your computer. Note, that if you already added files to the Source panel, this option will delete them and replace them with the ones you select.
- Add files: Use it to add files to previously added items.
- Add folder: Use it to add all files from the selected folder.
- Add DVD: Use it to add files from a DVD or from an HDD.
If you made a mistake in file selection or want to remove the entire list, use the options Close files or Close all files. To access information about the properties of a specific file in the Source files pane, use the File's information option on the same panel.
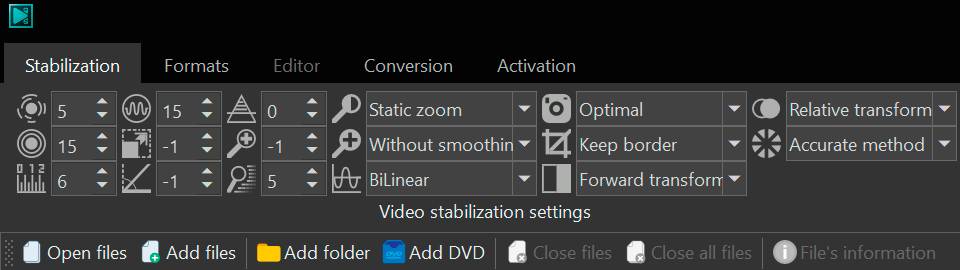
Adjust stabilization settings
Stabilization settings are located on the upper toolbar of the video stabilization window. In the Stabilization tab you can smoothen the video and ensure the most optimal stabilization result. Let’s review it in more detail.
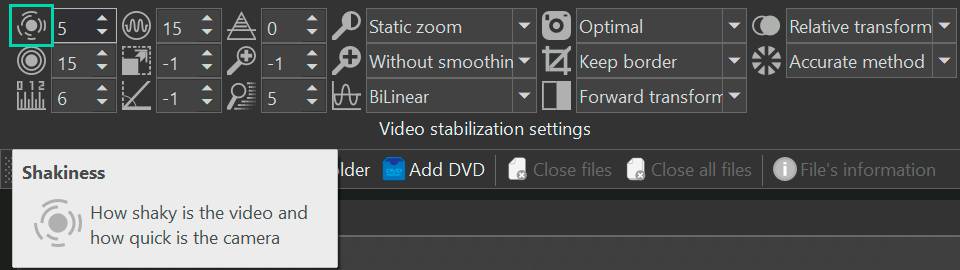
Shakiness
Shakiness setting controls how much the video stabilizer corrects the shakiness in your video. Imagine, you’re recording holding the camera in your hands or moving quickly, and the video looks shaky or unsteady. This setting will help to make it smoother.
This is how it works:
- You can select the value of shakiness correction from 1 to 10.
- If you set it to a minimum, the stabilization will be gentle. It’ll fix some shakes but still keep some of the original movement. It will result in a more natural look of the video like in a documentary.
- If you set the value to 10, the stabilization will be strong enough to fix even really strong shakes. This option is great for a video with much action or movement.
- The default value is 5. If you set it like this, it will smoothen the shakes but still keep some natural motion. It’s a good starting point for most videos.
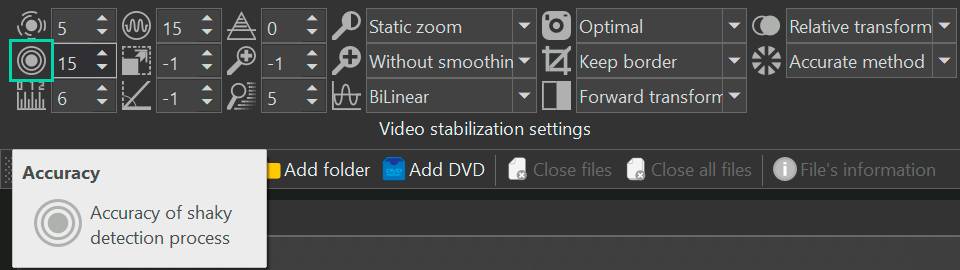
Accuracy
The Accuracy setting controls how carefully the video stabilizer looks for shaky movements in your video.
This is how it works:
- You can set the value of accuracy from 1 to 15.
- If you set the value to a minimum, the stabilizer will operate faster but it may miss some shakes. It is suitable for videos where speed is essential and minor camera shakes can be tolerated.
- The default value is 15. If you keep it, the stabilizer will analyze the video very carefully and catch even tiny shakes. This will make your video look really smooth, but it might take longer to process. So, choose the value that matches your video's complexity and how perfect you want it to be.
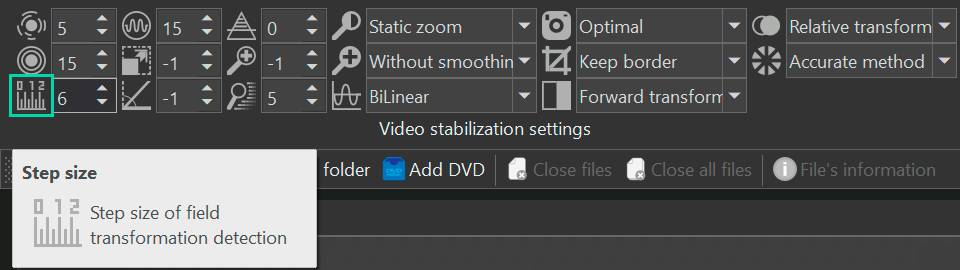
Step Size
The Step Size setting determines the interval in pixels at which the video stabilizer scans the region for the best way to fix shaky footage.
This is how it works:
Smoothing
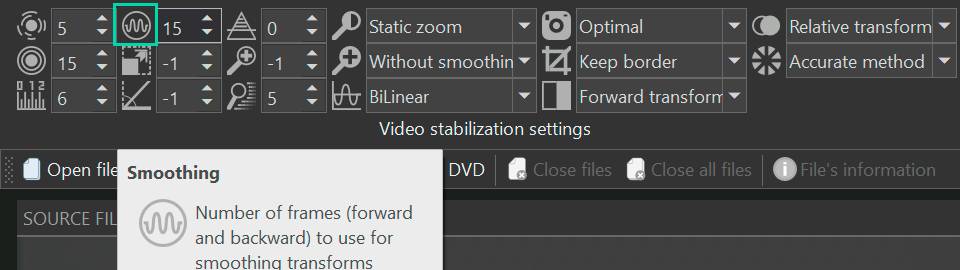
The Smoothing setting applies a denoise filter to the camera movements resulting in a smoother and more stable video output. This setting refers to the number of frames (forward and backward) used for filtering.
This is how it works:
Max Shift
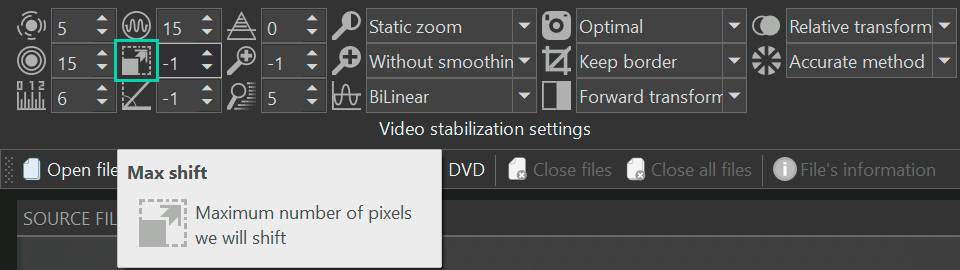
The Max Shift setting determines by how many pixels the frames in the video can move to fix the shaky camera movement.
This is how it works:
Max Angle
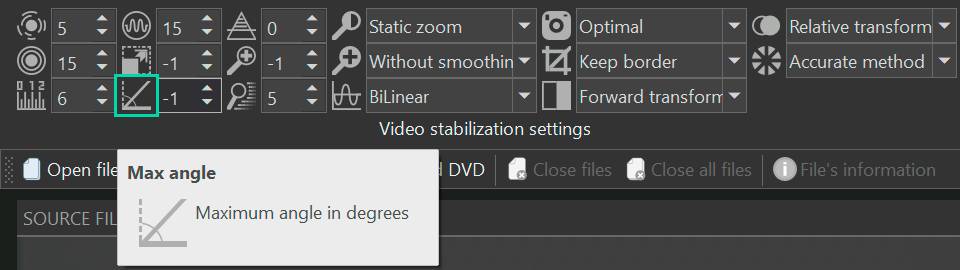
The Max Angle setting determines how many degrees the frames in a video can be rotated to fix shaky camera movement.
This is how it works:
Contrast Threshold
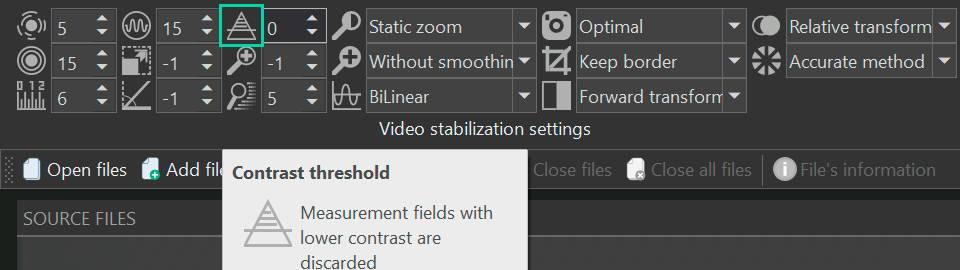
The Contrast Threshold setting determines how noticeable objects should be in the frame for the stabilizer to catch it and fix it. This parameter sets the contrast threshold that the program takes into analysis during the stabilization process.
This is how it works:
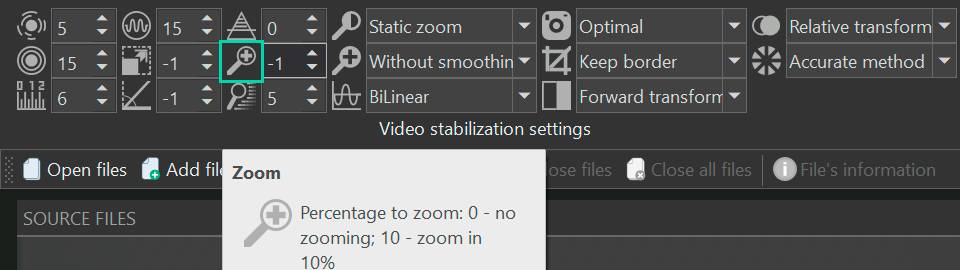
Zoom
The Zoom setting specifies by how many percent the image will be enlarged or reduced during stabilization. This means you can either zoom in (make things bigger) or zoom out (make things smaller) in the video. The Zoom effect can be cool for focusing on details or creating a specific look.
This is how it works:
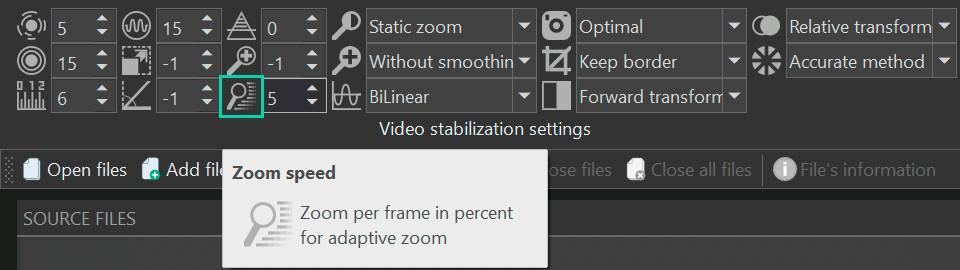
Zoom Speed
The Zoom Speed setting controls how fast the zoom changes from frame to frame during stabilization. This option helps you control how quickly the video zooms in or out from one frame to the next. It's great for making engaging and dynamic videos.
This is how it works:
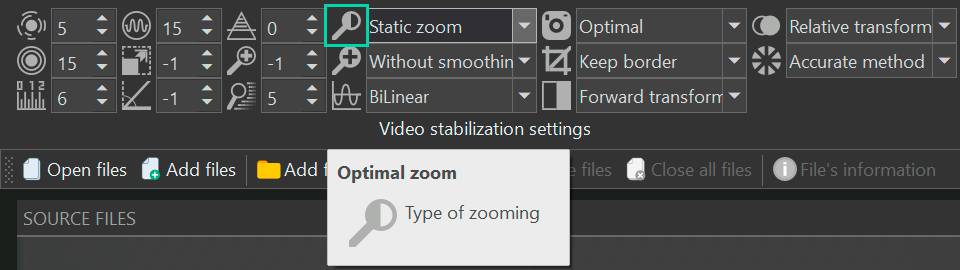
Optimal Zoom
The Optimal Zoom setting controls how the video stabilization handles zooming to avoid empty borders.
The following options are available:
It's important to note that the Optimal Zoom value interacts with the Zoom parameter, where the value set for Zoom is added to the optimal zoom value determined by this setting.
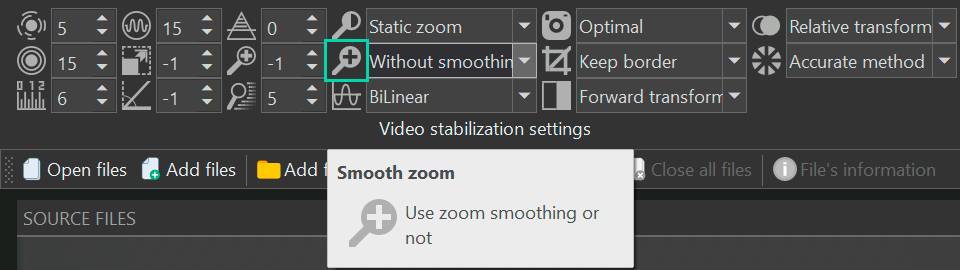
Smooth Zoom
The Smooth Zoom setting controls how zoom adjustments are handled.
The following options are available:
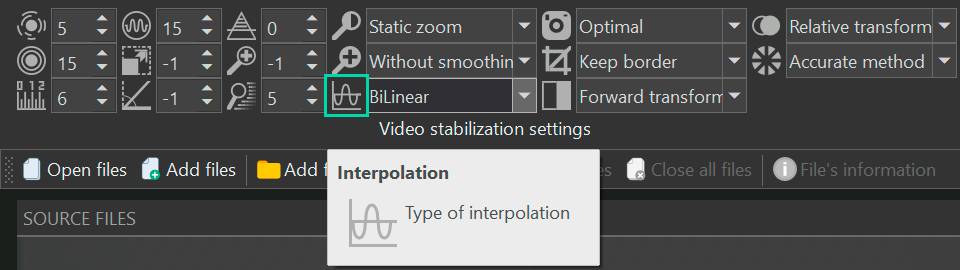
Interpolation
The Interpolation setting allows you to specify the type of interpolation used during the video stabilization process. Interpolation is a crucial aspect of video stabilization, determining how frame adjustments are made to reduce jerky motion and ensure seamless transitions between frames.
The following options are available:
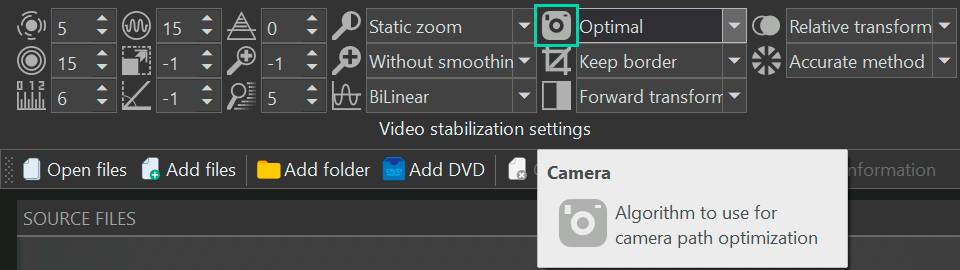
Camera
The Camera setting allows you to choose the algorithm to optimize the camera movement to reach a smoother video representation.
The following options are available:
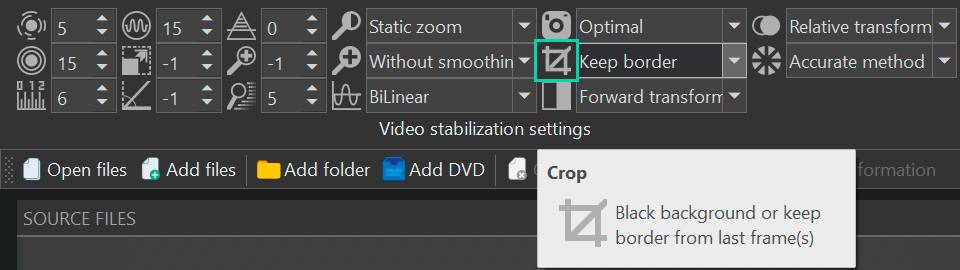
Crop
The Crop setting allows you to define how to handle empty frame borders or gaps formed during stabilization.
The following options are available:
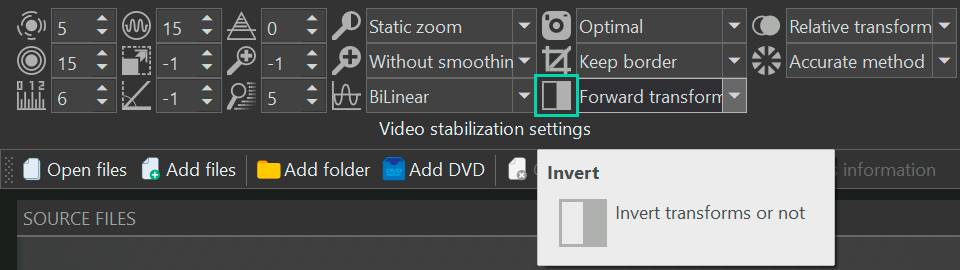
Invert
The Invert setting determines how the position of the pixel in the image will be adjusted during stabilization. There are 2 options: based on the previous frame and based on the next frame.
The following options are available:
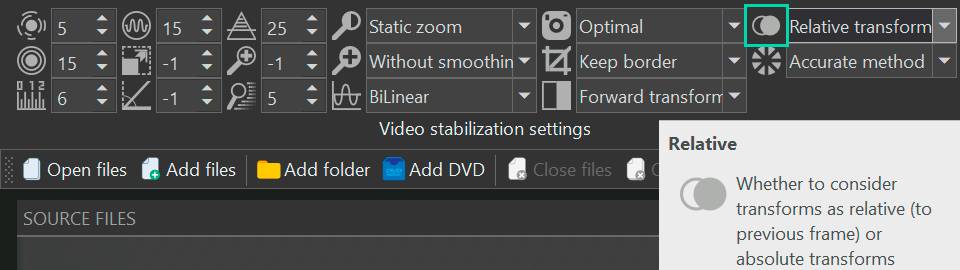
Relative
The Relative setting lets you choose whether to adjust frames based on their differences from the previous frame or independently without considering the previous frame.
The following options are available:
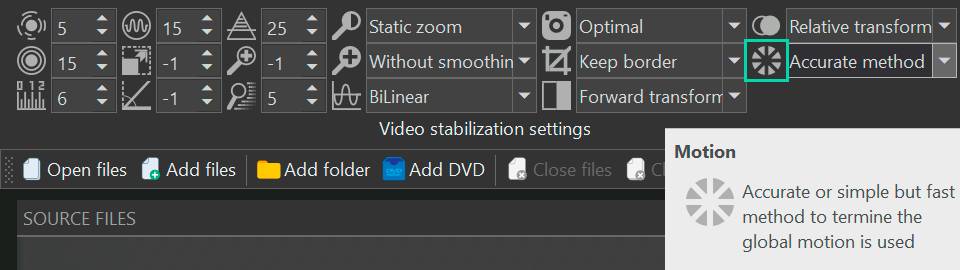
Motion
When you're fixing a shaky video, you need to know how the camera moved overall in each frame. This is called "global motion." The "Motion" setting lets you choose how to figure out this movement. There are two choices:
The following options are available:
That’s it! Now you are ready to proceed to the next step and see the result. In case you want to reset all settings to default values, simply click the Reset to defaults button next to the Export project button.
Preview and Partial Video Export
As we’ve already mentioned, the stabilization tool does not have a real-time preview. This means that the effects of the settings you apply will only be visible after you export the stabilized video. Therefore, if you are satisfied with your current settings adjustments, you can proceed to exporting by clicking on the Export project button right in the stabilization window.
However, if your video is lengthy, and you would like to assess the impact of the applied settings before exporting the entire file, you have the option to export only a shorter segment of your video. To do this, navigate to the Editor tab located on the right to the stabilization window. Here, you can use the cutting and splitting tools available to shorten your video and focus on specific sections. To learn more about cutting and splitting tools, we recommend you to watch our video tutorial.
Wrapping up
In the world of video creation, shaky footage can be a real downer, but with VSDC's Stabilization tool in your arsenal, those worries are a thing of the past. By offering a range of powerful settings that cater to your specific needs, VSDC empowers you to transform amateur videos into professional-looking masterpieces.
Whether you're a content creator sharing memories, a social media enthusiast, or a professional working on important projects, the Stabilization tool enhances your videos' quality and elevates the viewing experience. Remember, while mastering the tool might take a bit of practice, the results will undoubtedly speak for themselves. So go ahead, dive into the world of smooth, polished videos, and unlock the full potential of your creative vision with VSDC's Stabilization tool. Happy editing!
Get VSDC Free Video Editor - powerful non-linear editing software with advanced features. Perfect for YouTube creators, social media videos, and professional projects. Learn more about features.

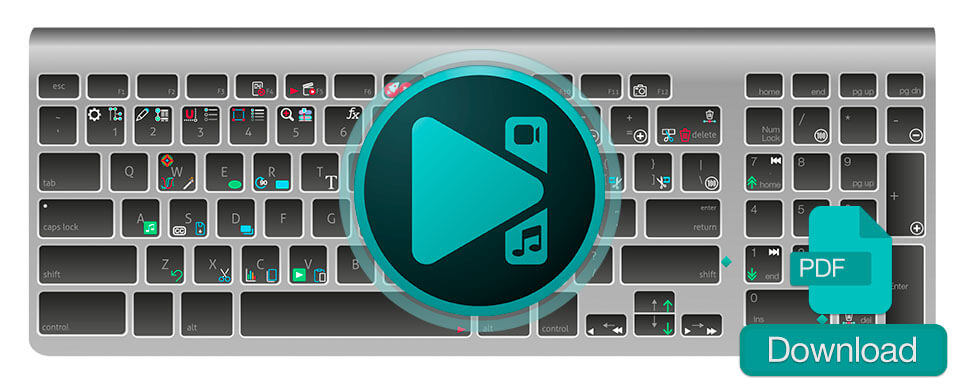
 Download hotkeys map for VSDC video editor


This program allows you to capture the video of your desktop and save it on your PC in various formats. Coupled with a video editor, the program is a great tool for creating presentations, tutorials and demo videos.

The program captures video from external devices and records it to computer in a free format. You can save video from video tuners, webcams, capture cards and other gadgets.
VSDC Video Editor Reviews & Ratings (Trustpilot, Capterra & Media)
VSDC Free Video Editor is rated 4.5/5 by real users on Trustpilot and Capterra. Here are a few reviews and quotes from creators and tech media.
Overall rating: 4.5/5 based on 200+ reviews on Trustpilot and 89 reviews on Capterra.
★★★★⯪
VSDC Free Video Editor is the best free video editor for Windows I’ve used, from color grading to picture-in-picture and cinematic results.
— Ejikeme Eloka Augustine
Source:Trustpilot
★★★★☆
Easy-to-use interface and quick export to social media make VSDC a versatile video editing tool for everyday projects.
— Karen C., E-Learning
Source:Capterra
★★★★☆
A feature-packed non-linear video editor for Windows that can compete with many paid video editing solutions.
— TechRadar
Source:TechRadar review
★★★★★
The free VSDC editor saved my YouTube channel – a powerful video editing software for chroma key, text effects and picture-in-picture.
— Paul Roberts
Source:Trustpilot
★★★★★
Fast and simple for YouTube videos with green screen, zoom, color tools and creative effects in one app.
— Marie R., Media Production
Source:Capterra
★★★★★
One of the best free video editor options for Windows users, ideal for GoPro, YouTube and family videos.
— VidProMom, YouTube creator
Source:Media reviews
★★★★★
I’ve been using VSDC for years; editing is easy and the final videos look great for my personal and professional projects.
— Long-time VSDC user
Source:Trustpilot
★★★★★
Great value and faster than many other free tools; I quickly create videos for YouTube, Instagram and Facebook with features my audience loves.
— Rabika B., Marketing & Advertising
Source:Capterra
★★★★★
VSDC offers many features you don’t usually find in free editors, including picture-in-picture, stabilization and modern codec support with no watermarks.
— Tech media review
Source:Media reviews
 Like us on Facebook
 Follow us on Twitter
Watch us on YouTube
 / @VSDCFreeVideoEditor
© 2011-2026, www.videosoftdev.com, FLASH-INTEGRO LLC. Privacy policy | Terms of use | About us
All trademarks referenced herein are the sole property of their respective owners.
Copying any materials from this site allowed only with written consent of Site Administration.