 User Help Manual
  Learn FAQ
  Send us feedback


Video Editor
Download and use the free video software to create and edit videos of any complexity from a family greeting card to a company presentation. Apply vsdc free video editor for light edit hdr-video, any raw-video formats from cams - BRAW, ProRes RAW, any high resolution 4k or more due to video proxies technologies in the editor.
Cut, merge video files, apply visual and audio effects, use filtration and image correction, make slideshows and add an appropriate soundtrack. Use multi-color Chroma Key and advanced parameters settings to give your video a professional look.
All popular video and audio formats are supported.
Video Converter
This program is intended for converting video files from one format to another. Nearly all popular video formats are supported (both reading and saving). In addition, the program drastically simplifies the task of converting videos for playback on specific multimedia devices, such as iPhone, Samsung Galaxy or Huawei P30 Pro. The program is extremely easy to use, has a modern interface and all necessary video processing functions.
Audio Converter
The audio converter will help you convert audio files from one format to another. All key audio formats and codecs are supported. The program also allows you to manage playlists and meta tags, extract audio from video files and save these tracks on your computer in any format.
Animated Intro & Title Templates
Explore the VSDC Template Store with ready-made video templates for intros, animated titles, lower thirds, logo reveals, slideshows, glitch transitions, LUTs, and color grading presets. Drop a template into the VSDC Video Editor timeline, edit text, timing, and colors, and finish professional video projects in minutes.
Choose from 300+ exclusive packs of video transitions, LUT packs, text effects, GPS telemetry widgets, animated elements, and animated backgrounds for VSDC. All templates are fully customizable, support up to 4K resolution in 16:9, and help you build intros, wedding slideshows, travel videos, and tutorials much faster.
VSDC Cloud - Online video management
Keep your work safe, organized and always accessible! Back up your video projects, store media files online and access them from any device. Enjoy collaboration, share project updates and exchange files easily.
 Video Editor
 Video Converter
 Audio Tools
 Templates store
 Cloud
Cloud

Multifunctionality
A wide array of multimedia processing tools in one free video software suite.

High speed
Our programs use fast
and high-quality algorithms optimized for single and multi-core CPU’s.

Affordability
VSDC video software is freely available for download to Windows OS-based PCs and laptops.
News:
- Published by Amy Shao on June 30, 2026 Meet the new major update ...
- Published by Amy Shao on March 11, 2026 What is the best gift for...
- published Amy Shao 11/19/25 Meet the long-awaited VSDC 10.2 update: a new ve...
- Hi, I'm Mattea Wharton, a travel videographer from Seattle. For three years I ba...
How to edit video colors in VSDC: a quick tutorial
Working with colors in a video is a huge and exciting topic. Typically, you would think of color correction either for practical reasons or for a creative calling. Sometimes you need a quick fix because the footage has been recorded with issues - poor light, gloomy day, wrong camera setup. Other times you might want to get artsy and just play with the colors, achieve a certain style or an atmosphere in your video.
There are solutions for each case. It all depends on your level of experience and the time you’re willing to invest in the process. In the tutorial below, we’ll show you how to quickly edit colors of a video using Instagram-style filters, LUTs, and standard manual color adjustments in VSDC – a free video editor for Windows OS. We’ll also teach you to change the color of an object in a video or a photo.
Download VSDC Free Video Editor
If you’re looking for more professional-level color correction techniques, check out our tutorials on working with RGB curves and Hue & Saturation color wheel.
How to edit video colors in one click: LUTs and Instagram-style filters
Let’s start with the easy part. If you have no particular color-related issues in the video and simply want to make it pop with a beautiful color combination, you’ll love quick filters available in VSDC.
Here is how to apply one-click Instagram-style filters to your video:
- Click on the video you want to correct.
- Open the Quick style menu at the top of the program interface.
- Click on any style to get real-time preview. Every applied style will be displayed in the menu in a light-gray frame confirming that the style has been selected.
- To deselect a chosen style, click on it once again. To remove all the applied styles, click on the corresponding button at the top left corner of the Quick style menu.
As you can see, there are 37 filters for you to play with including a selection of old movie styles and blurs. You can apply multiple styles to the same video and even create templates to apply the same combination to other files.
Next comes the set of LUTs. LUTs are one of those magic tools that make your poorly colored video look like a major motion picture. Technically, a LUT (look-up table) is a set of pre-selected color parameters the software will apply to your video or an image to make it look a particular way.
LUTs are widely used by videography professionals. There are 10 of them already configured and available in VSDC, plus you can find LUT packs online to download them to your computer and apply through the editor.
Here is how to find the corresponding menu:
- Click on the necessary video with the right mouse button.
- Select Video Effects --> Adjustments --> LUT.
- In the next tab on the timeline, you’ll find a LUT1 layer. Click on it with the right mouse button and select Properties.
- The Properties window will slide in from the right-hand side.
- Click on the LUT effect settings and select any of the available options while checking the result in the preview window.
How to change video colors by adjusting contrast, saturation, and other parameters
If you want to edit video colors manually by adjusting its brightness, temperature, contrast, and other parameters, you’re welcome to do so. Just go the Video Effects tab, scroll down to Adjustments and select the set of parameters you need to change.
Tutorial: Show Color Correction in a Beautiful Way
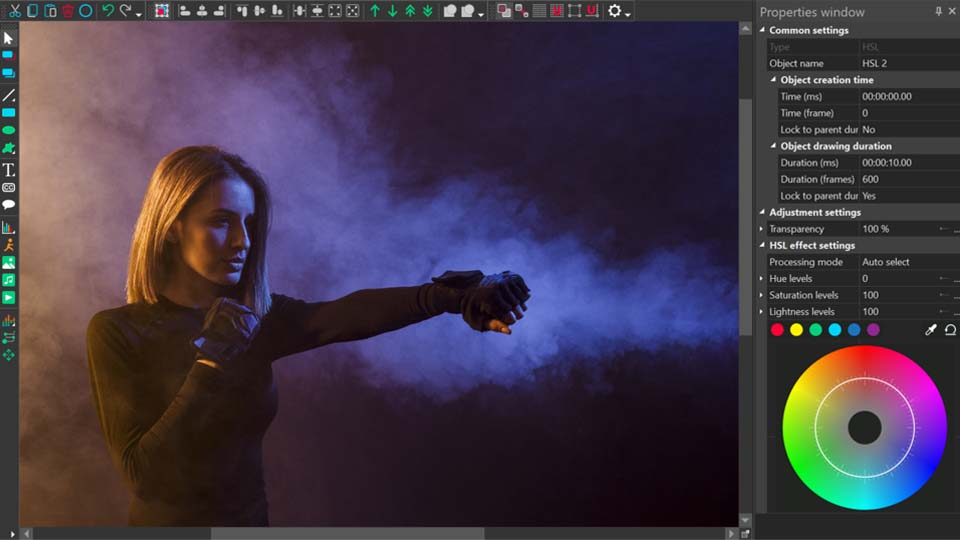
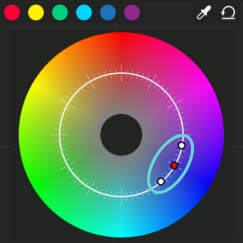
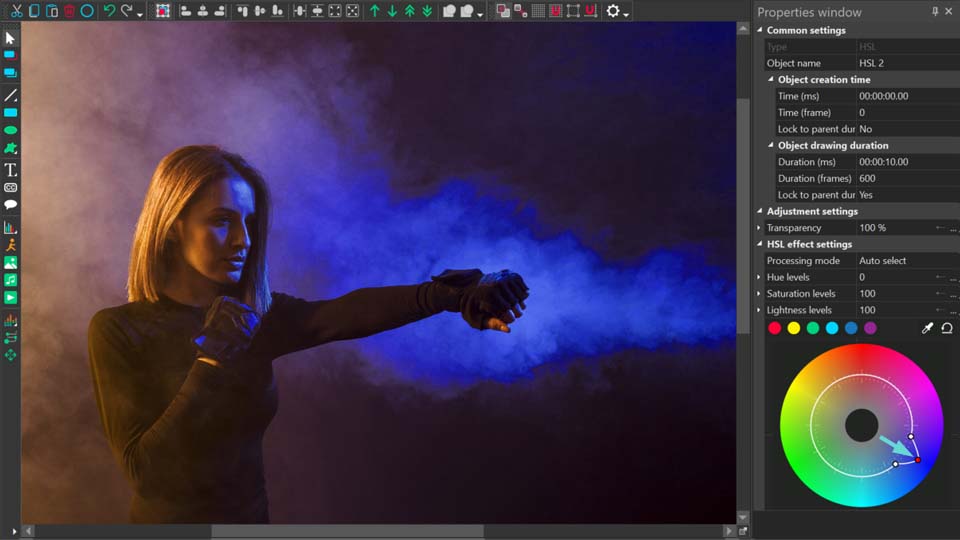
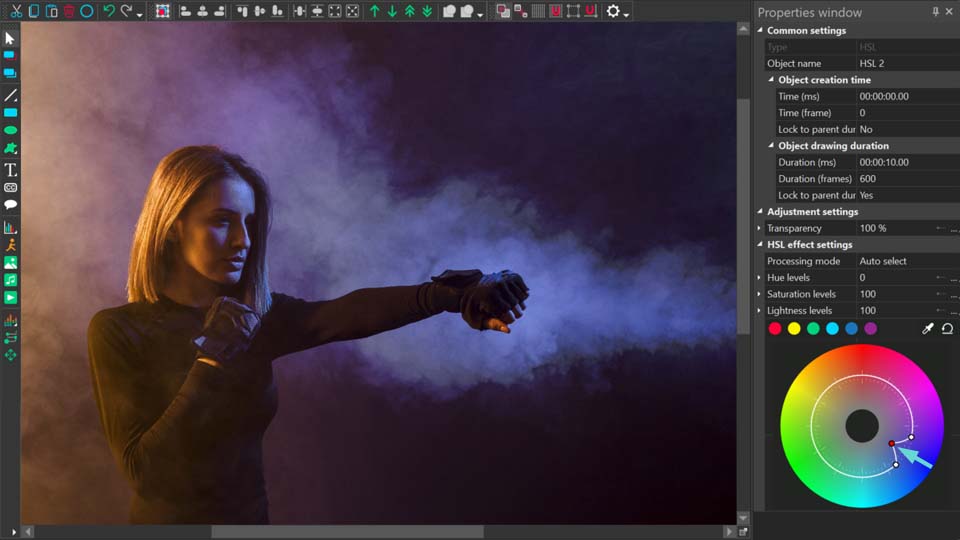
Say, you want to change Hue and Saturation levels. Once you select this option from the menu, you’ll notice a new tab with an HSV 1 layer on the timeline. Click the layer with the right mouse button and select Properties from the menu. The Properties window will slide in from the right-hand side. Find “HSV effect settings” and manually change the levels as it’s demonstrated in the video above.
How to change the color of an object in a video or in an image
In the last part of this tutorial, we’ll teach you to change the color of an object in a video using a tool called Gradient. Gradient allows you to make a gradual blend between various colors. Naturally, you can apply the same effect to photos as demonstrated below. Below, there is a video guide and text instructions for you to follow.
How to change image or video color with gradient tool in VSDC Free Video Editor
Step 1. Add an image or a video to the editor.
Step 2. Create a shape using the left-hand side menu and place it over the area you’re planning to edit. In this case, we use the Ellipse, but there is also a Rectangle and a “Free shape” adjustable to any form. The shape will serve as a mask and define the area color correction will be applied to.
Step 3. When you add a shape to the scene, go to the upper menu and select an ellipse style #3 - a colored one without borders.
Step 4. Make a double click on the ellipse layer and add one more ellipse to separate the area you’ll apply gradient color correction to – just like illustrated below.
Step 5. Go to the Properties window on the right and choose to paint background color black. Note: it’s the intersection of these two ellipses that will be visible in the end.
Step 6. Now go to the Blending menu on the left-hand side of the timeline and select “Inverted mask” – you’ll instantly see which area you’ll be working with.
Step 7. Go to the main scene (Tab “Scene 0”), highlight the ellipse and go to the Properties window to select Gradient from the dropdown “Fill background” menu.
Step 8. Open “Gradient settings” and select the appropriate gradient type. Try applying different colors and changing the direction of the gradient vector.
Step 9. Check different blending modes to get the result you had in mind.
Please note that the “Inverted mask” tool is only available in VSDC Pro version that is $19.99 per year. The rest of the video color changing tools and filters described in this tutorial are available for free.
You can get more information about the program on Free Video Editor' description page.
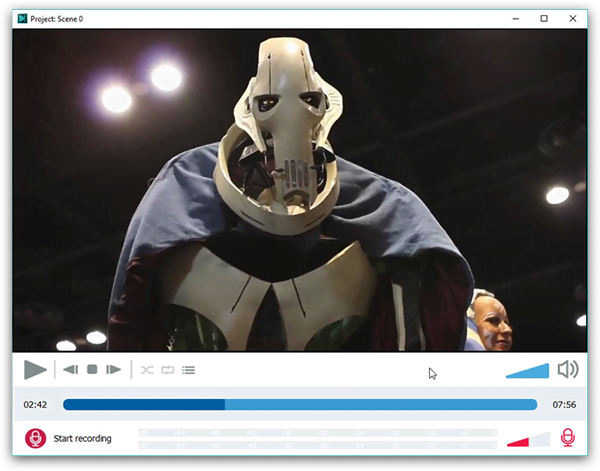
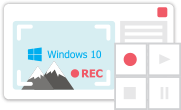
This program allows you to capture the video of your desktop and save it on your PC in various formats. Coupled with a video editor, the program is a great tool for creating presentations, tutorials and demo videos.

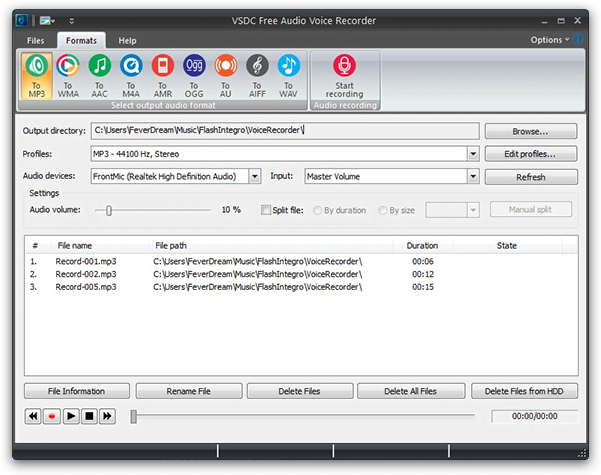
The program captures video from external devices and records it to computer in a free format. You can save video from video tuners, webcams, capture cards and other gadgets.
VSDC Video Editor Reviews & Ratings (Trustpilot, Capterra & Media)
VSDC Free Video Editor is rated 4.5/5 by real users on Trustpilot and Capterra. Here are a few reviews and quotes from creators and tech media.
Overall rating: 4.5/5 based on 200+ reviews on Trustpilot and 89 reviews on Capterra.
★★★★⯪
VSDC Free Video Editor is the best free video editor for Windows I’ve used, from color grading to picture-in-picture and cinematic results.
— Ejikeme Eloka Augustine
Source:Trustpilot
★★★★☆
Easy-to-use interface and quick export to social media make VSDC a versatile video editing tool for everyday projects.
— Karen C., E-Learning
Source:Capterra
★★★★☆
A feature-packed non-linear video editor for Windows that can compete with many paid video editing solutions.
— TechRadar
Source:TechRadar review
★★★★★
The free VSDC editor saved my YouTube channel – a powerful video editing software for chroma key, text effects and picture-in-picture.
— Paul Roberts
Source:Trustpilot
★★★★★
Fast and simple for YouTube videos with green screen, zoom, color tools and creative effects in one app.
— Marie R., Media Production
Source:Capterra
★★★★★
One of the best free video editor options for Windows users, ideal for GoPro, YouTube and family videos.
— VidProMom, YouTube creator
Source:Media reviews
★★★★★
I’ve been using VSDC for years; editing is easy and the final videos look great for my personal and professional projects.
— Long-time VSDC user
Source:Trustpilot
★★★★★
Great value and faster than many other free tools; I quickly create videos for YouTube, Instagram and Facebook with features my audience loves.
— Rabika B., Marketing & Advertising
Source:Capterra
★★★★★
VSDC offers many features you don’t usually find in free editors, including picture-in-picture, stabilization and modern codec support with no watermarks.
— Tech media review
Source:Media reviews
 Like us on Facebook
 Follow us on Twitter
Watch us on YouTube
 / @VSDCFreeVideoEditor
© 2011-2026, www.videosoftdev.com, FLASH-INTEGRO LLC. Privacy policy | Terms of use | About us
All trademarks referenced herein are the sole property of their respective owners.
Copying any materials from this site allowed only with written consent of Site Administration.