- published Amy Shao 11/19/25 Meet the long-awaited VSDC 10.2 update: a new ve...
- Hi, I'm Mattea Wharton, a travel videographer from Seattle. For three years I ba...
- published Amy Shao 6/10/25 The wait for something new and unusual is finally...
- This holiday season embraces new beginnings with the latest update of VSDC Video...
How to create a picture-in-picture video using VSDC editor
A picture-in-picture video effect (or as many people call it, “PiP”) is one of the most popular ones. And you see it on TV all the time! News, TV shows, sports programs – PiP videos are widely used for different purposes. So, if you’re trying to find out how to create one, you in the right place. You’ll be able to do it within 10 minutes or probably even less.

The truth is, this effect is so easy to replicate, you can use practically any non-linear video editor. We’ll show you how to do it in VSDC because it’s completely free and already well-known as an easy-to-use pip video editing software among the beginners. So, let’s get started.
First, if you’re on Windows, download VSDC to your computer. If you’re on Mac, this tutorial isn’t for you, unfortunately, and we recommend you considering iMovie as a picture-in-picture video editor for your OS.
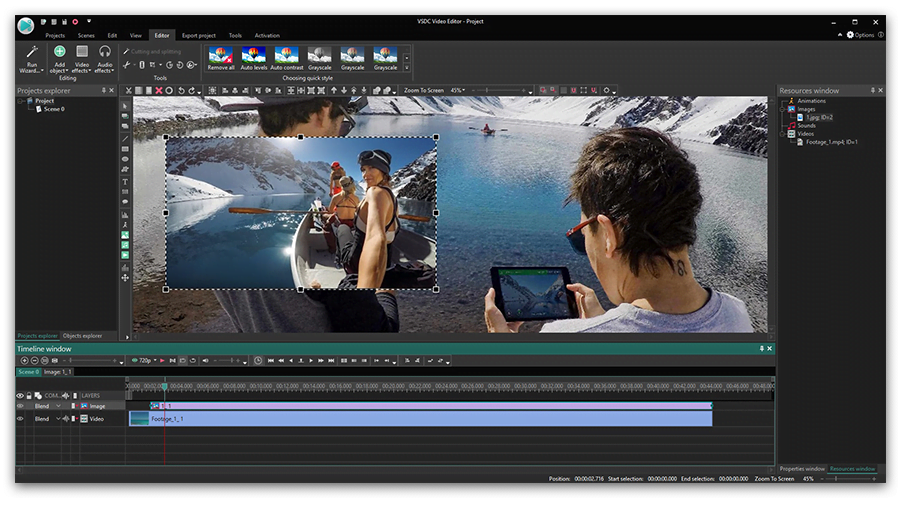
Now, let’s go ahead to the process of actual editing. When you launch the program, start a blank project and import the two objects you want to have in the scene. Use the round green “Add object” button from the top menu. These can be videos, images, or a mix – depending on what you have in mind for your little movie.
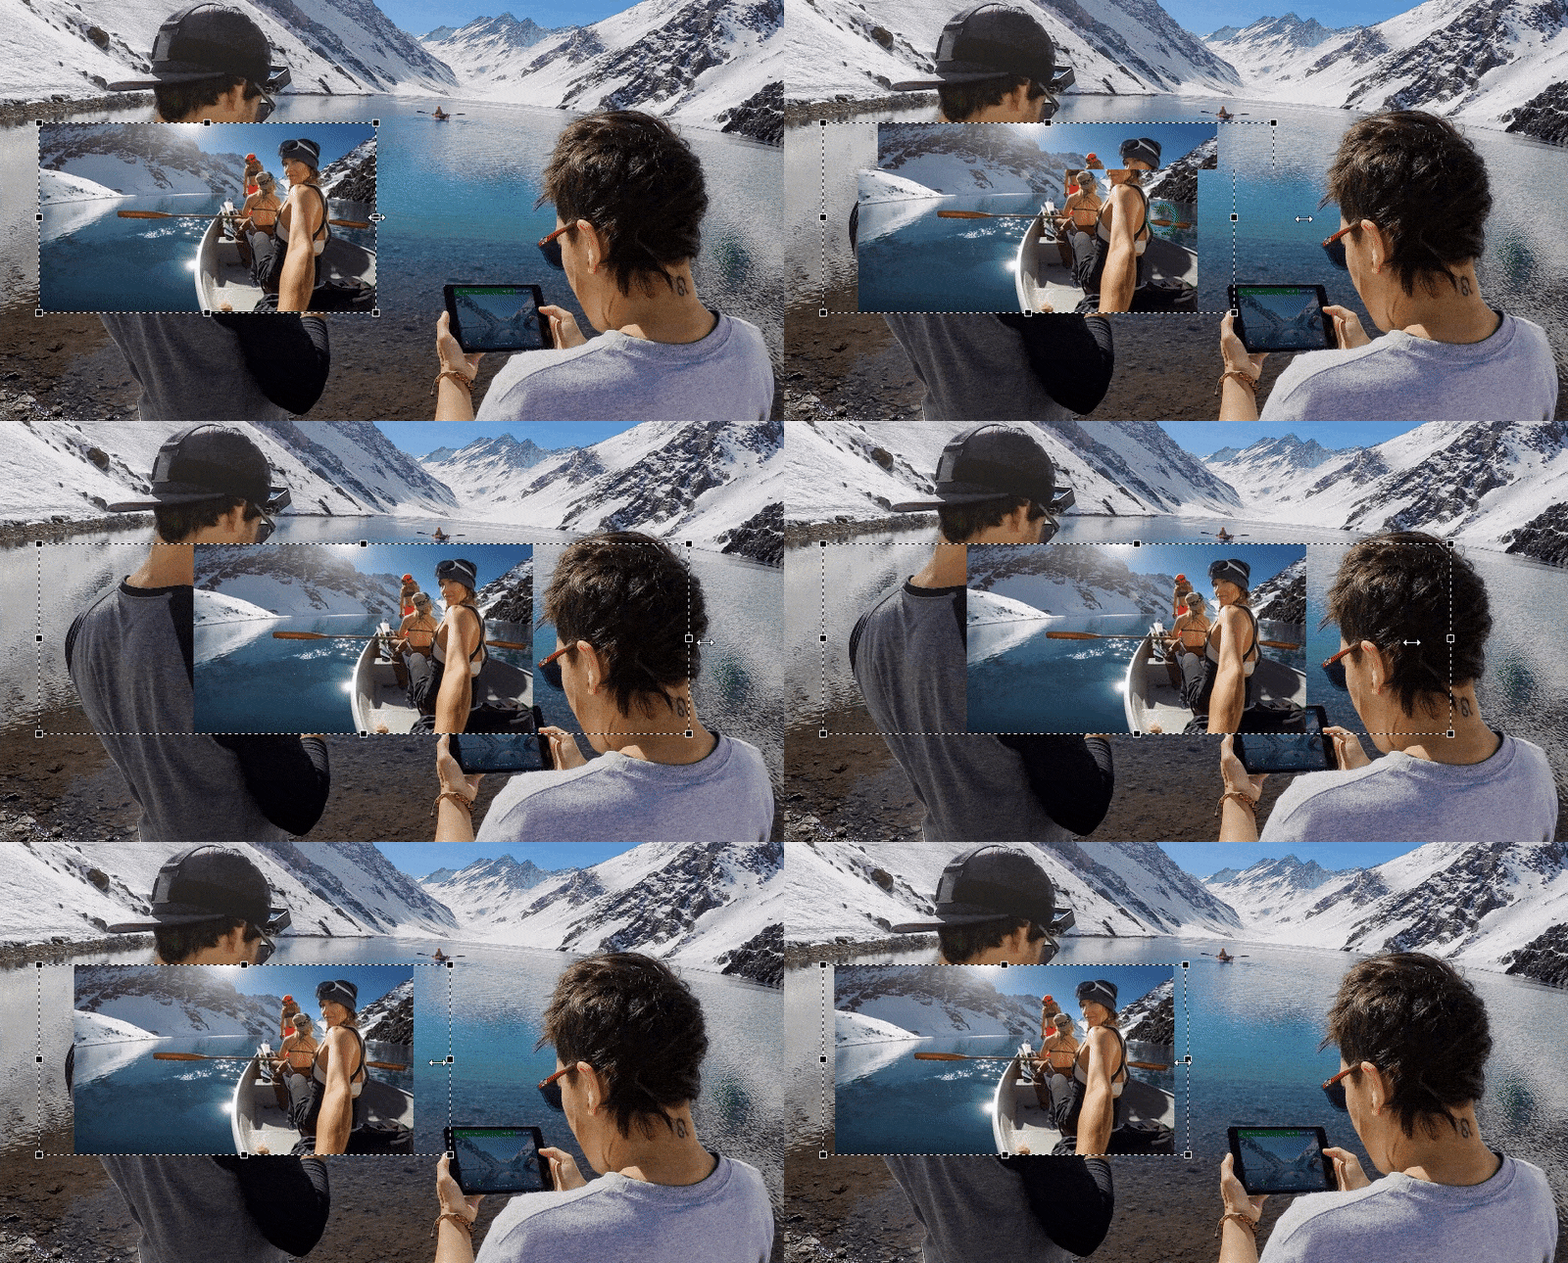
Once the objects are added to the scene, you can drag them around, resize them, and place them any way you want. Just keep in mind that by default the object you add first will serve as a background, while the second object will stay in the front. If you’ve mistakenly added them in the wrong order – no worries, you can just click on any object with the right mouse button to change the order.

Click on the Preview button to make sure everything looks the way you wanted. You’ll see that both videos will be played simultaneously. And basically, this is it. Now you know how to apply the famous picture in picture video effect so go ahead and play around to get the hang of it! If you want to learn more, below, we’ll show you a couple of settings you may try along the way.
How to set up object appearance time for a picture in picture video
As you probably have guessed, there is no limit to how many objects you’ll have placed in the scene – it’s all up to you. You may want, however, to fine-tune the way the front pictures appear – especially if they are supposed to stay temporarily in the scene or change one another. Here is how to do it.
Your video objects are placed on the timeline, below the working area. Left-click on the one you want to work with and drag it to the moment it is supposed to appear. For example, in the illustration below, Video #2 will appear exactly 2 seconds after Video #1 starts playing.

Note that you can also set up the exact duration of the front object. Once you click on it, you’ll see the Properties window on the right. “Object drawing duration” is where you decide how long it will stay in the scene.
PiP video editing: how to make the objects in the front appear smoothly
Finally, let’s see how to add a more professional look to the picture in picture video. We suggest checking out the set of video effects and transitions. The most popular and naturally-looking way for the front video/image to appear and disappear is probably fading but feel free to experiment with other effects and transitions as well.
To apply a particular effect to the object – say, you want it to “fade in” – click on the object and go to the Video Effects tab. Proceed to Transparency – Fade In. The effect will be applied automatically.
Now that you’ve got the idea, we hope you’ll create awesome videos using the picture-in-picture effect and VSDC Video Editor. Drop us a message on Facebook if you have any questions!
If you didn’t quite catch it from the text instruction, here is a detailed video how-to for you. Enjoy!
You can get more information about the program on Free Video Editor' description page.