")


Video Düzenleyici
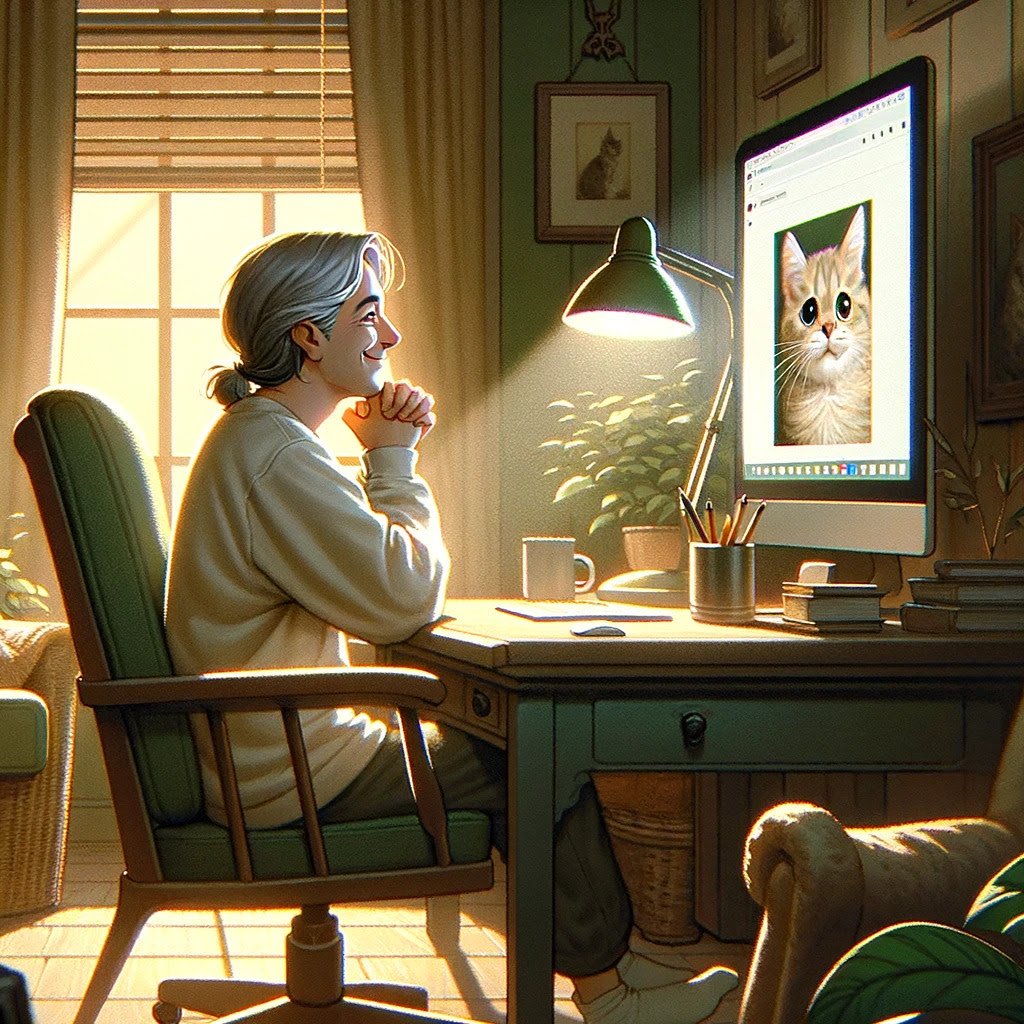
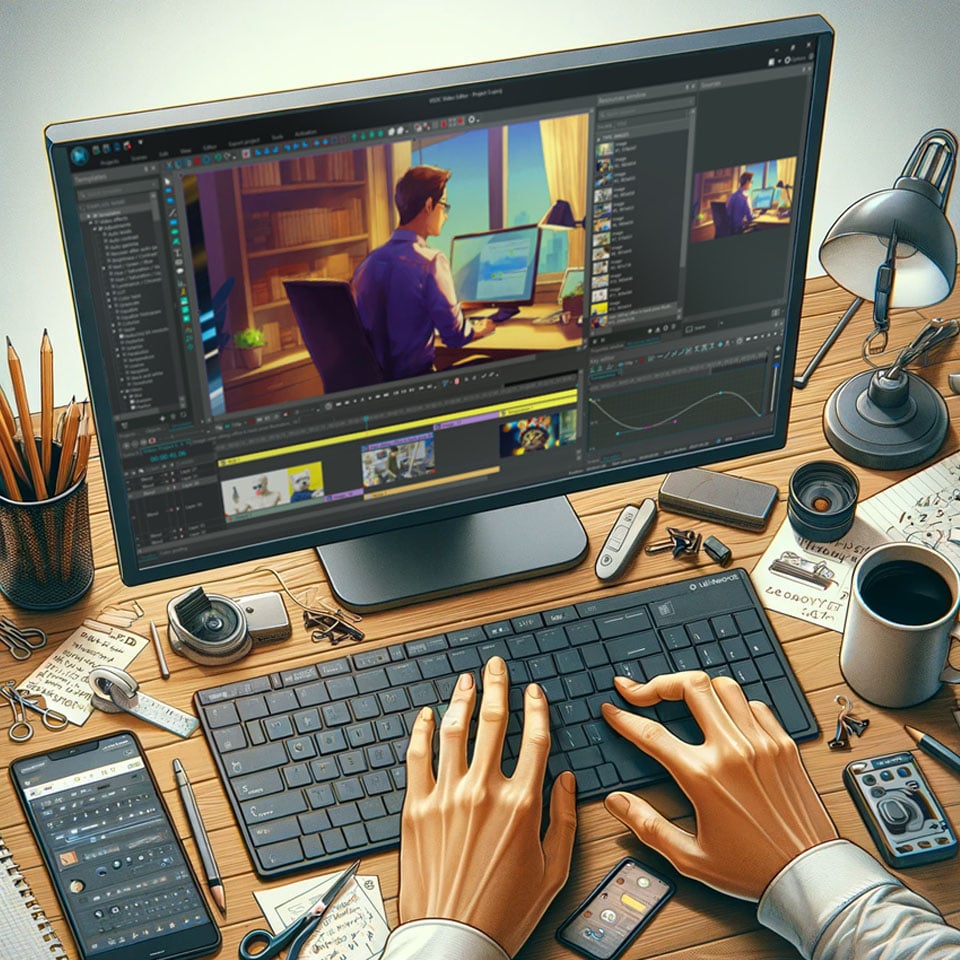
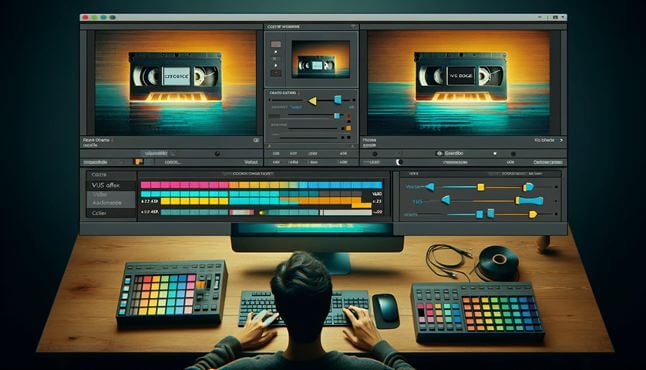
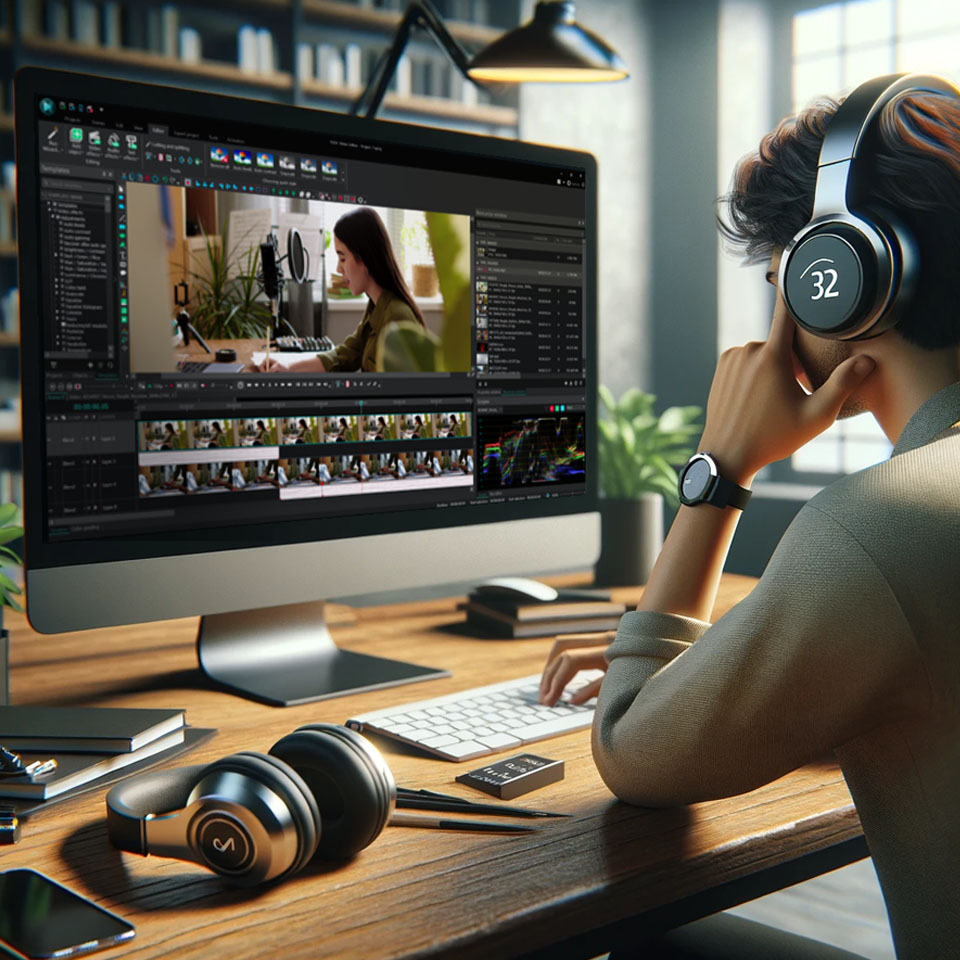
Aile tebrik kartından şirket sunumuna kadar her türlü karmaşıklıkta videolar oluşturmak ve düzenlemek için ücretsiz video yazılımını kullanın. Video dosyalarını kesin, birleştirin, görsel ve ses efektleri uygulayın, filtreleme ve görüntü düzeltme kullanın, slayt gösterileri yapın ve uygun bir film müziği ekleyin. Videonuza profesyonel bir görünüm kazandırmak için çok renkli Renk anahtarı ve gelişmiş parametre ayarlarını kullanın. Tüm popüler video ve ses formatları desteklenir.
Video Dönüştürücü
Bu program video dosyalarını bir biçimden diğerine dönüştürmek için tasarlanmıştır. Hemen hemen tüm popüler video biçimleri (hem okuma hem de kaydetme) desteklenir. Ayrıca iPhone, Huawei P30 Pro veya Samsung Galaxy gibi belirli multimedya cihazları için videolar oluşturmak da mümkündür. Programın kullanımı son derece kolaydır, modern bir arayüze ve gerekli tüm video işleme fonksiyonlarına sahiptir.
Ses Dönüştürücü
Bir ses dönüştürücü kullanarak ses dosyalarını bir biçimden diğerine dönüştürebilirsiniz. Tüm önemli ses biçimleri ve codec bileşenleri desteklenir. Program ayrıca çalma listelerini ve meta etiketlerini yönetmenize izin verir, ayrıca video dosyalarından sesi dışa aktarmak ve parçaları herhangi bir biçimde bilgisayarınıza kaydetmeniz de mümkündür.
Ses CD’si Yakalayıcı
Bu ses aracı kompakt disklerden ses parçalarını kopyalamaz ve bunları seçtiğiniz herhangi bir biçimde bilgisayarınıza kaydetmek için tasarlanmıştır. Neredeyse tüm popüler ses biçimleri ve codec bileşenleri desteklenir. Program ayrıca dosyaları otomatik olarak yeniden adlandırma ve meta etiketleri güncelleme için parça ayrıntılarını FreeDB sunucusundan ayıklayabilir.
 Video Editor
 Video Dönüştürücü
 Ses Dönüştürücü
 Ses CD’si Yakalayıcı

Çok işlevsellik
Tek bir ücretsiz video yazılım paketinde çok çeşitli multimedya işleme araçları

Yüksek hız
Programlar hızlı, optimize edilmiş çok işlemcili algoritmalar kullanır.

Kullanılabilirlik
VSDC video yazılımı, Windows işletim sistemi tabanlı tüm bilgisayarlarda ve cihazlarda ücretsiz olarak indirilebilir.
News:
- published Amy Shao 6/10/25 Yeni ve sıradışı bir şey için bekleyiş nihayet sona...
- Bu tatil sezonu, VSDC Video Editörü'nün en son güncellemesiyle yeni başlangıçlar...
- Değişim, gelişim demektir ve bu süreç sizlerin geri bildirimleri olmadan mümkün ...
- Giriş 2024 yılında görsel efekt oluşturma seçenekleri son derece çeşitli ve en...
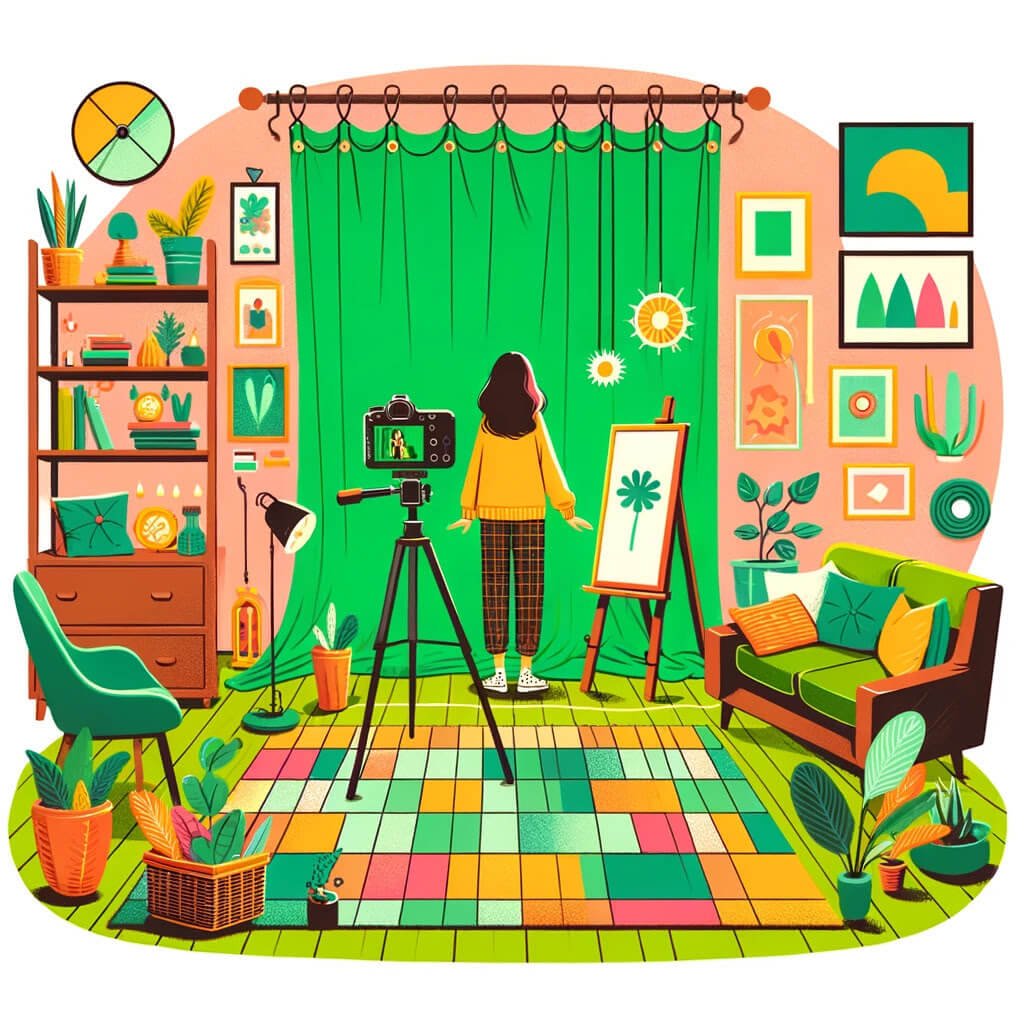
Yeşil Ekran Videoları Nasıl Yapılır
Yeşil ekran sihrini artık sadece büyük bütçeli filmler veya TV stüdyoları kullanmıyor. İnanın ya da inanmayın, yeşil ekran veya kromakey ile havalı efektler yaratmak sizin de yapabileceğiniz bir şey. Ve bunun için çok para ya da pahalı ekipmana ihtiyacınız yok. İhtiyacınız olan tek şey bir akıllı telefon veya webcam, biraz yeşil kumaş, doğru düzenleme yazılımı ve biraz bilgi.
Kendi yeşil ekran videolarınızı yapmaya dalış yapmadan önce, temelleri ele alalım. Yeşil ekran nedir ve neden bir tane kullanmak istersiniz? Bu teknik, bir zamanlar sadece derin ceplere sahip olanlara sınırlıyken, şimdi tüm seviyelerdeki yaratıcıların ulaşabileceği bir seviyede, videolarınıza harika arka planlar ve efektler eklemenizi sağlıyor. Rehberimiz, baştan sona nasıl yapılacağını göstermek için burada, kendi evinizden bile yaratıcı fikirlerinizi hayata geçirmeyi kolaylaştırıyor.
Önemli Noktalar
- Kromakey teknolojisinin temellerini anlama.
- Optimal sonuçlar için bir yeşil ekran nasıl kurulur öğrenme.
- Video prodüksiyonunda yeşil ekran kullanımını ustalaşma.
- Kesintisiz video içeriği oluşturmak için yeşil ekran görüntülerini düzenleme.
- Yazılım tavsiyeleri.
- SSS Bilgileri.
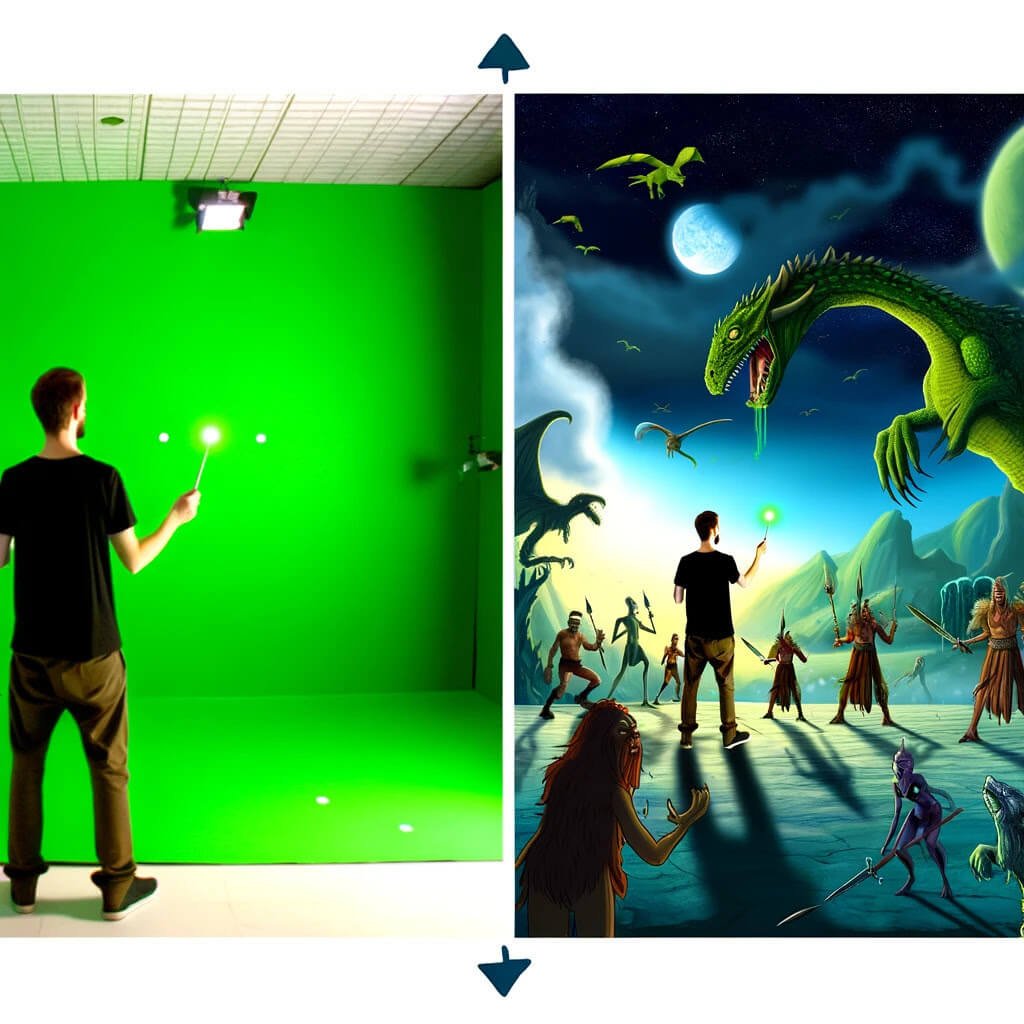
Kromakey Nedir?
Kromakey, videolarınıza istediğiniz herhangi bir arka planı eklemenize izin veren havalı bir hiledir. En yaygın kullanılan renk yeşildir, ancak çekimin özgün gereksinimlerine ve konunun rengine bağlı olarak mavi ekranlar da popülerdir. Bu teknik, gerçek hayatta imkansız ya da pahalı olacak sahneleri yaratmayı mümkün kılar.
Kromakey Nasıl Çalışır?
Kromakey, yeşil veya mavi arka planı kaybolur yaparak, istediğiniz herhangi bir arka planı koyma imkanı verir. Yeşil renk cilt tonlarıyla eşleşmediği için harika çalışır, bu da insanları arka plandan kolayca ayırmayı sağlar. En önemli şeyler, her şeyin son videoda pürüzsüz görünmesi için eşit aydınlatma ve katı renkli bir arka plana sahip olmaktır.
Yeşil Ekran Nasıl Yapılır
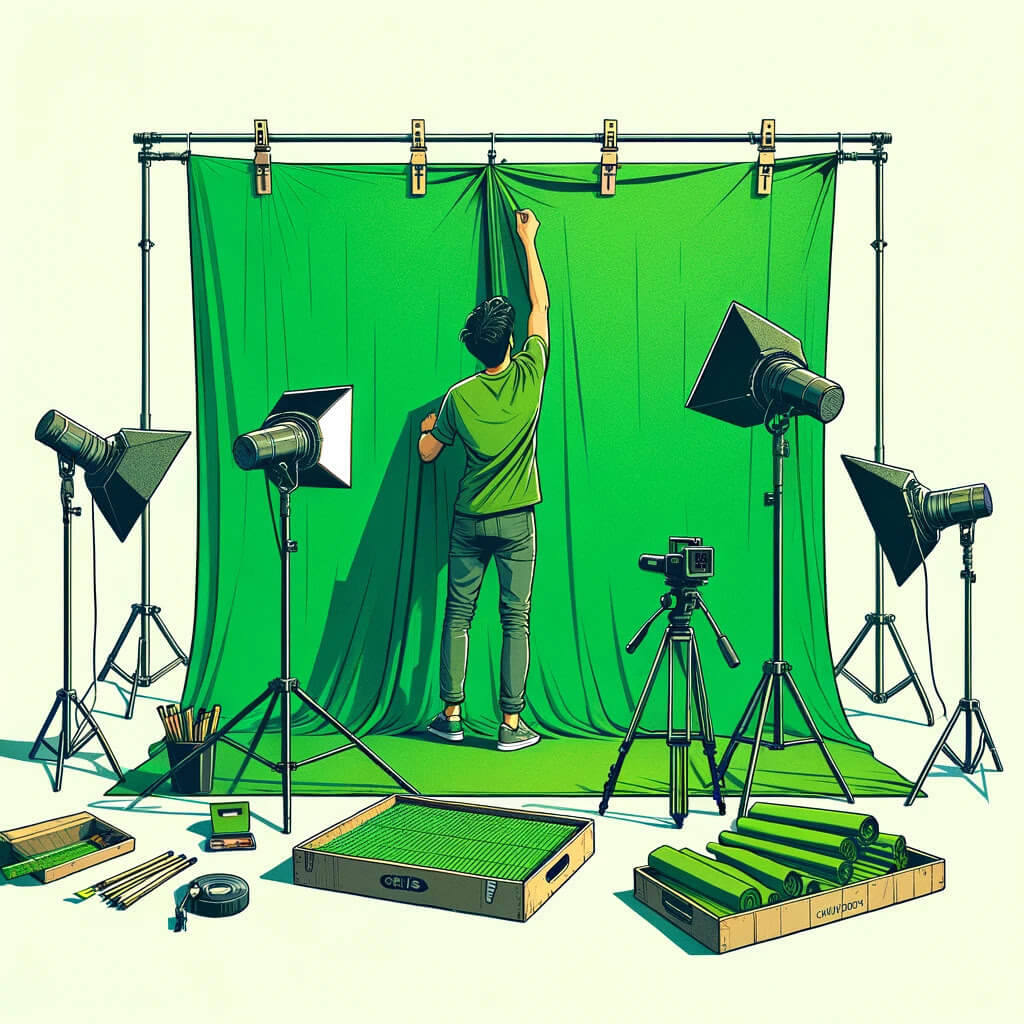
Kendi yeşil ekranınızı kurmak için ihtiyacınız olanlar:
- Yeşil Fon: Parlak ve katı yeşil olduğu sürece herhangi bir şey işe yarar—kumaş, boya veya kağıt.
- Aydınlatma: Yeşil ekranın eşit şekilde aydınlatıldığından emin olun, gölgeleri önlemek için.
- Alan: Yeşil renkten kaynaklanan yansımaları önlemek için konu ile yeşil ekran arasında bir miktar mesafe bırakın.
Yeşil Ekran Nasıl Kullanılır
Yeşil ekran kullanmak basittir:
- Kırışıklık veya gölgeler olmayan iyi aydınlatılmış bir alanda kurun.
- Renk sızıntısını önlemek için kişiyi veya nesneyi ekrandan birkaç fit uzakta yerleştirin.
- Konuyu iyi ama yeşil ekrandan ayrı olarak aydınlatın.
- Çekiminizi kurarken son arka planın nasıl görüneceğini düşünün.
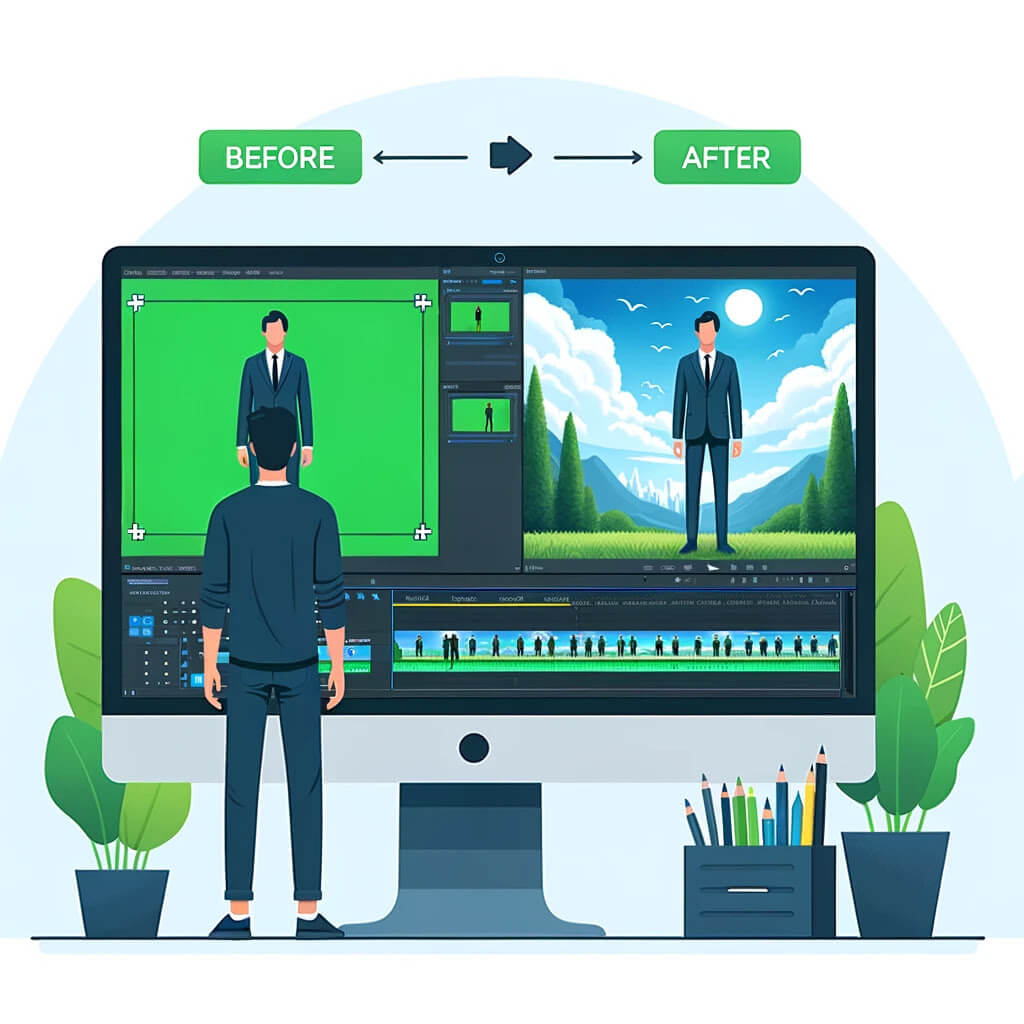
Yeşil Ekran Videoları Nasıl Düzenlenir
Yeşil ekran görüntülerini düzenlemek, yaratıcı vizyonunuzu gerçekten hayata geçirdiğiniz yerdir. Süreç genellikle birkaç ana adımdan oluşur:
- Videonuzu, kromakey özelliğini destekleyen bir düzenleme yazılımına aktarın.
- Yeşil arka planı kaldırmak ve şeffaf hale getirmek için kromakey efektini uygulayın.
- Konunuzun arkasına istediğiniz yeni arka planı yerleştirin.
- Yeni arka planla sorunsuz bir karışım sağlamak için konunuzun etrafındaki kenarları ayarlayın.
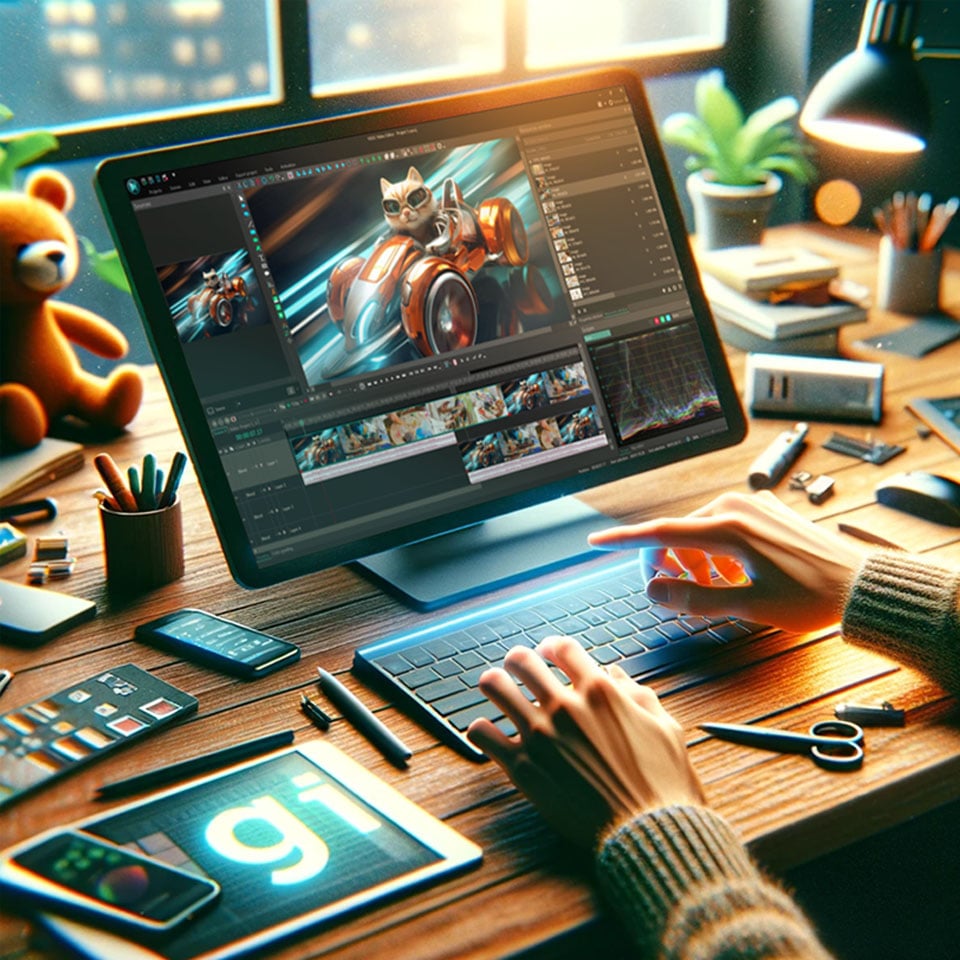
Bu işlem için Adobe Premiere Pro gibi profesyonel araçlardan iMovie gibi daha kullanıcı dostu uygulamalara kadar birçok yazılım seçeneği mevcut olsa da, VSDC Free Video Editor'u bunlar arasında en iyi seçenek olarak özellikle tavsiye ediyoruz. VSDC, zengin özellikleriyle ve erişilebilirliğiyle dikkat çekerek, yeşil ekran düzenleme için en üst sıradaki tercihimiz oluyor. VSDC VSDC, yeşil ekran videosu nasıl yapılır konusunda kapsamlı bir rehber sunar.
VSDC, kromakey sürecini sadece basitleştirmekle kalmaz, aynı zamanda videonuzu daha da geliştirmek için araçlar sağlar, örneğin renk düzeltme, filtreler ve özel efektler. Bu, minimum çaba ile profesyonel görünümlü yeşil ekran videoları oluşturmanın her şeyi bir arada çözümüdür.
Sonuç
Yeşil ekran videoları yaratmak, içeriğinizi yükseltebilir ve yaratıcı olanakların bir dünyasını açabilir. Kromakeyin temellerini anlayarak, yeşil ekranınızı doğru bir şekilde kurarak ve düzenleme sürecini ustalaşarak, pahalı bir stüdyo olmadan profesyonel görünümlü videolar üretebilirsiniz. Free Video Editor, bu süreçte öne çıkan bir seçenek olarak ortaya çıkıyor, ileri düzey özellikler ve kullanıcı dostu işlevselliklerin mükemmel bir karışımını sunuyor. Kapsamlı düzenleme araçları, hassas bir kromakey işlevi dahil, yaratıcıların çeşitli arka planları sorunsuz bir şekilde entegre etmelerini sağlayarak projelerinizin sadece cilalı görünmesini değil, gerçekten izleyiciyi büyülemesini sağlar. Pratik yapma ve yaratıcılıkla, tek sınır hayal gücünüzdür.
SSS
Yeşil ekran videoları yapmak için şık bir stüdyoya ihtiyacım var mı?
Hayır, şık bir stüdyoya ihtiyacınız yok. Bazı temel ekipmanlar ve bilgilerle neredeyse her alanda bir yeşil ekran kurabilirsiniz. Uygun aydınlatma ve uniform bir yeşil arka plan en önemli faktörlerdir.
Yeşil ekran düzenleme için en iyi yazılım nedir?
VSDC Free Video Editor, yeşil ekran düzenleme için en üst seçenek olarak öne çıkıyor, bunun nedeni ise doğrudan arayüzü ve kapsamlı özellikleri. Adobe Premiere Pro veya Final Cut Pro gibi yazılımların karmaşıklığı veya maliyeti olmadan, VSDC, hassas kromakey aracı ve çeşitli video formatları için desteği ile profesyonel görünümlü videolar yaratmayı basitleştiriyor, böylece tüm yaratıcılar için erişilebilir ve son derece çok yönlü hale geliyor.
Yeşil ekranı herhangi bir düzenleme deneyimi olmadan kullanabilir miyim?
Evet, önceden düzenleme deneyiminiz olmadan yeşil ekran kullanmaya başlayabilirsiniz. Birçok düzenleme programı, başlangıç seviyesindeki kullanıcılar için erişilebilir olan, doğrudan ve kullanıcı dostu kromakey özellikleri sunar. Çevrimiçi dersler ve pratik yapmak zamanla becerilerinizi geliştirmenize yardımcı olacaktır.


 VSDC Video Düzenleyici 9.1'i İndirin
Bu program ile masaüstünüzün video videosunu çekebilir ve bilgisayarınıza çeşitli biçimlerde kaydedebilirsiniz. Bir video düzenleyiciyle eşleştirilmiş program, sunumlar ve demolar oluşturmak için idealdir.

Program, dış aygıtlardan video yakalar ve ücretsiz bir biçimde bilgisayara kaydeder. Video tarayıcılardan, web kameralardan, yakalama kartlarından ve diğer araçlardan da video kaydedebilirsiniz.

"VSDC Ücretsiz Video Düzenleyici her ne kadar alışılmadık bir video düzenleyici olsa da şaşırtıcı derecede güçlü"
- PC Advisor

"Bu video düzenleyici size tonlarca kontrol ve düzenleme gücü veriyor"
- CNet

"Bu video düzenleyici tüm popüler video formatlarını destekler ve çok çeşitli özelliklere sahiptir. Aydınlatma seviyesini değiştirebilir, videoları birleştirebilir, filtreler ve geçişler uygulayabilirsiniz"
- Digital Trends
© 2011-2025, www.videosoftdev.com, FLASH-INTEGRO LLC. Gizlilik politikası | Kullanım koşulları | Hakkımızda
Burada atıfta bulunulan tüm ticari markalar, ilgili sahiplerinin mülkiyetindedir.
Bu siteden herhangi bir materyalin kopyalanmasına yalnızca Site Yönetiminin yazılı onayı ile izin verilir.