 User Help Manual
 ")


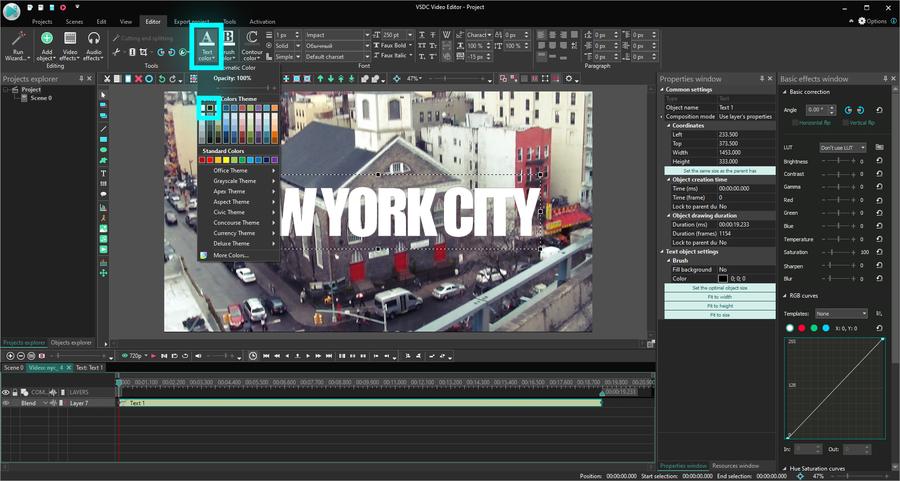
Editor Video
L'editor video consente di modificare file e creare video di qualsiasi complessità. Potete applicare effetti video e audio effects ad oggetti modificati, trasformarli, applicare filtri e correzioni d'immagini. Tutti i popolari formati video e audio sono supportati (sia lettura che salvataggio).
Convertitore Video
Questo programma serve a convertire video file da un formato ad un altro. Quasi tutti i popolari formati video sono supportati. Inoltre, il programma semplifica drasticamente il compito di convertire video da riprodurre su determinati dispositivi multimedia quali iPhone, Microsoft Zune oppure Archos. Il programma è semplicissimo da usare, dispone di una moderna interfaccia e di tutte le necessarie funzioni per processare i video.
Convertitore Audio
Il convertitore audio vi aiuterà a convertire file audio da un formato ad un altro. Tutti i formati audio e codec chiavi sono supportati. Il programma vi consente inoltre di gestire playlist e meta tags, di estrarre audio dai file video e di salvare queste tracce sul vostro computer in qualsiasi formato.
Audiograbber
Questo strumento audio serve a catturare tracce audio dai CD e di salvarle nel computer dell'utente in qualsiasi formato. Quasi tutti i popolari formati e codec sono supportati. Il programma è inoltre in grado di estrarre dettagli di tracce dal server FreeDB al fine di rinominare automaticamente il file e di aggiornare i meta tag.
 Editor Video
 Convertitore Video
 Convertitore Audio
 Audiograbber

Versatilità
Più strumenti contemporaneamente per elaborare file video e audio in una singola applicazione.

Alta velocità
I nostri programmi
impiegano rapidi algoritmi di alta qualità per processori singoli a multipli.

Accessibilità
I nostri prodotti sono disponibili per essere scaricati gratuitamente su tutti i computer e dispositivi che supportano i sistemi operativi Windows.
Notizie:
- È giunto il momento: siamo felici di presentarvi l'attesissimo aggiornamento VSD...
- Benvenuti all'ultimo aggiornamento di VSDC, la versione 8.3! Abbiamo lavorato so...
- Oggi la popolarità dei contenuti video sta guadagnando terreno e molti utenti si...
- Nel mondo digitale di oggi la creatività regna sovrana. Offre infinite possibili...
Come rallentare un video in VSDC: Guida per l’effetto slow-motion perfetto
«Ditemi lo avevano avuto in slow motion!» - urla il carattere di Deadpool dopo una scena d’azione lunga intensa. E questo fa un senso perfetto perché quando registrate gli eventi importanti che succedono alla velocità alta, forse volete rallentare il video dopo per mostrare ogni dettaglio di una scena. Inoltre grazie ai media ora sappiamo che le tonnellate delle cose quotidiane casuali - come gocce d’acqua e reazioni dell’uomo - sembreranno fantastici se li catturate in un video di slow-motion. Quindi c’è l’interesse così alto per l’effetto.
Se cercate un editor video gratis con l’effetto di slow motion a bordo, questo tutorial è per voi. Vi mostreremo come applicarlo nel software chiamato VSDC. Funziona su Windows ed è assolutamente gratis.
Scaricare editor video gratis VSDC prima di cominciare
Come rallentare un video/ applicare l’effetto video di slow motion
Per trasformare un video regolare a slow-mo tutto che dovete fare - ridurre la velocità della riproduzione. Alcuni editor video solo vi permettono di cambiare la velocità da un fattore 2, 4, 8 o 16. Al contrario VSDC ha le impostazioni della riproduzione molto flessibili e potete applicare i cambi della velocità usando qualsiasi incremento che volete. Seguite la nostra guida passo dopo passo e vedete da voi stessi:
- Importate il filmato a VSDC editor video
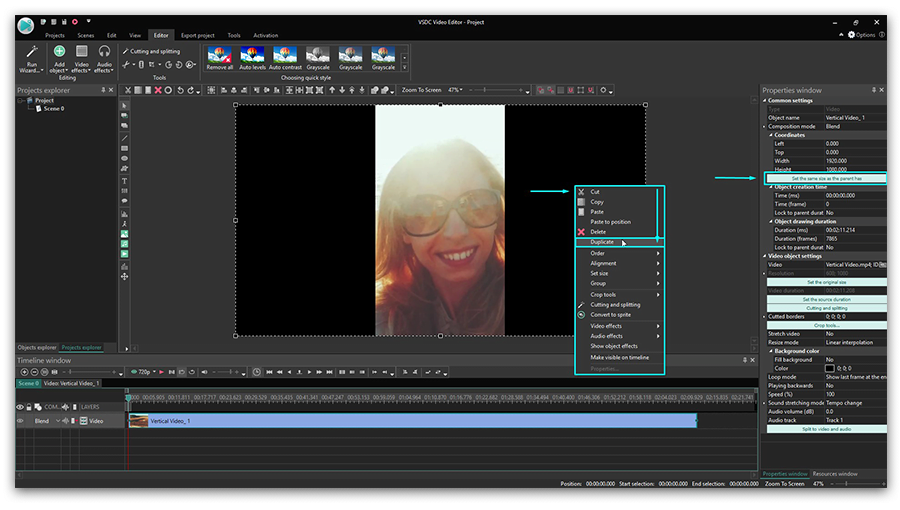
- Se solo volete avere una parte del video in slow motion, dovrete dividere il file e separare questo frammento dalla parte principale. Se volete avere tutto il video in slow-mo, saltate a passo #4.
- Il modo più rapido da dividere un file video è usare il «rasoio» situato nell’accesso rapido del menù «Tagliare e dividere» in alto. Solo postate il cursore della cronologia al momento desiderato e fate un clic sull’icona Dividere. Ripetete per ottenere i frammenti video multipli se è necessario.
- Scegliete il frammento dove volete che il video rallenti.
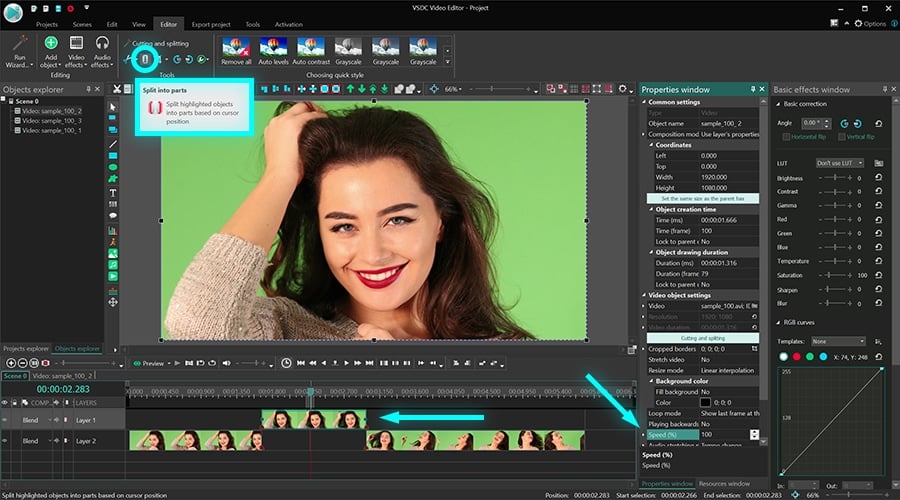
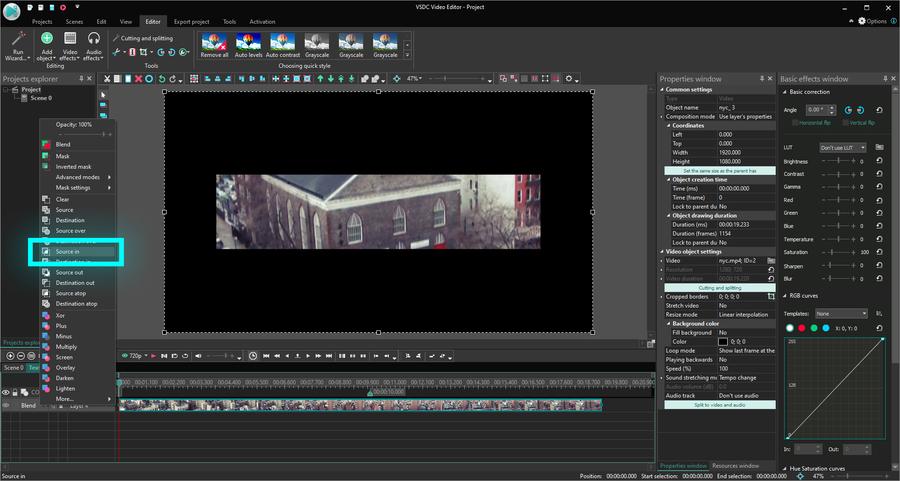
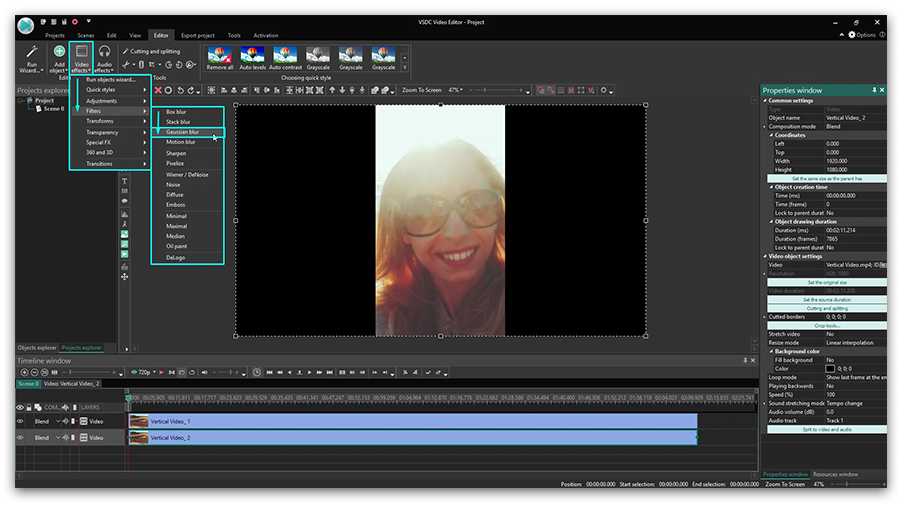
- Andate alla finestra Proprietà a destra. Se non la vedete, fate un clic sul frammento video con il pulsante destro del mouse e scegliete Proprietà.
- Scorrete fino al menù alla sezione Velocità come è illustrato sotto.
- Diminuite la velocità del video gradualmente e usate il pulsante rosso Anteprima per vedere il risultato delle vostre azioni.

Il modo il quale applicate un effetto di slow motion in un editor video è abbastanza semplice. Ridurre la velocità da 50% implica che il vostro video rallenterà da un fattore 2. Se mettete 25% della velocità - sarà 4 volte più lento che il video originale, ecc.
Perché dovete applicare reframing a video con slow-motion e come farlo
Se riducete la velocità della riproduzione più di 50% potete notare che il video sta diventando agitato. Succede perché il tasso di frame nel video è caduto drasticamente. Quando rallentate il video più di 50% il numero di frame per secondo è anche caduto a 50%. Nelle altre parole il filmato diventa «allungato» nel tempo. Questo significa ci sono ora i divari tra i frame e possono creare questo effetto di balbuzie indesiderato. Per prevenire questo raccomandiamo di applicare reframing.
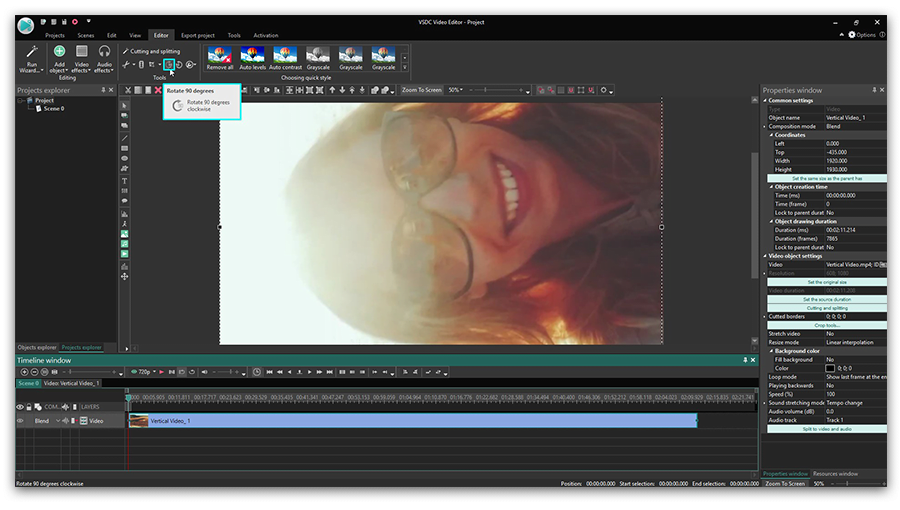
Per applicare reframing espandeteil menu le impostazioni della velocità con un clic sul pulsante con la forma del triangolo.

Ci sono due modalità di reframing disponibili in VSDC: Miscelazione e Flusso ottico. Sono alimentate dagli algoritmi diversi e producono i risultati diversi un po’. Di regola il Flusso ottico è sempre una opzione migliore the garantisce un effetto di slow-motion perfettamente liscio. L’unica causa perché forse non vorrete usare è la mancanza di RAM sul vostro computer. Il Flusso ottico è basato agli algoritmi di AI e richiede più fonti del computer quindi se avete una macchina di fascia bassa solo attaccate a Miscelazione.
Per sapere più potete leggere la nostra guida dettagliata come usare le modalità di reframing.
Concludiamo
Ora sapete come rallentare un video, ecco qui sono i due consigli per voi.
Prima è un’idea buona di fare i frammenti di slow-motion una parte della vostra storia, però resistete a creare tutto il video in slow-mo. Non importa quanto vi piace l’effetto, troppo di esso può essere non efficace per tenere l’attenzione dei vostri spettatori.
Secondo tenete a mente che quando rallentate un video, questo influenza anche l’audio. E a volte può essere divertente e appropriato, ma per molte volte è assurdità assoluta. Per questo forse volete considerare di silenziare la traccia audio originale e creare una sovrapposizione d’audio. Dicono la musica classica funziona bene con i video di slow-mo!
*Avete i problemi quando dividete il vostro file video? Vedete la nostra istruzione dettagliata come dividere video.
Vi piace questo tutorial? Abbiamo più trucchi da montare video per aiutarvi di creare un progetto di film fantastico. Li guardate:

Con questo programma è possibile registrare i video dal desktop e salvarli sul computer in diversi formati. Insieme al video editor è ideale per creare presentazioni e demo.

Il programma serve per catturare video da dispositivi esterni e e per registrarli sul computer in qualsiasi formato video. Potete salvare il video da sintonizzatori video, webcam, schede di acquisizione e vari dispositivi.

"VSDC Free Video Editor is a surprisingly powerful, if unconventional video editor"
- PC Advisor

"This video editor gives you tons of control and editing power"
- CNet

"The editor handles many common formats and boasts a good deal of capabilities when it comes time to alter lighting, splice video, and apply filters and transitions in post production"
- Digital Trends
© 2011-2024, www.videosoftdev.com, FLASH-INTEGRO LLC. Tutela della privacy | Condizioni di utilizzo | Chi siamo
Tutti i marchi citati nel presente documento sono di proprieta esclusiva dei rispettivi proprietari.
La copia di qualsiasi materiale da questo sito e consentita solo con il consenso scritto dell'amministrazione sito.