 User Help Manual
 ")


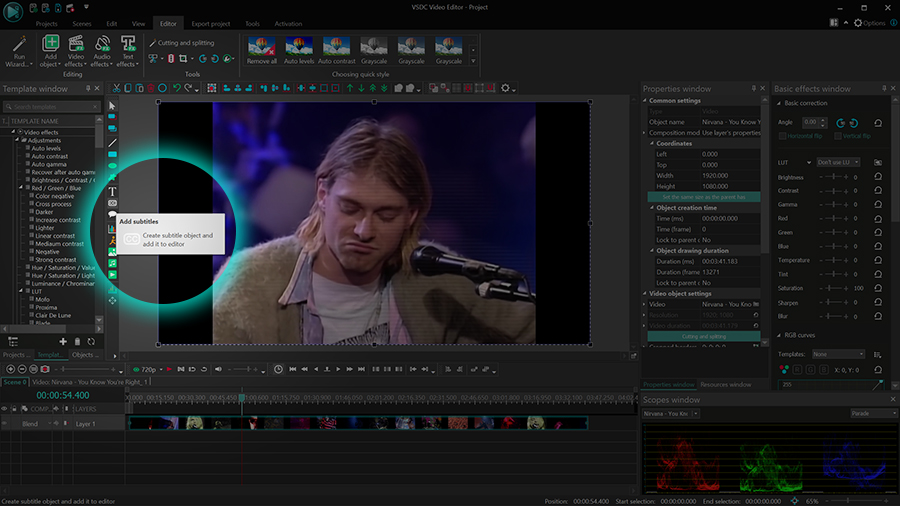
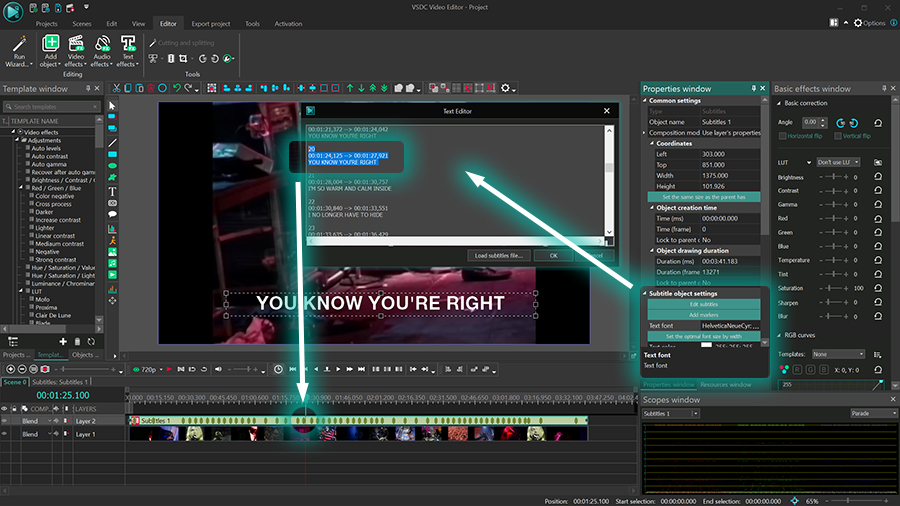
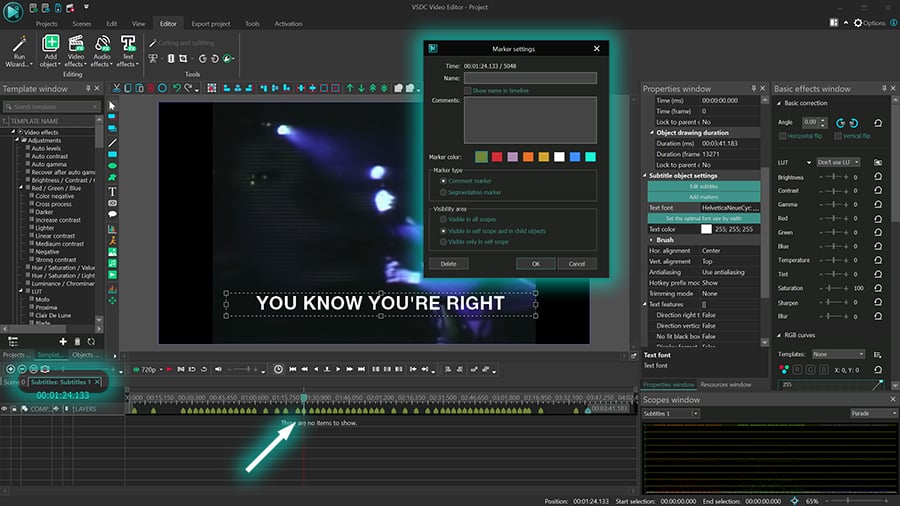
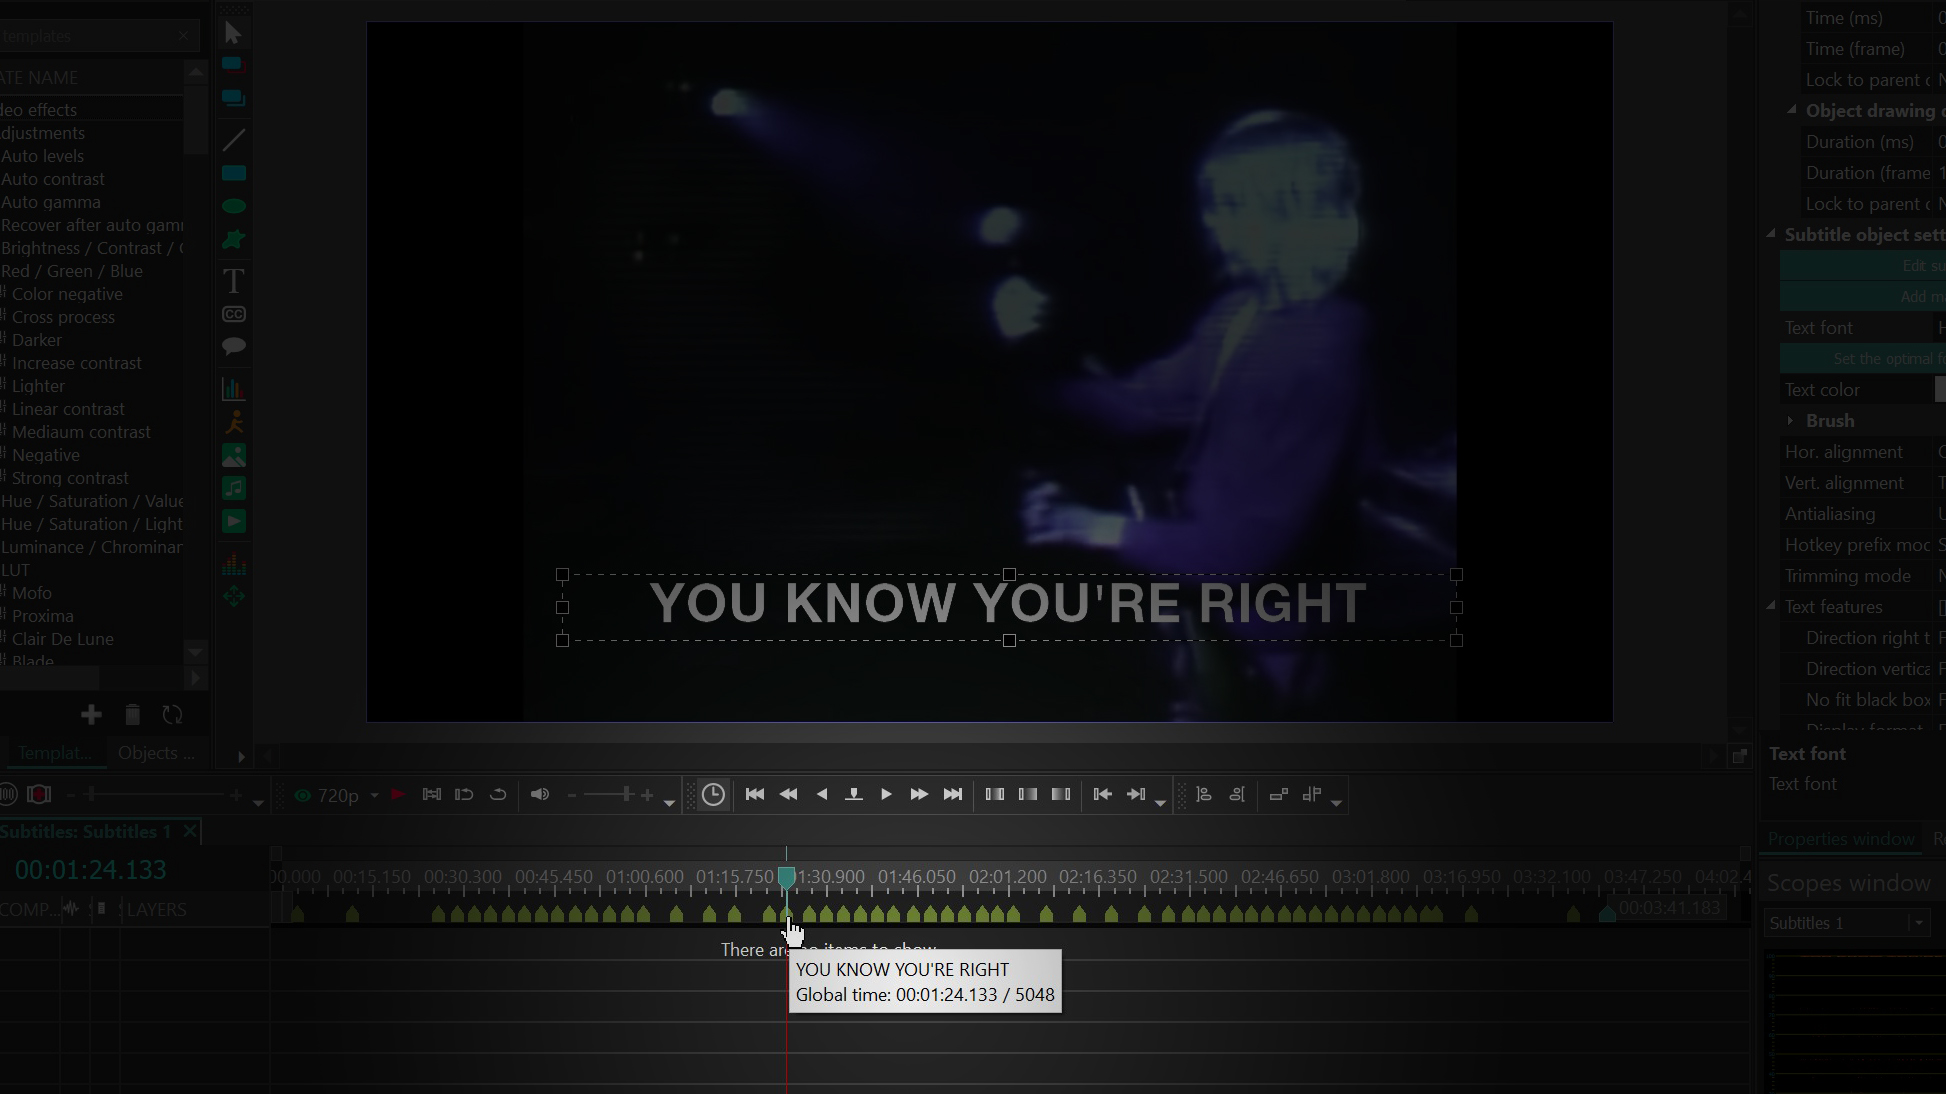
Editor Video
L'editor video consente di modificare file e creare video di qualsiasi complessità. Potete applicare effetti video e audio effects ad oggetti modificati, trasformarli, applicare filtri e correzioni d'immagini. Tutti i popolari formati video e audio sono supportati (sia lettura che salvataggio).
Convertitore Video
Questo programma serve a convertire video file da un formato ad un altro. Quasi tutti i popolari formati video sono supportati. Inoltre, il programma semplifica drasticamente il compito di convertire video da riprodurre su determinati dispositivi multimedia quali iPhone, Microsoft Zune oppure Archos. Il programma è semplicissimo da usare, dispone di una moderna interfaccia e di tutte le necessarie funzioni per processare i video.
Convertitore Audio
Il convertitore audio vi aiuterà a convertire file audio da un formato ad un altro. Tutti i formati audio e codec chiavi sono supportati. Il programma vi consente inoltre di gestire playlist e meta tags, di estrarre audio dai file video e di salvare queste tracce sul vostro computer in qualsiasi formato.
Audiograbber
Questo strumento audio serve a catturare tracce audio dai CD e di salvarle nel computer dell'utente in qualsiasi formato. Quasi tutti i popolari formati e codec sono supportati. Il programma è inoltre in grado di estrarre dettagli di tracce dal server FreeDB al fine di rinominare automaticamente il file e di aggiornare i meta tag.
 Editor Video
 Convertitore Video
 Convertitore Audio
 Audiograbber

Versatilità
Più strumenti contemporaneamente per elaborare file video e audio in una singola applicazione.

Alta velocità
I nostri programmi
impiegano rapidi algoritmi di alta qualità per processori singoli a multipli.

Accessibilità
I nostri prodotti sono disponibili per essere scaricati gratuitamente su tutti i computer e dispositivi che supportano i sistemi operativi Windows.
Notizie:
- published Amy Shao 6/10/25 L'attesa per qualcosa di nuovo e straordinario è ...
- Questa stagione festiva inaugura nuovi inizi con l'ultimo aggiornamento di VSDC ...
- Il cambiamento è sinonimo di miglioramento, e questo processo non sarebbe possib...
- Introduzione Nel 2024 la gamma di opzioni per creare effetti visivi è incredib...
Come fare uno schieramento video usando montaggio di strati multipli
Abbiamo parlato molto dei vantaggi di usare gli editor non lineari nelle nostre guide. Uno dei benefici più grandi per i creatori è la capacità di postare alcuni filmati nella stessa scena e montarli nello stesso tempo. L’effetto schieramento video è un esempio perfetto di questo.
Siccome la cronologia di VSDC fornisce un numero illimitato delle tracce video, potete facilmente fare uno schieramento video che consiste di 4, 9, 16 o qualsiasi numero delle sezioni. In questo tutorial vi mostreremo esattamente come fare uno schieramento video per il vostro progetto passo dopo passo. Questo effetto è anche comunemente conosciuto come un video wall o un collage video. Sentite liberi di guardare il tutorial video prima e poi saltate alla versione di testo.
Passo 1. Create un progetto della dimensione richiesta
Lanciate VSDC editor video sul vostro computer e usate l’opzione Progetto vuoto per creare un progetto nuovo. Per uno schieramento video 2x2 o 3x3 raccomandiamo di usare le impostazioni del progetto seguenti: Full HD 1080p o UHD 4K risoluzione e il rapporto di aspetto 16:9.

Il filmato che importerete nel passo seguente allungherà automaticamente al rapporto di aspetto che avete messo nonostante idealmente vogliate avere video registrati con le stesse impostazioni. Se la parte più grande del vostro filmato è di rapporti di aspetto diversi - ad esempio, se avete i video verticali - e volete mantenerlo, sentite liberi di usare le impostazioni diversi per il progetto. Solo tenete a mente che i calcoli della dimensione dello schieramento video varieranno dal nostro esempio.
Passo 2. Postate tutti i vostri filmati sulla cronologia
Il passo prossimo è importare tutti i filmati - idealmente 4 o 9 file - all’editor. Potete aggiungerli alla Finestra di risorse prima o solo trascinare tutto direttamente alla cronologia. Quando siete pronti postate i file video sulle tracce diverse, uno dopo l’altro, e li allineate al lato sinistro.

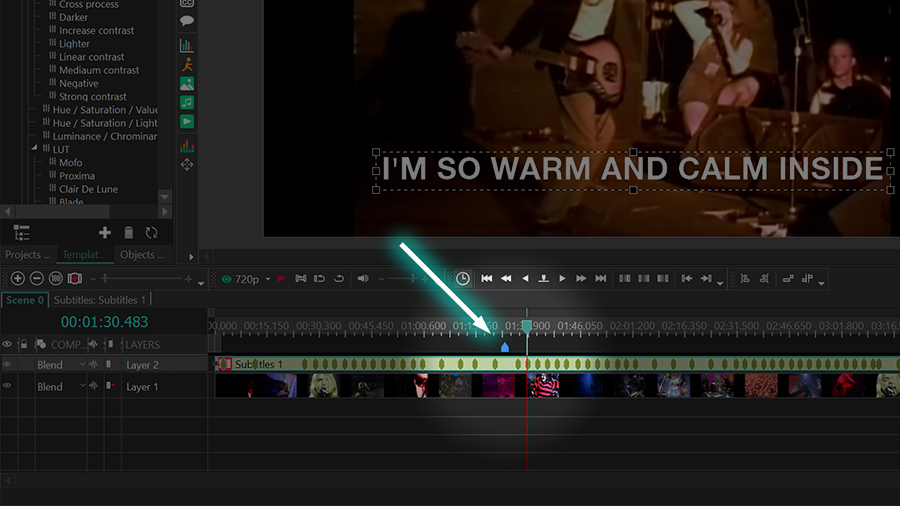
Passo 3. Regolate la durata del video (opzionale)
Per mettere la stessa durata per tutti i video nello schieramento scegliete tutti sulla cronologia e scrivete manualmente la durata desiderata nella Finestra proprietà o postate la testina di riproduzione nel momento giusto, fate un taglio usando lo strumento di rasoio in alto e eliminate le parti indesiderati.
Suggerimento rapido: Un altra regolazione grossa di che potete beneficiare è i filtri di colore. Ad esempio, se volete che tutti i video nello schieramento siano bianchi e neri, li scegliete sulla cronologia, fate un clic sul pulsante destro del mouse e scegliere Stili rapidi → Scala di grigi.
Passo 4. Applicate la dimensione richiesta a video
È ora di cominciare a formare lo schieramento.
Scegliete tutti i video sulla cronologia e andate alla Finestra Proprietà. Troverete Coordinati → Larghezza. Per uno schieramento video 2x2, scrivete 960; per uno schieramento video 3x3, scrivete 640. Poi fate un clic sul pulsante destro del mouse su stack video proprio sulla cronologia e scegliete Mettere dimensione → Mettere altezza in conformità con il rapporto di aspetto dell’immagine. Finalmente trascinate ogni video alla loro posizione nella scena usando il mouse o i tasti di tastiera con frecce.
Forse vi domandate come abbiamo contato la larghezza dei video per lo schieramento. É facile! Tutto che dovete fare è dividere la larghezza della scena in numero di video che avete allineato orizzontalmente. Ad esempio, se avete 4 video, ci saranno 2; se avete 9 video, ci saranno 3; se avete 16 video, ci saranno 4 e così via.
La nostra larghezza di scena è 1920 pixel, quindi 1920/2 960 pixel. Se avete una larghezza di scena diversa, dovrete ricalcolare conseguentemente.
Suggerimento rapido: Anche se alcuni dei vostri video hanno originariamente una risoluzione diversa o il rapporto di aspetto, allungheranno alla dimensione predefinita della scena quando li aggiungete alla cronologia. Però se notate che alcuni video hanno le linee nere sui lati, fate un clic sul pulsante destro del mouse su questi file e scegliete Strumenti di ritaglio → Ritaglio automatico per correggere questo.
Passo 5. Aggiungete l’effetto di contorno (opzionale)
Per fare i video entro botta dello schieramento considerate di aggiungere un contorno di confine contrastante. Per creare i confini cliccate su qualsiasi video poi aprite il menù Effetti video e andate a Trasparenza → Confini. Poi andate alla Finestra proprietà e scegliete le impostazioni seguenti:
- Modalità → Solido
- Posizione → tutto il rettangolo
- Dimensione di confini → 3px (potete scegliere il valore più piccolo o più grande dipendendo da quando spesso volete che il contorno sia)
- Colore → Bianco

Se siete felici com’è il contorno, copiate lo strato dell’effetto Confine, fate un doppio clic sullo schieramento video prossimo e incollate l’effetto. Ripetete questi passi per tutti i video nello schieramento.
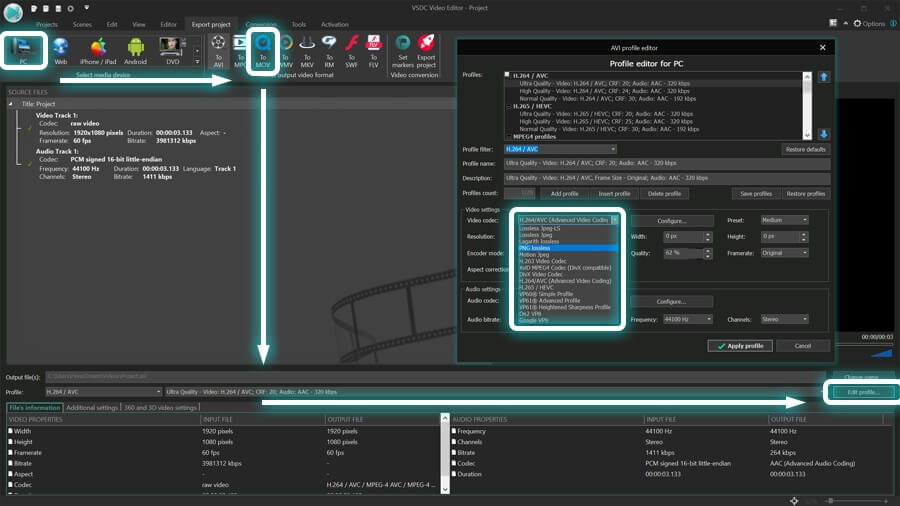
Passo 6. Esportate il vostro progetto
Quando finite di montare andate alla tabella Esportare progetto. Se il video è inteso di essere guardato sui computer, scegliete PC e il formato desiderato; se pianificate di pubblicarlo online, scegliete Web e la piattaforma di rete sociale.

Se avete bisogno di cambiare il codec, la risoluzione, la frequenza di fotogrammi o qualsiasi altro parametro, usate il menù Montare profilo sotto la finestra d’anteprima. Altrimenti lasciate le impostazioni invariate e colpite Esportare progetto.
Per concludere
Lo schieramento video è un effetto popolare usato in video musicali, pubblicità e vlog. Con un po’ di immaginazione potete farlo anche più interessante applicando i filtri di colore, gli effetti di distorsione o il ritardo di comparsa o di scomparsa di alcuni video.
Avete qualche domanda? Ci Mandate una e-mail a Questo indirizzo email è protetto dagli spambots. È necessario abilitare JavaScript per vederlo. o messaggio diretto su Facebook o lasciate un commento su YouTube.


Con questo programma è possibile registrare i video dal desktop e salvarli sul computer in diversi formati. Insieme al video editor è ideale per creare presentazioni e demo.

Il programma serve per catturare video da dispositivi esterni e e per registrarli sul computer in qualsiasi formato video. Potete salvare il video da sintonizzatori video, webcam, schede di acquisizione e vari dispositivi.

"VSDC Free Video Editor is a surprisingly powerful, if unconventional video editor"
- PC Advisor

"This video editor gives you tons of control and editing power"
- CNet

"The editor handles many common formats and boasts a good deal of capabilities when it comes time to alter lighting, splice video, and apply filters and transitions in post production"
- Digital Trends
© 2011-2025, www.videosoftdev.com, FLASH-INTEGRO LLC. Tutela della privacy | Condizioni di utilizzo | Chi siamo
Tutti i marchi citati nel presente documento sono di proprieta esclusiva dei rispettivi proprietari.
La copia di qualsiasi materiale da questo sito e consentita solo con il consenso scritto dell'amministrazione sito.