 User Help Manual
  Learn FAQ
  Send us feedback
 ")


- Published by Amy Shao on March 11, 2026 What is the best gift for...
- published Amy Shao 11/19/25 Meet the long-awaited VSDC 10.2 update: a new ve...
- Hi, I'm Mattea Wharton, a travel videographer from Seattle. For three years I ba...
- published Amy Shao 6/10/25 The wait for something new and unusual is finally...
How to change image or video color with gradient tool in VSDC
The Gradient tool allows you to make a gradual blend between various colors. Photo and video making experts and those who are tech-savvy enough can benefit from ´Gradient´ tool in VSDC Video Editor to make their own smooth video transitions, apply advanced multiple color correction and create gradient background for text and subtitles. You can choose from gradient presets or create your own.
In this instruction, you can see an example how the eye color is changed in a few steps.
At first, add an image or a video where you'd like to change colors to the editor.
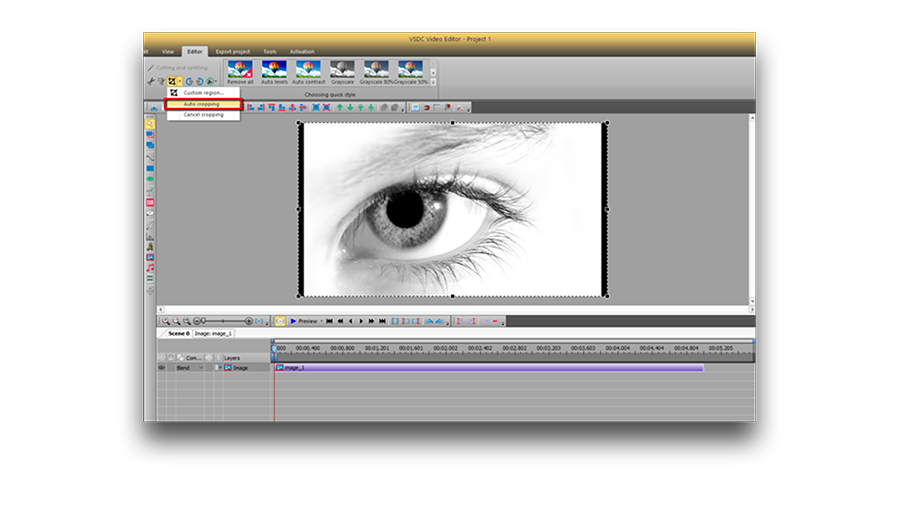
If it’s necessary, apply auto cropping. The corresponding button is on upper the toolbar. This option helps you to get rid of black bars in an image or a video and makes the object fit the scene.
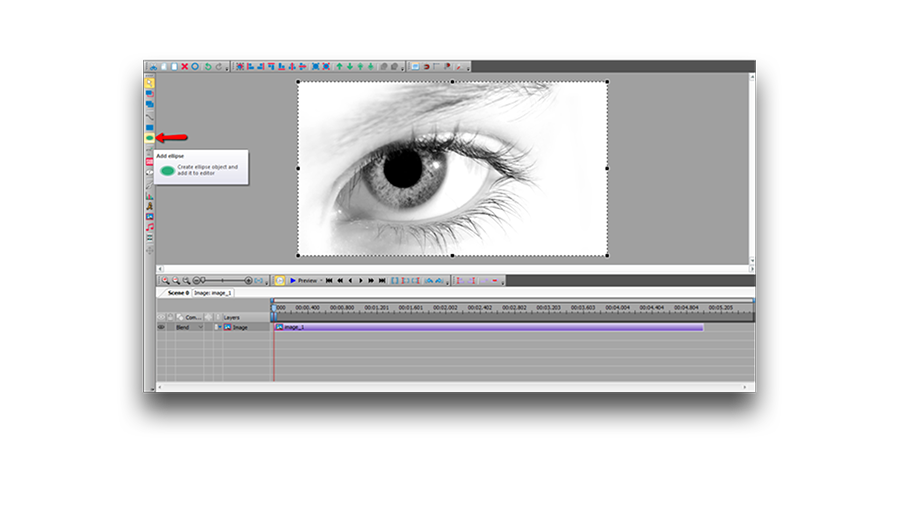
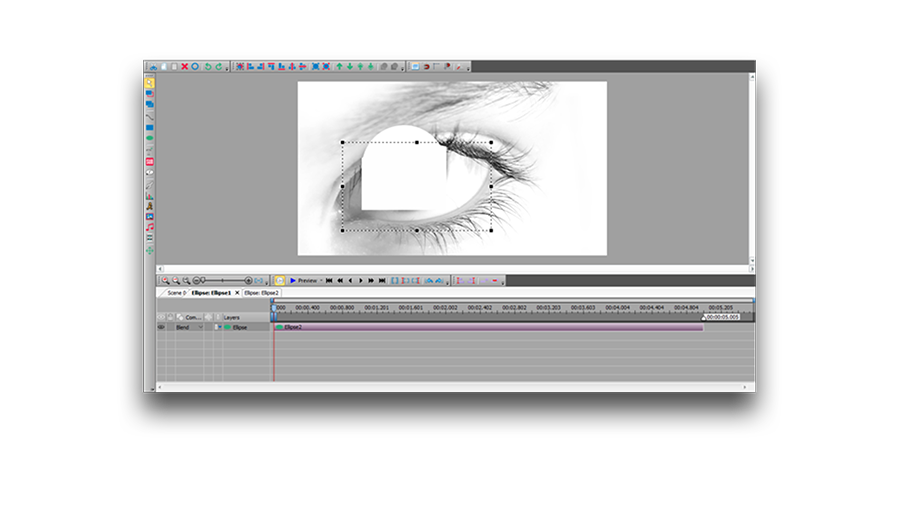
After that, add a shape. In this case, we use the ellipse. You can find different shapes on the left toolbar. Then place it over the required area.
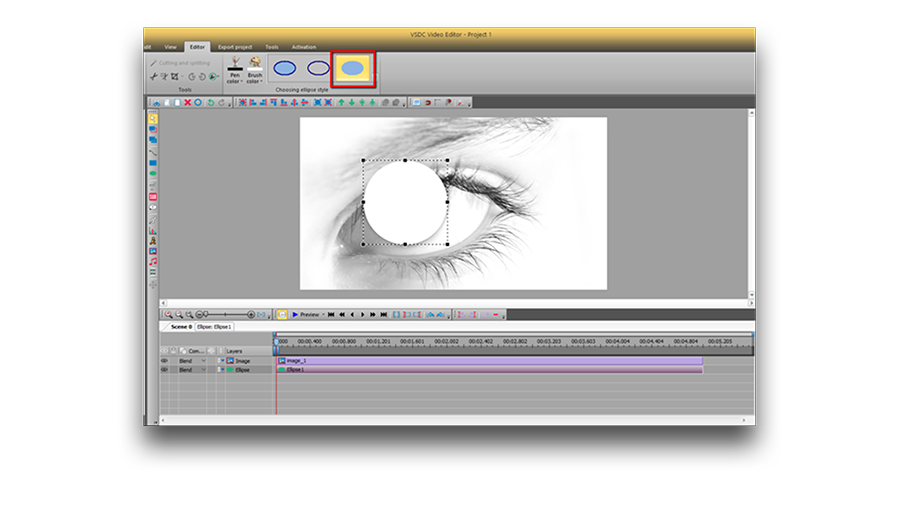
After that, select a colored type without borders on the bar above the scene.
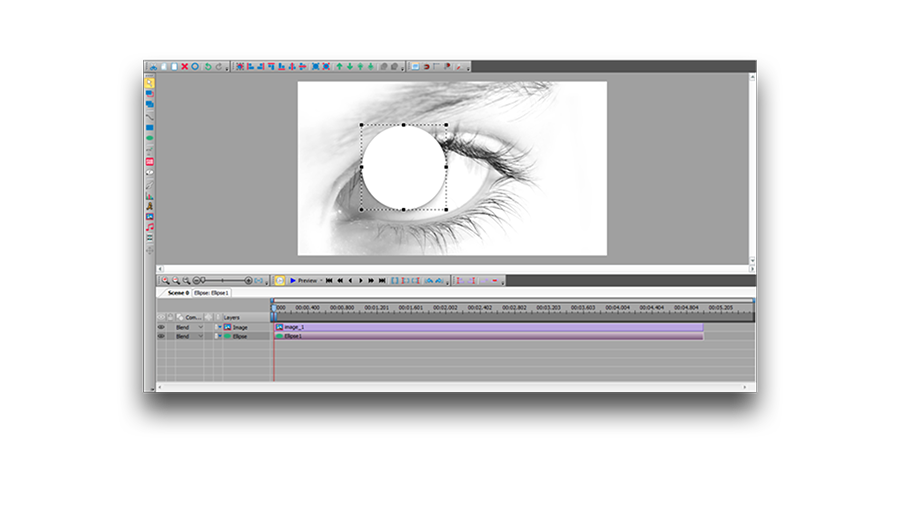
Make a double click on the ellipse layer and add one more ellipse in order to apply the gradient tool on.
Then place it over the needed area.
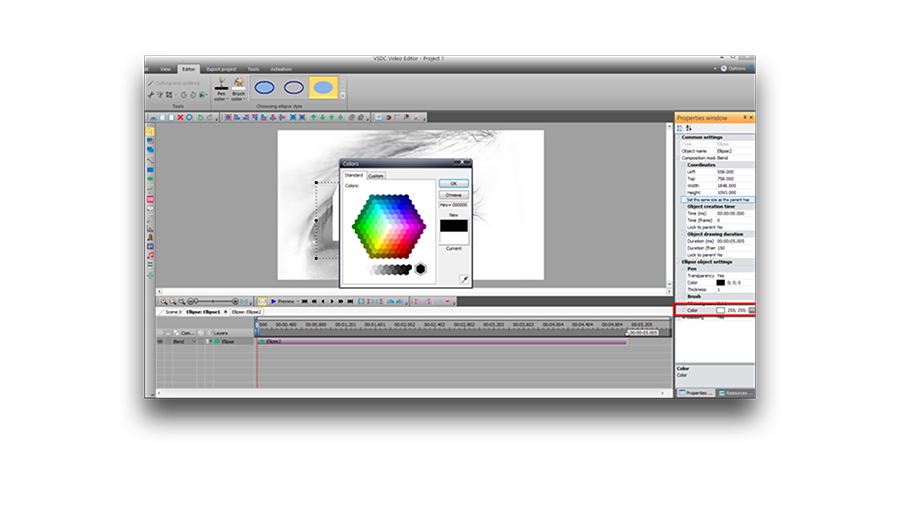
Select a black color and adjust its position to cover the targeted area. To change the color of the ellipse, go to the properties window and click on the color option in the object settings.
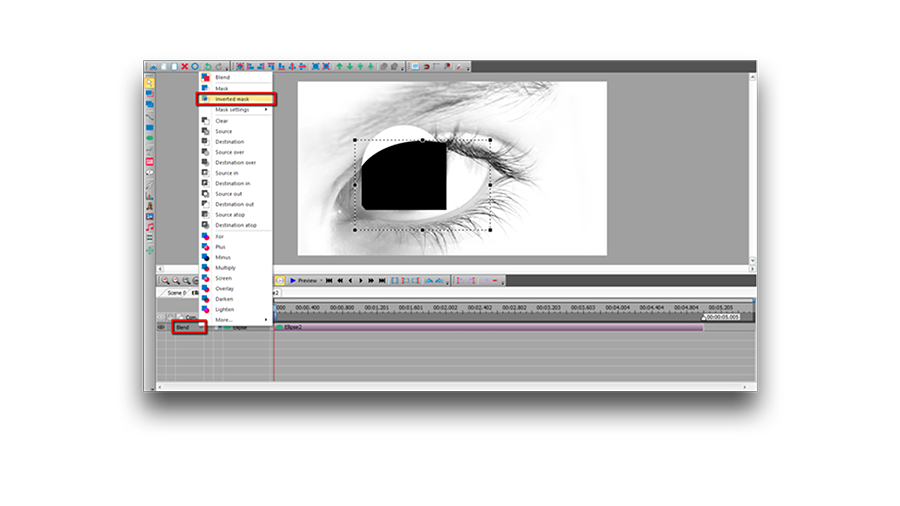
Select an inverted mask from compositing modes on the timeline.
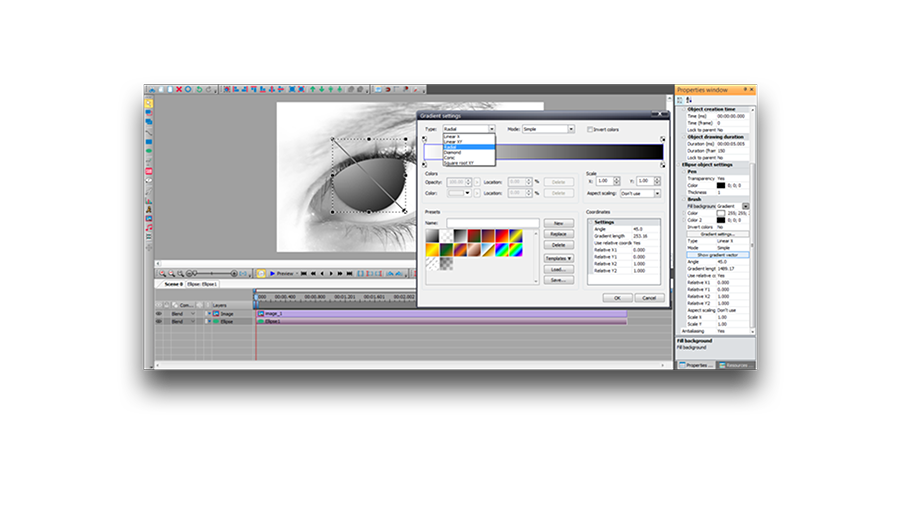
Go to the main scene, highlight the ellipse and apply the gradient tool. Go to the object setting and in “Fill background” select “Gradient”.
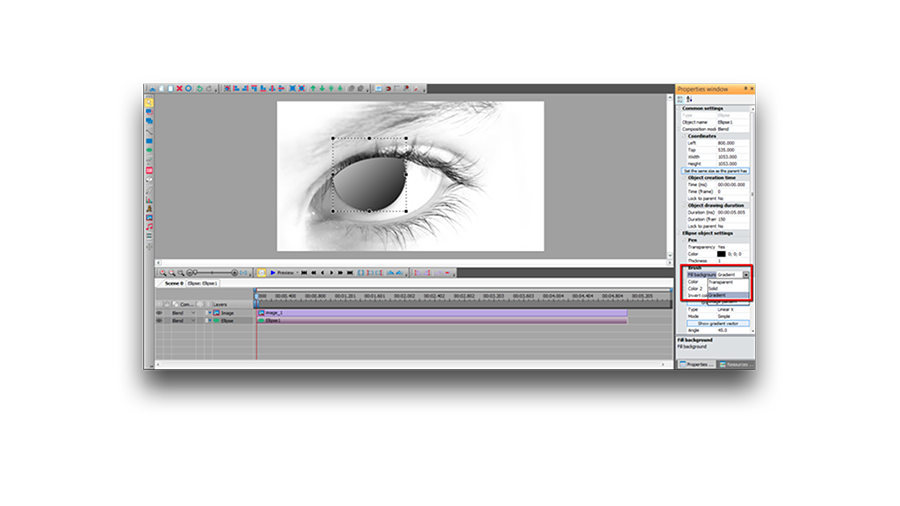
Open gradient settings and select the appropriate gradient type.
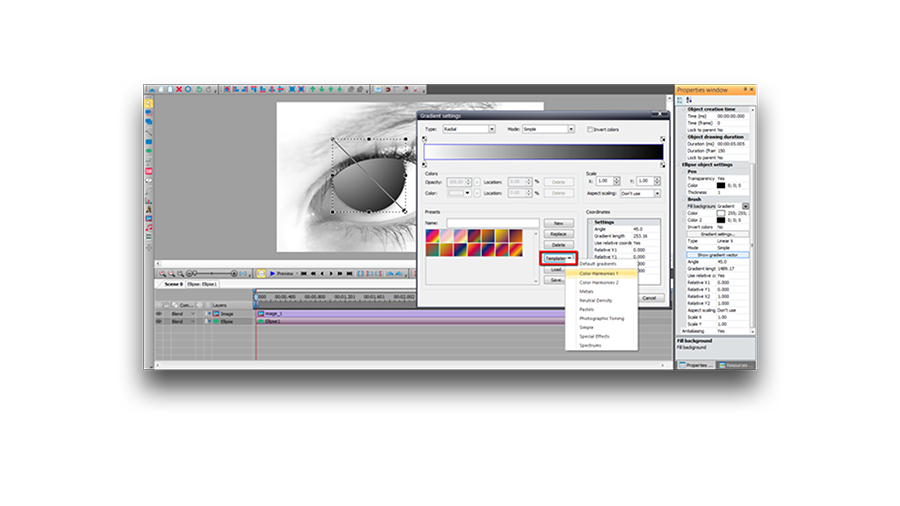
Among presets and templates select the one you like most of all.
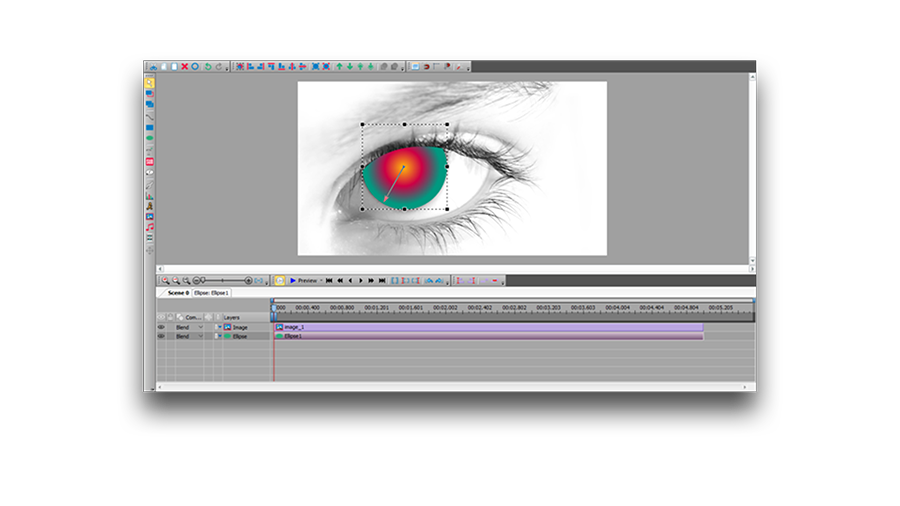
Adjust the gradient vector.
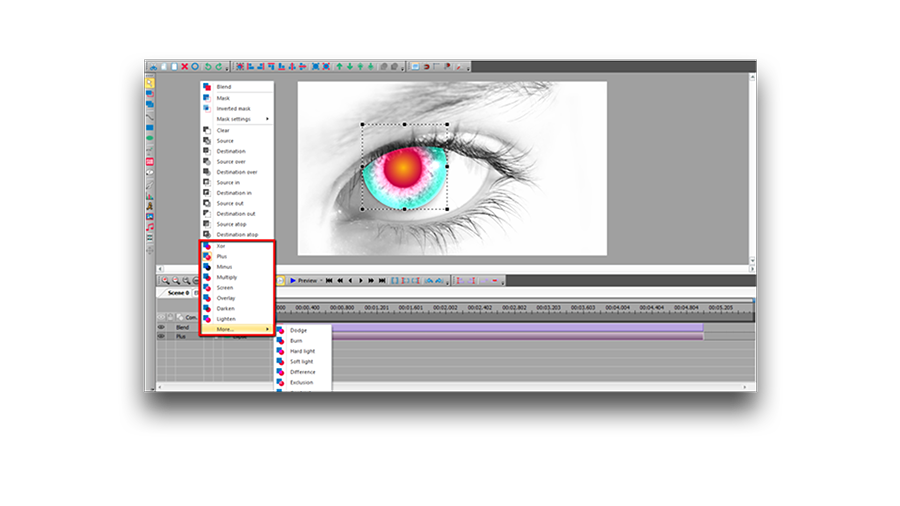
To reach the desired result, apply different blending modes.
You can get more information about the program on Free Video Editor' description page.
Watch us on YouTube
 / @VSDCFreeVideoEditor
© 2011-2026, www.videosoftdev.com, FLASH-INTEGRO LLC. Privacy policy | Terms of use | About us
All trademarks referenced herein are the sole property of their respective owners.
Copying any materials from this site allowed only with written consent of Site Administration.