 User Help Manual
  Learn FAQ
  Send us feedback
 ")


How to Add Motion Blur to a Video
Motion blur effect often occurs naturally, both in photos and videos, when objects are moving faster than a camera can capture. It’s especially common if you’re shooting at a low frame rate. However, you may want to intentionally add motion blur to your video, and there are several ways to do that during post-production.
In this tutorial, we’ll show you how to make a motion blur video effect using VSDC, a free video editor for Windows.
It’s an easy effect that will take you a few minutes, and you’ll be able to adjust it to your needs – for instance, by changing the motion type or fine-tuning blur levels. More so, you can apply the effect to the entire video, selected frames, or added graphics including text, shapes, or images.
But before we move on, let’s answer one important question.
What will the result look like?
Motion blur effect is a broad term, so it can be perceived differently. Some creators expect a video with a blurred background and an object that remains in focus. Others expect a visible motion trail created by the object’s movement – this effect is also known as a visual echo effect.
In this tutorial, we’re covering the first example of motion blur. If you’d like to learn how to make a visual echo effect, read this guide instead.
Now that we’ve sorted that out, let's get started!
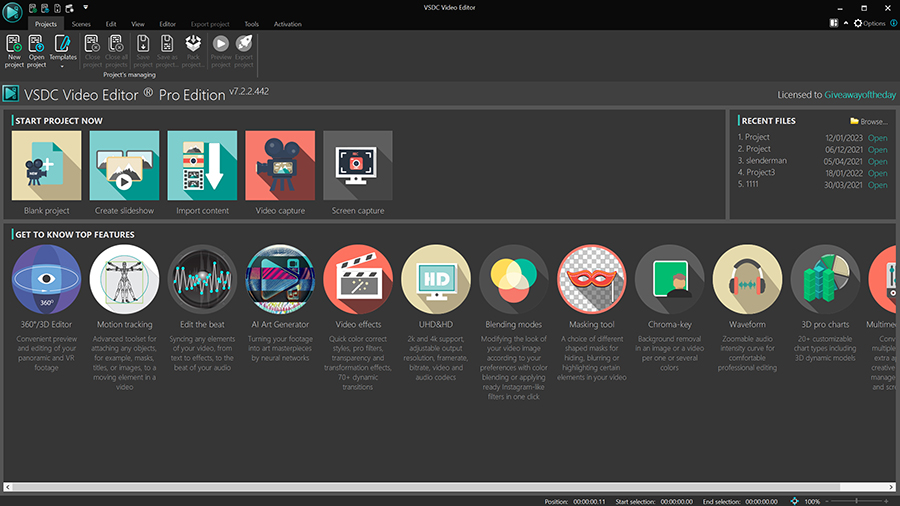
Step 1. Upload your video to VSDC
To get started, launch VSDC on your computer and import your video into the program. You can either use the Import content button on the start screen or create a blank project and drag the footage to the scene.
Now, if you want to apply the effect to the entire video, move on to step 2. If you want to apply it to a fragment, use the razor icon at the top (or press Ctrl + K) to split the video and separate the desired fragment.
Step 2. Apply the motion blur effect
Select the video on the timeline, then open the Video effects menu, proceed to Filters, and select Motion blur.
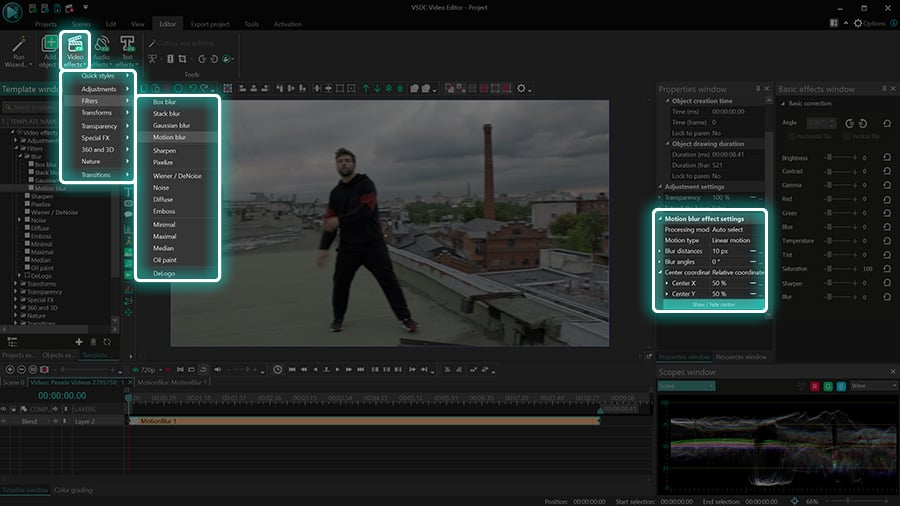
In the next sections we’ll show you the difference between three motion blur presets and explain how to adjust their looks.
Select the motion blur preset for your video
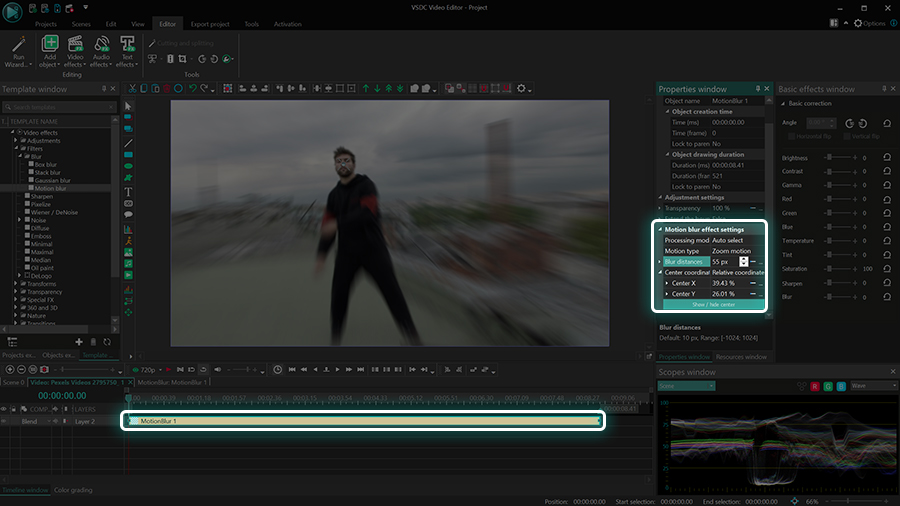
Once you’ve applied the effect, it will open in the second tab on the timeline. From there, you’ll be able to adjust the appearance of motion blur using the Properties window. If you struggle to find the Properties window, make a right mouse-click on the effect, and select Properties – the corresponding window will slide in from the right.
In the settings, you can select one of the three motion types available:
- Linear motion
- Radial motion
- Zoom motion
Based on the name of these presets, you can probably assume what they look like. Linear motion is the motion in straight lines; radial motion is the circular motion around the center of the effect; zoom motion is the motion in the background of the object that’s zoomed in and appears slightly more in focus.
Since a picture is worth a thousand words, here is a quick demo:
Adjust the settings
Each motion type has slightly different settings, but essentially, there are two things you can change: distance and angle. The former defines the length of blur streaks, and the latter defines their angle. For example, if you select linear motion, you can adjust both, blur distance and blur angle. If you select zoom motion, you can only adjust blur distance, and if you select radial motion, you can only adjust blur angle:
Notice that you can move the center of the effect by dragging the crosshair around the scene and thus control the area that stays in focus.
Pro tip: you can also make the effect increase or decrease over time. If you expand the blur angle or blur distance menu, you’ll be able to set the initial and final values for these controls. For example, if you set the final value higher than the initial value, the video will be getting blurrier over time. This approach might work well for transitions, intros, and outros.
Step 3. Export your video
When you’re done, open the Export project tab and select the platform where you intend to use your video; then hit Export. For example, if you’re planning to publish it on YouTube, select Web —> YouTube. To change the video quality or other parameters, use the Edit profile menu under the preview window.
Bonus: how to add motion blur to text in a video
Before we wrap up this tutorial, let’s see an example of motion blur applied to text in a video. You can use this effect to create a stylish title intro or artistic captions.
Once you’ve added text to your video, select it on the timeline and apply the motion blur effect following the steps we described earlier. Since added text objects are static per se, we recommend either adding movement to the text or setting different initial and final values for the effect, as demonstrated below:
In the same manner, you can apply motion blur to any other added graphics in your video including images, shapes, and icons.
Wrapping up
There are a few reasons why you might want to use a motion blur effect in your videos. First, motion blur can help you create a sense of action and emphasize fast movement – whether it’s the movement of the object in your video or the background. Second, zoom motion is an excellent way to drive the viewers’ attention to the object in focus. Finally, blurring the video is a popular artistic approach used to convey a sense of drama or excitement, especially when transitioning between scenes.
With VSDC, you can add motion blur to your videos within minutes. Give it a try and explore other tools and effects this software brings at zero cost.
Watch us on YouTube
 / @VSDCFreeVideoEditor
© 2011-2026, www.videosoftdev.com, FLASH-INTEGRO LLC. Privacy policy | Terms of use | About us
All trademarks referenced herein are the sole property of their respective owners.
Copying any materials from this site allowed only with written consent of Site Administration.