 User Help Manual
  Learn FAQ
  Send us feedback
 ")


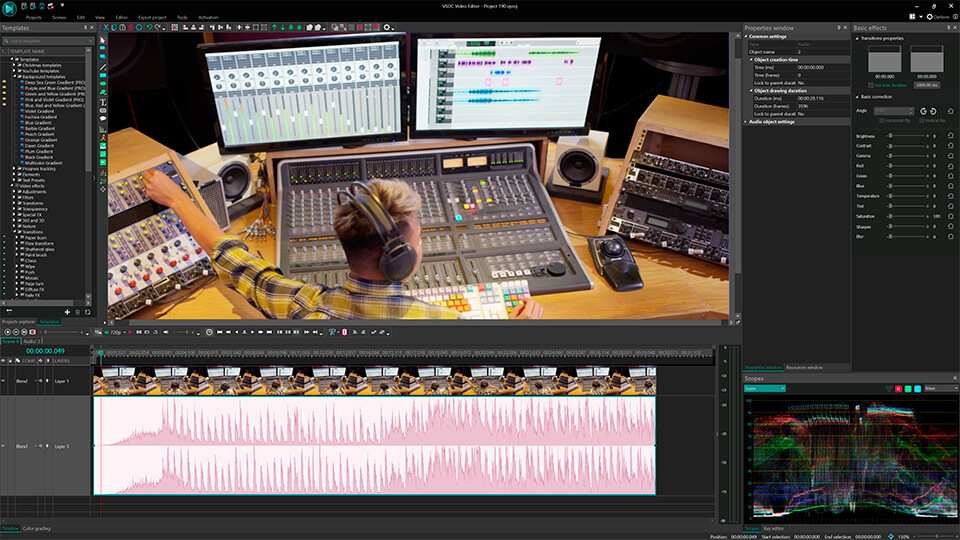
Video Editor
Use free video software to create and edit videos of any complexity from a family greeting card to a company presentation. Cut, merge video files, apply visual and audio effects, use filtration and image correction, make slideshows and add an appropriate soundtrack. Use multi-color Chroma Key and advanced parameters settings to give your video a professional look. All popular video and audio formats are supported.
Video Converter
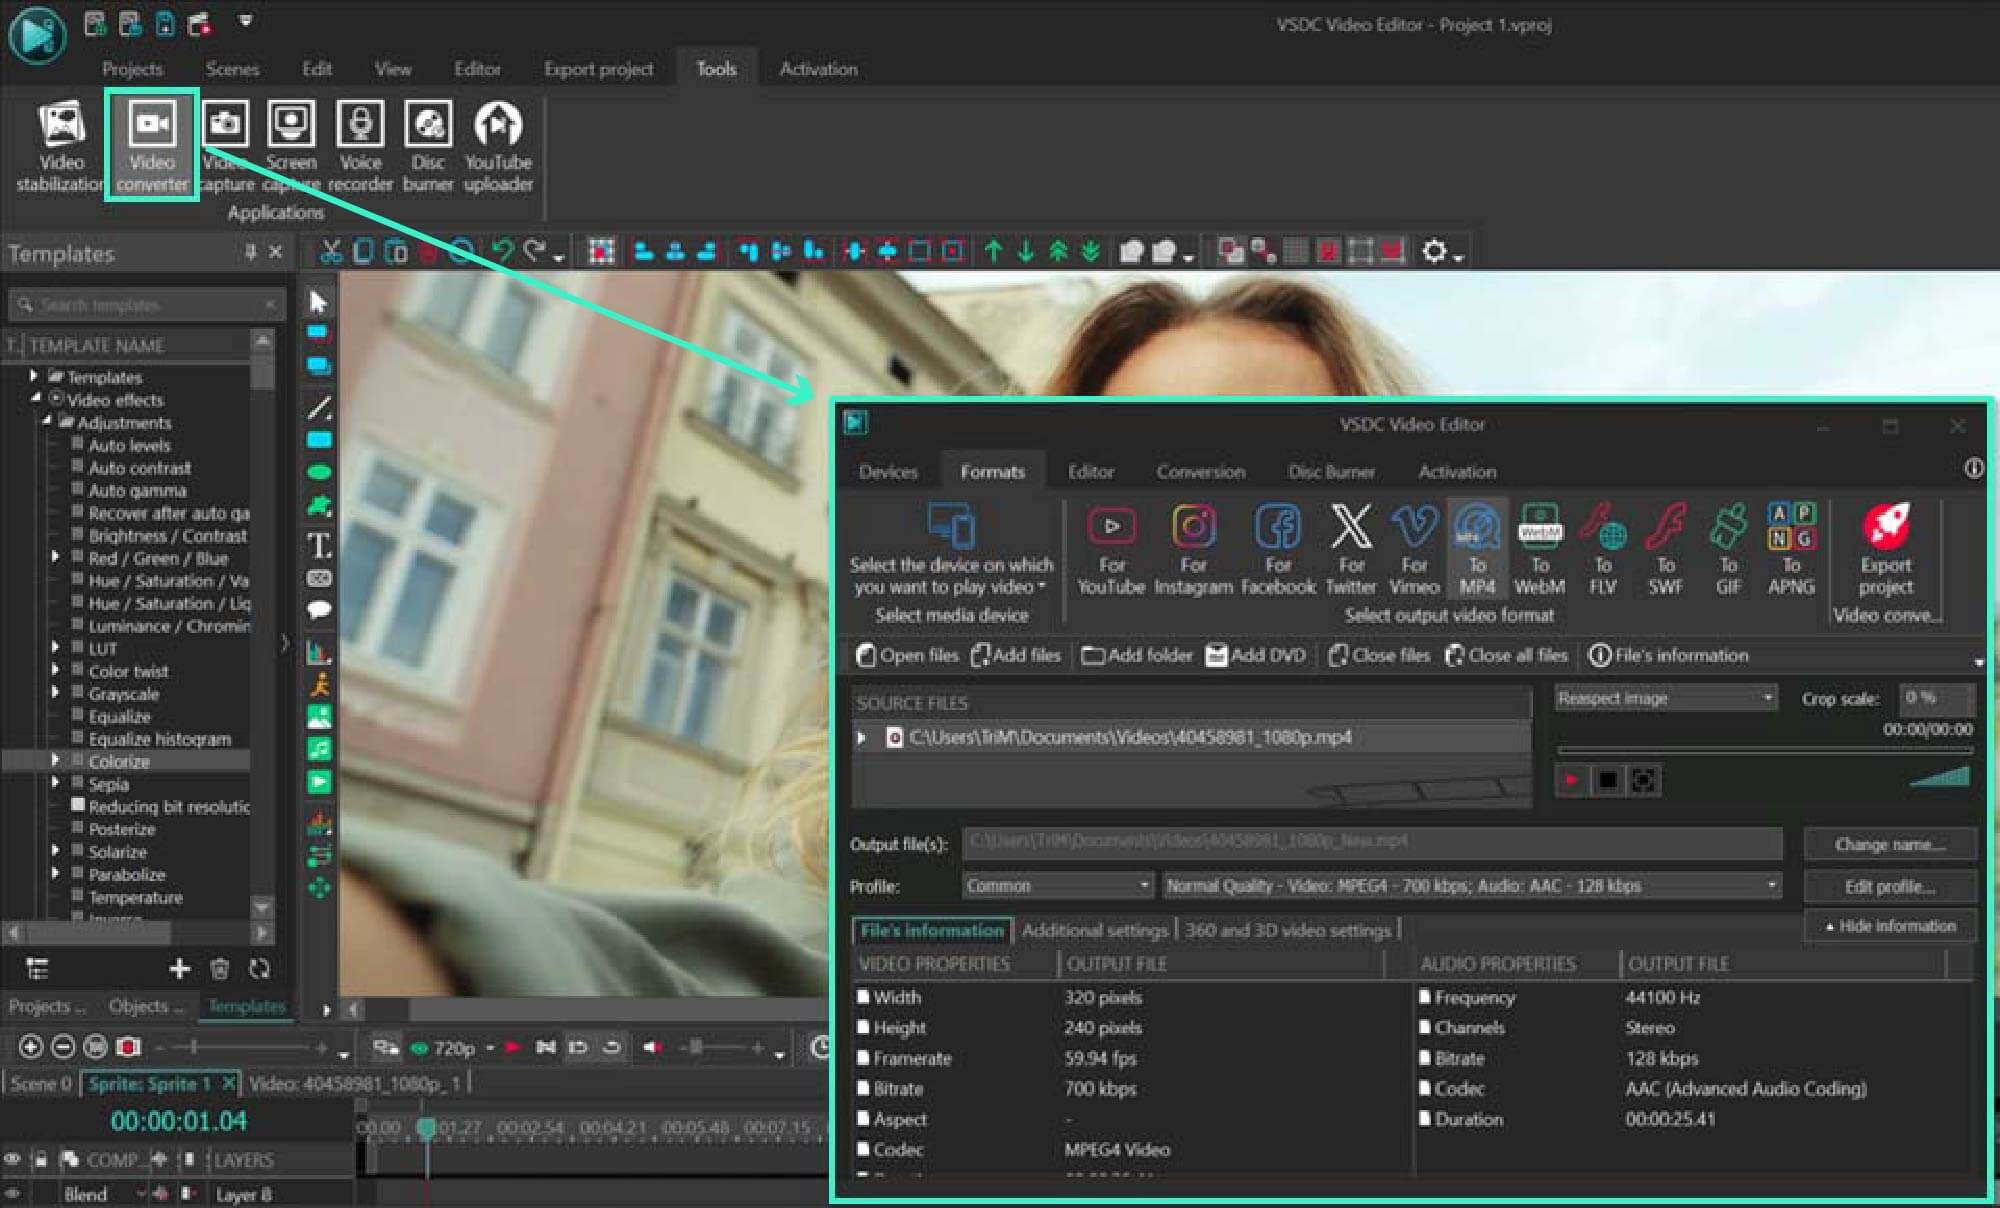
This program is intended for converting video files from one format to another. Nearly all popular video formats are supported (both reading and saving). In addition, the program drastically simplifies the task of converting videos for playback on specific multimedia devices, such as iPhone, Samsung Galaxy or Huawei P30 Pro. The program is extremely easy to use, has a modern interface and all necessary video processing functions.
Audio Converter
The audio converter will help you convert audio files from one format to another. All key audio formats and codecs are supported. The program also allows you to manage playlists and meta tags, extract audio from video files and save these tracks on your computer in any format.
Audio CD Grabber
This audio tool is intended for grabbing audio tracks from compact discs and saving them to the user’s computer in any format. Nearly all popular audio formats and codecs are supported. The program can also extract track details from the FreeDB server for automatic file renaming and updating meta tags.
 Video Editor
 Video Converter
 Audio Converter
 Audio CD Grabber

Multifunctionality
A wide array of multimedia processing tools in one free video software suite.

High speed
Our programs use fast
and high-quality algorithms optimized for single and multi-core CPU’s.

Affordability
VSDC video software is freely available for download to Windows OS-based PCs and laptops.
News:
- Welcome to the next level of video editing with VSDC's latest release, Version 9...
- Welcome to the latest VSDC update, Version 8.3! We've been working hard and we’r...
- In today’s digital landscape, the popularity of video content is gaining momentu...
- In today's digital world creativity reigns supreme. It offers endless possibilit...
How to Slow Down/Speed Up Audio in Video Editor
Finding a suitable audio track for your video that adds to the atmosphere might be a real challenge. Even when the track seems to be perfect, the music turns out to be too fast or too slow and distorting. But luckily, the magic of modern technology brings you plenty of ways to change video speed, especially with the right video editing software. Whether you're aiming to enhance the mood of your video, adjust the pace of your MP3s or simply experiment with the timing, VSDC offers a set of tools that you can master effortlessly. Continue reading as we guide you through increasing and decreasing audio speed in VSDC Video Editor!
Key Takeaways
In this article you will find out:
- Three methods of how to speed up audio in VSDC;
- Three methods of how to slow down audio in VSDC;
- Useful ideas for working with audio files in VSDC;
- A short FAQ guide.
How to Make Audio Faster
Method 1: The Speed Parameter
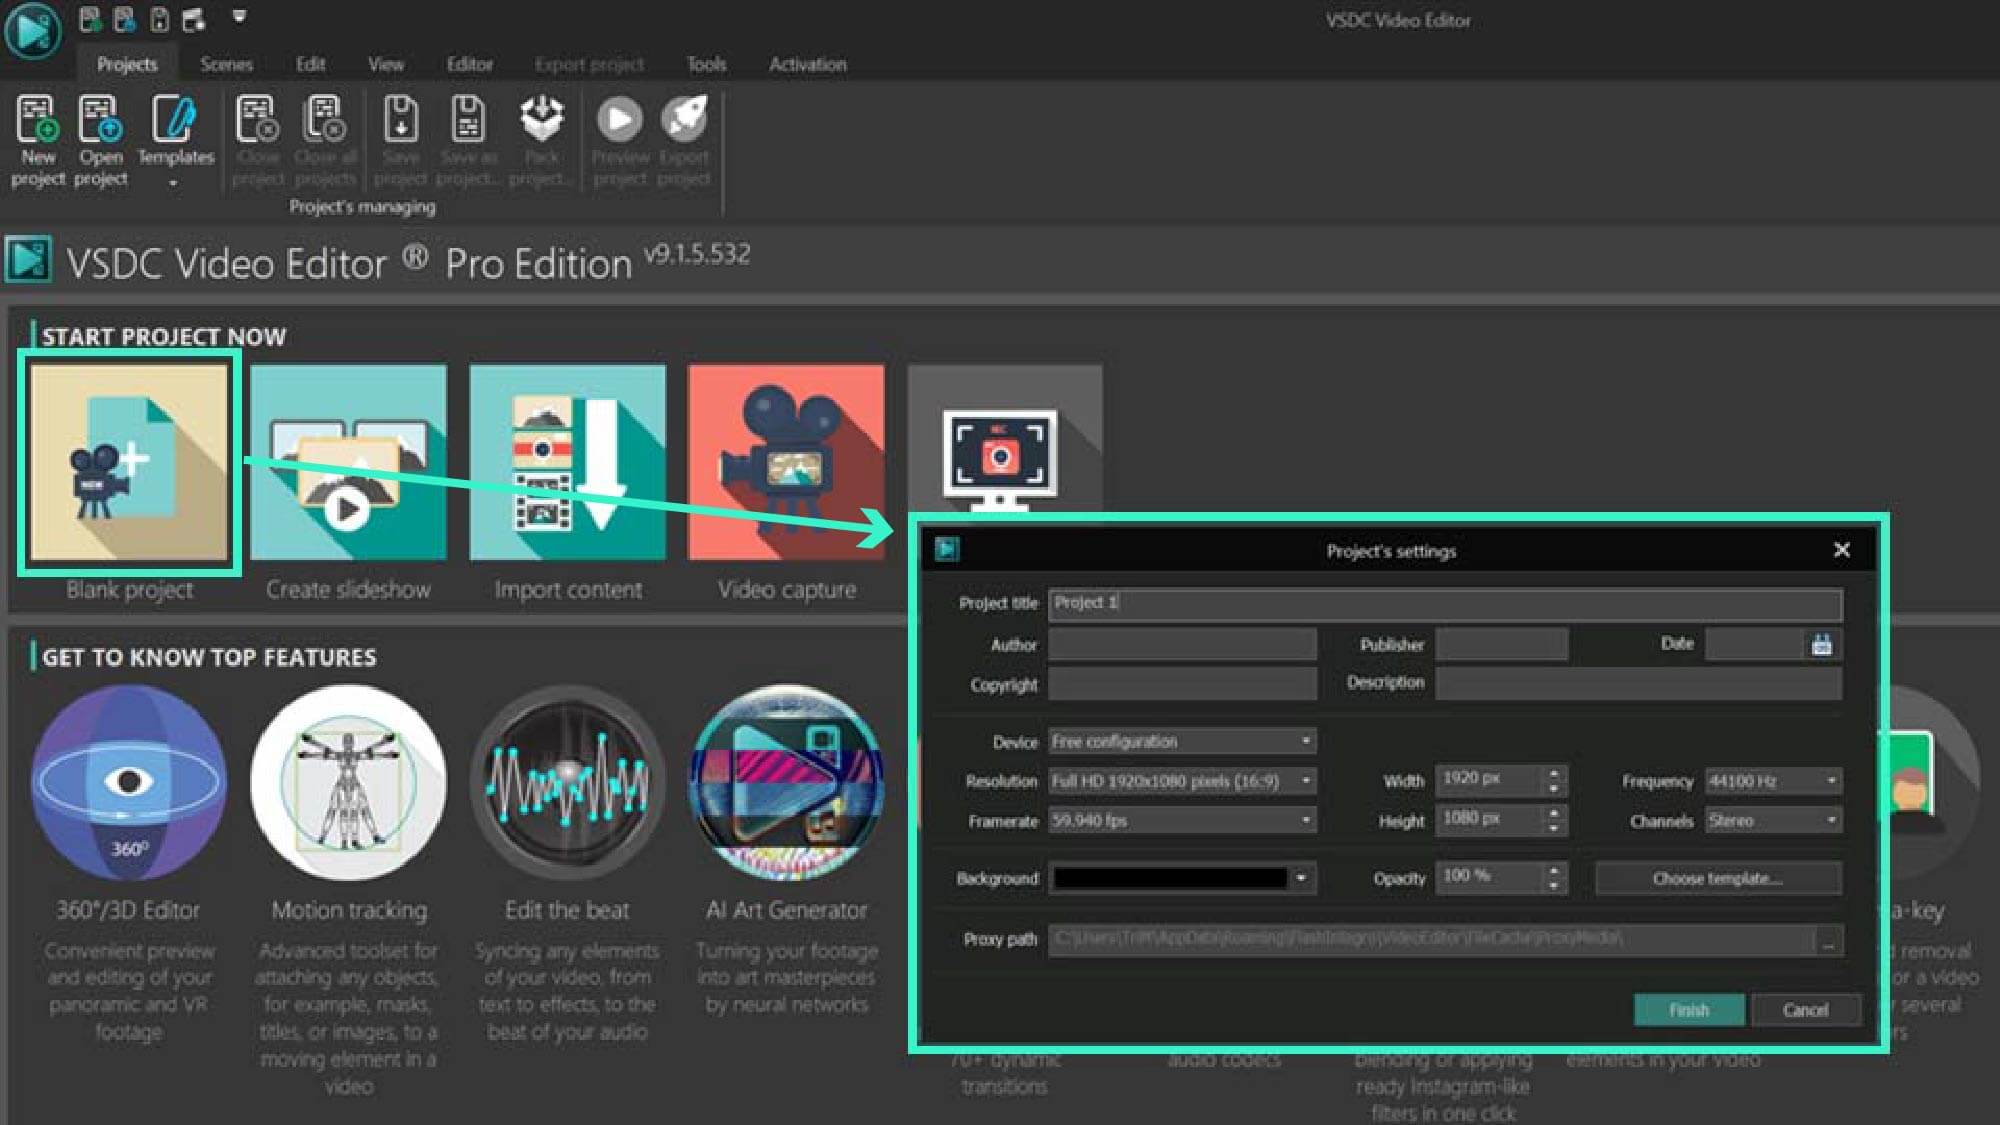
- Create a new project and add your MP3 file to the timeline by dragging and dropping it from the file explorer or by using the Add object option on the Editor tab.
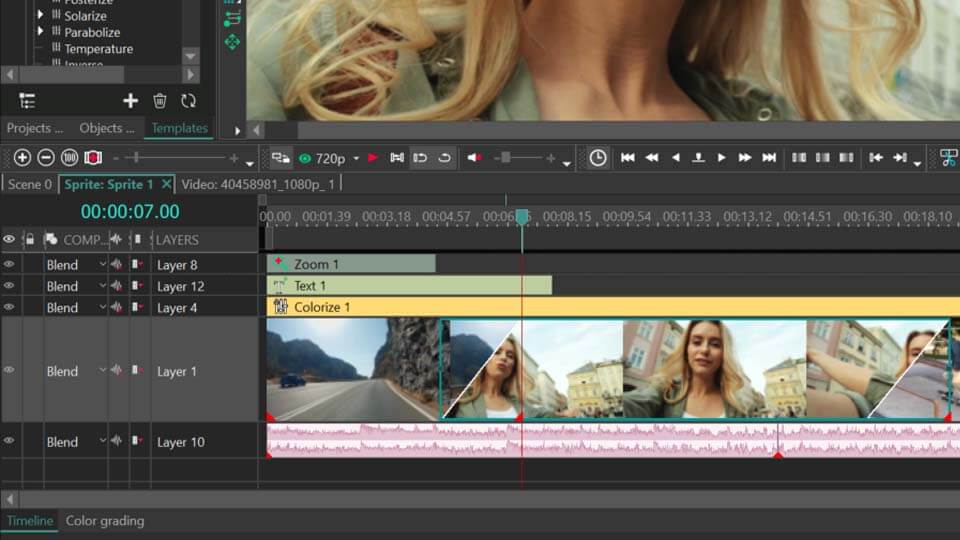
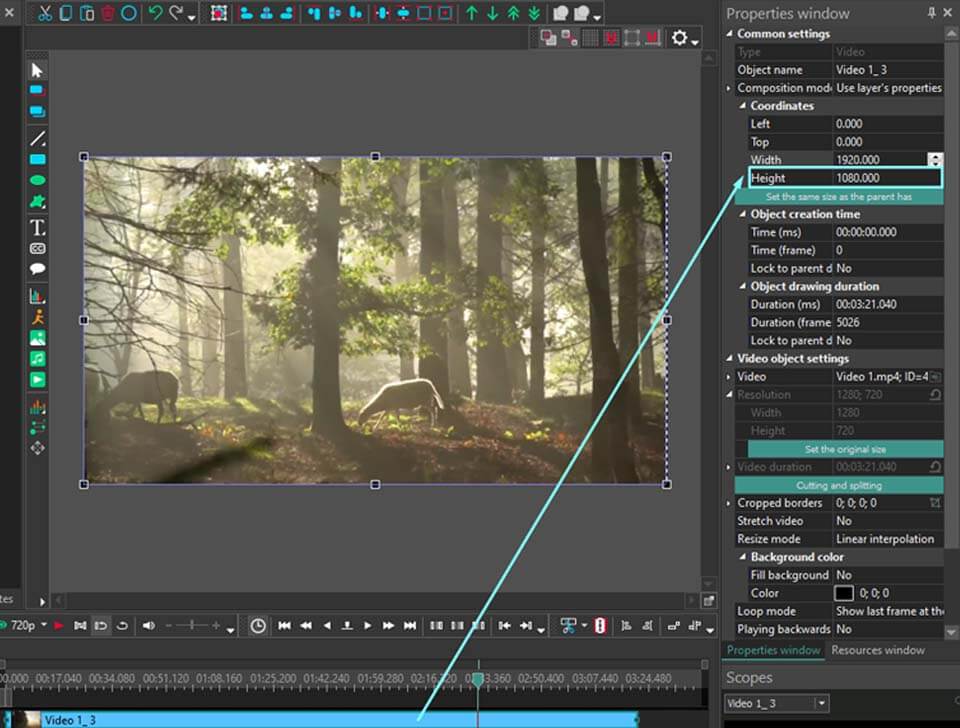
- Select your audio file on the timeline and navigate to the Properties window. You'll see the Speed parameter there in the Audio object settings section, set at 100% by default. Increase this parameter to make your sound speed up (e.g. to double the speed, set it to 200%). Please note, that when you change the speed of your audio, the overall file duration decreases as well.
Method 2: The Loop Mode
This method is handy when you need to speed up your audio file to a particular duration.
- Create a new project and add your MP3 file to the timeline by dragging and dropping it from the file explorer or by using the Add object option on the Editor tab.
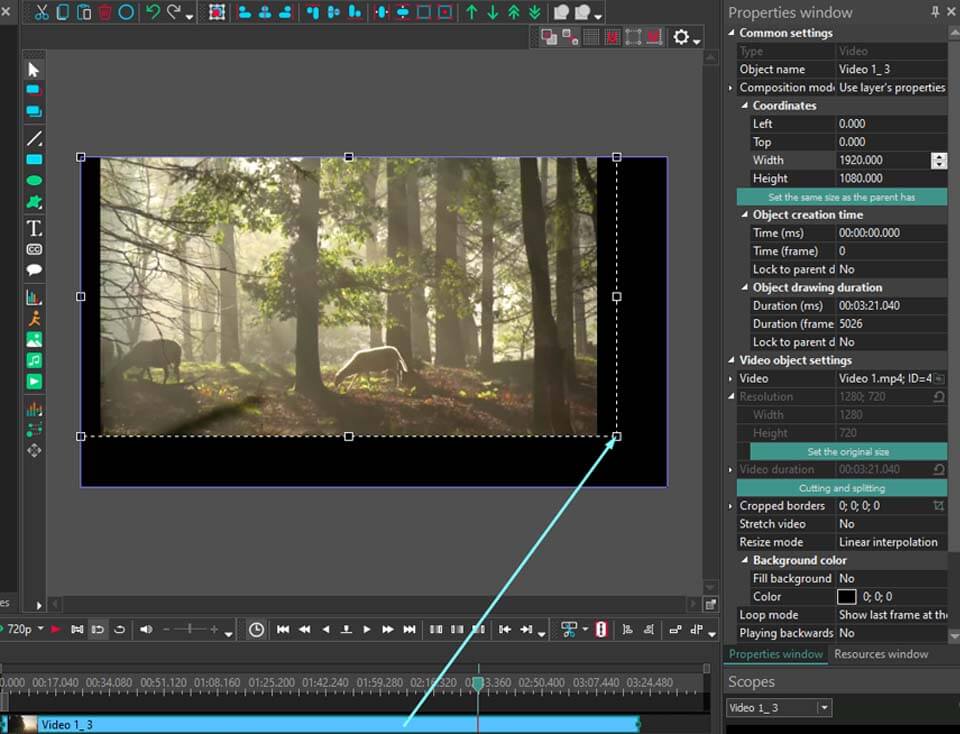
- Select your audio file on the timeline and stretch the end of the file left to shorten to the desired duration.
- Navigate to the Properties and find the Loop mode parameter in the Audio object settings section. Set Play entire audio for the sound to speed up.
Method 3: The Tempo Change Effect
- Create a new project and add your MP3 file to the timeline by dragging and dropping it from the file explorer or by using the Add object option on the Editor tab.
- Right-click your audio file on the timeline and select Audio effects >> Time stretch / Pitch Shift >> Tempo Change.
- Adjust the position and the duration of the Tempo change effect on the timeline and navigate to the Properties. Find the Speed parameter in the Tempo Change effect settings section and speed up music to the desired value. Keep in mind: the Tempo change effect preserves the duration of the audio file, and since the music goes faster, silence remains at the end of your audio file, so perhaps you’ll need to shorten it by moving the right border of the file.
How to Make Audio Slower
Method 1: The Speed Parameter
- Create a new project and add your MP3 file to the timeline by dragging and dropping it from the file explorer or by using the Add object option on the Editor tab.
- Select your audio file on the timeline and navigate to the Properties window. You'll see the Speed parameter there in the Audio object settings section, set at 100% by default. Decrease this parameter to slow down the sound (e.g. to slow the speed down by a factor of two, set it to 50%). Please note, that when you change the speed of your audio, the overall file duration increases as well.
Method 2: The Loop Mode
This method is handy when you need to slow down your audio file to a particular duration.
- Create a new project and add your MP3 file to the timeline by dragging and dropping it from the file explorer or by using the Add object option on the Editor tab.
- Select your audio file on the timeline and stretch the end of the file right to the desired duration.
- Navigate to the Properties and find the Loop mode parameter in the Audio object settings section. Set Play entire audio for the sound to slow down.
Method 3: The Tempo Change Effect
- Create a new project and add your MP3 file to the timeline by dragging and dropping it from the file explorer or by using the Add object option on the Editor tab.
- Right-click your audio file on the timeline and select Audio effects >> Time stretch / Pitch Shift >> Tempo Change.
- Adjust the position and the duration of the Tempo change effect on the timeline and navigate to the Properties. Find the Speed parameter in the Tempo Change effect settings section and decrease the speed to the desired value. Keep in mind: the Tempo change effect preserves the duration of the audio file, and since the music goes slower, the end of your audio file will be cut. To avoid this, stretch your audiofile one the timeline to increase the duration.
Export Your Project
As soon as you finish, export your project in one of the following ways:
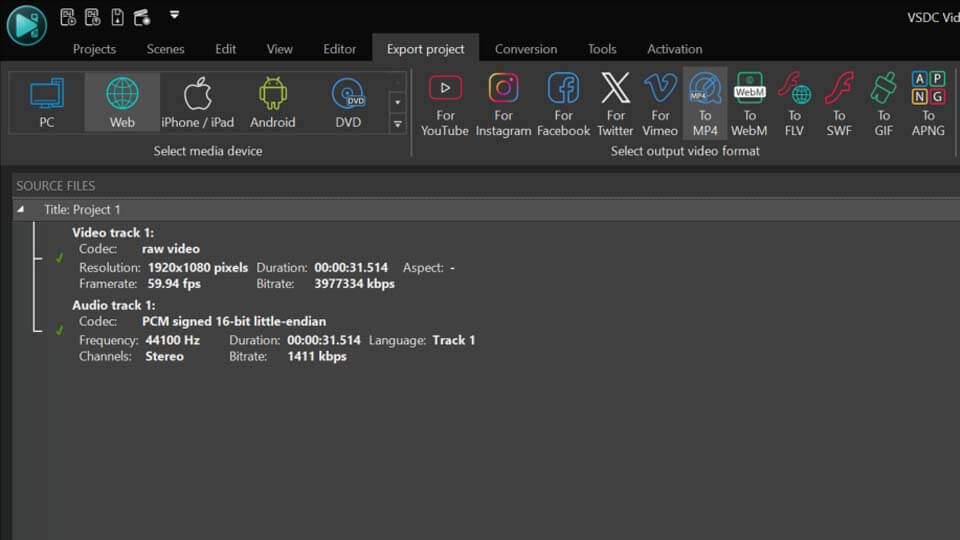
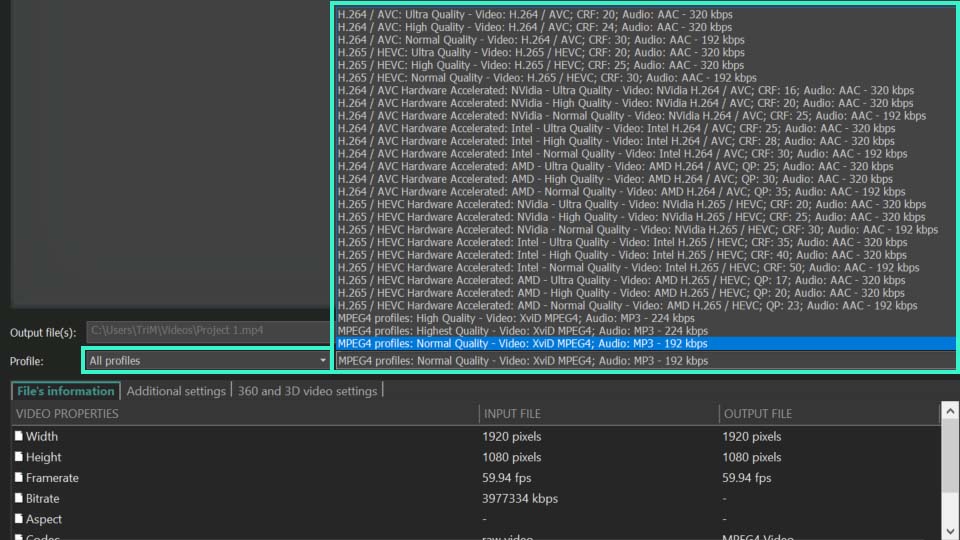
- Export as a video: Go to the Export project tab and select the desired format on the Ribbon, then choose the Profile and adjust export settings (if necessary) and click the Export project icon above the scene. To learn more about advanced settings customization, check out our guide to making MP4 files.
- Export as audio: Go to the Export project tab and find your audio track in the Source files window. Right-click on it and select Export audio, adjust settings and hit Export.
Enhancing Your Projects: Creative Ways to Work with Audio in VSDC
VSDC offers lots of options for working with audio files that go far beyond simple speed adjustments. VSDC provides an extensive toolkit designed to elevate your audio editing capabilities. To start mastering your skills, consider our general guide, and then explore some interesting ideas:
- How to replace an audio track;
- How to Apply Audio Effects;
- Create an Audio Sync;
- Create a Circle Audio Spectrum;
- Synchronize Audio and Video;
- Turn Audio Waveform into a Mask;
- Reduce/Remove Noise from your Audio;
- How to use Edit the beat tool.
Audio editing often accompanies video manipulation, as the techniques for adjusting playback speed — either speeding up or slowing down — are notably similar. Therefore, exploring our guide on speed adjustments might provide some insightful tips and strategies that are applicable to audio editing as well.
Conclusion
From enhancing the mood of your videos to aligning audio tracks perfectly with visual elements, the methods and tools outlined in this article offer comprehensive solutions to speed up or slow down your MP3 file. With VSDC you’ve got the flexibility to achieve your vision. Exploring creative ways to work with audio in VSDC, including replacing audio tracks, applying effects, and synchronizing audio with video demonstrates our software’s vast capabilities beyond simple speed adjustments. We encourage you to experiment with these techniques to discover new dimensions in your video projects, making them compelling and captivating.
FAQ
Can I speed up or slow down only a portion of an audio track?
Surely, you can use the Split into part tool to make a separate section, select it on the timeline and then apply the Speed effect to it.
Will changing the speed affect the pitch of my audio?
The pitch of a sound is directly related to the frequency of its waves. Accelerating the playback increases the frequency, which in turn elevates the pitch. However, if you wish to alter your audio track's pitch, you might consider utilizing Pitch Shift, a sound effect that increases or reduces the pitch of your audio.
What are some common uses for speeding up audio?
A prime example is TikTok videos. Given TikTok's rapid-fire nature, viewers typically have a shorter attention span, necessitating the acceleration of a song's BPM [beats per minute] to ensure that listeners remain engaged through the most compelling portions of a track. However, in fact, the necessity to speed up an audio track depends on the idea of your video project whenever you change the speed of voice or a song. Keep creating!
 Download Mp4 Free video Editor
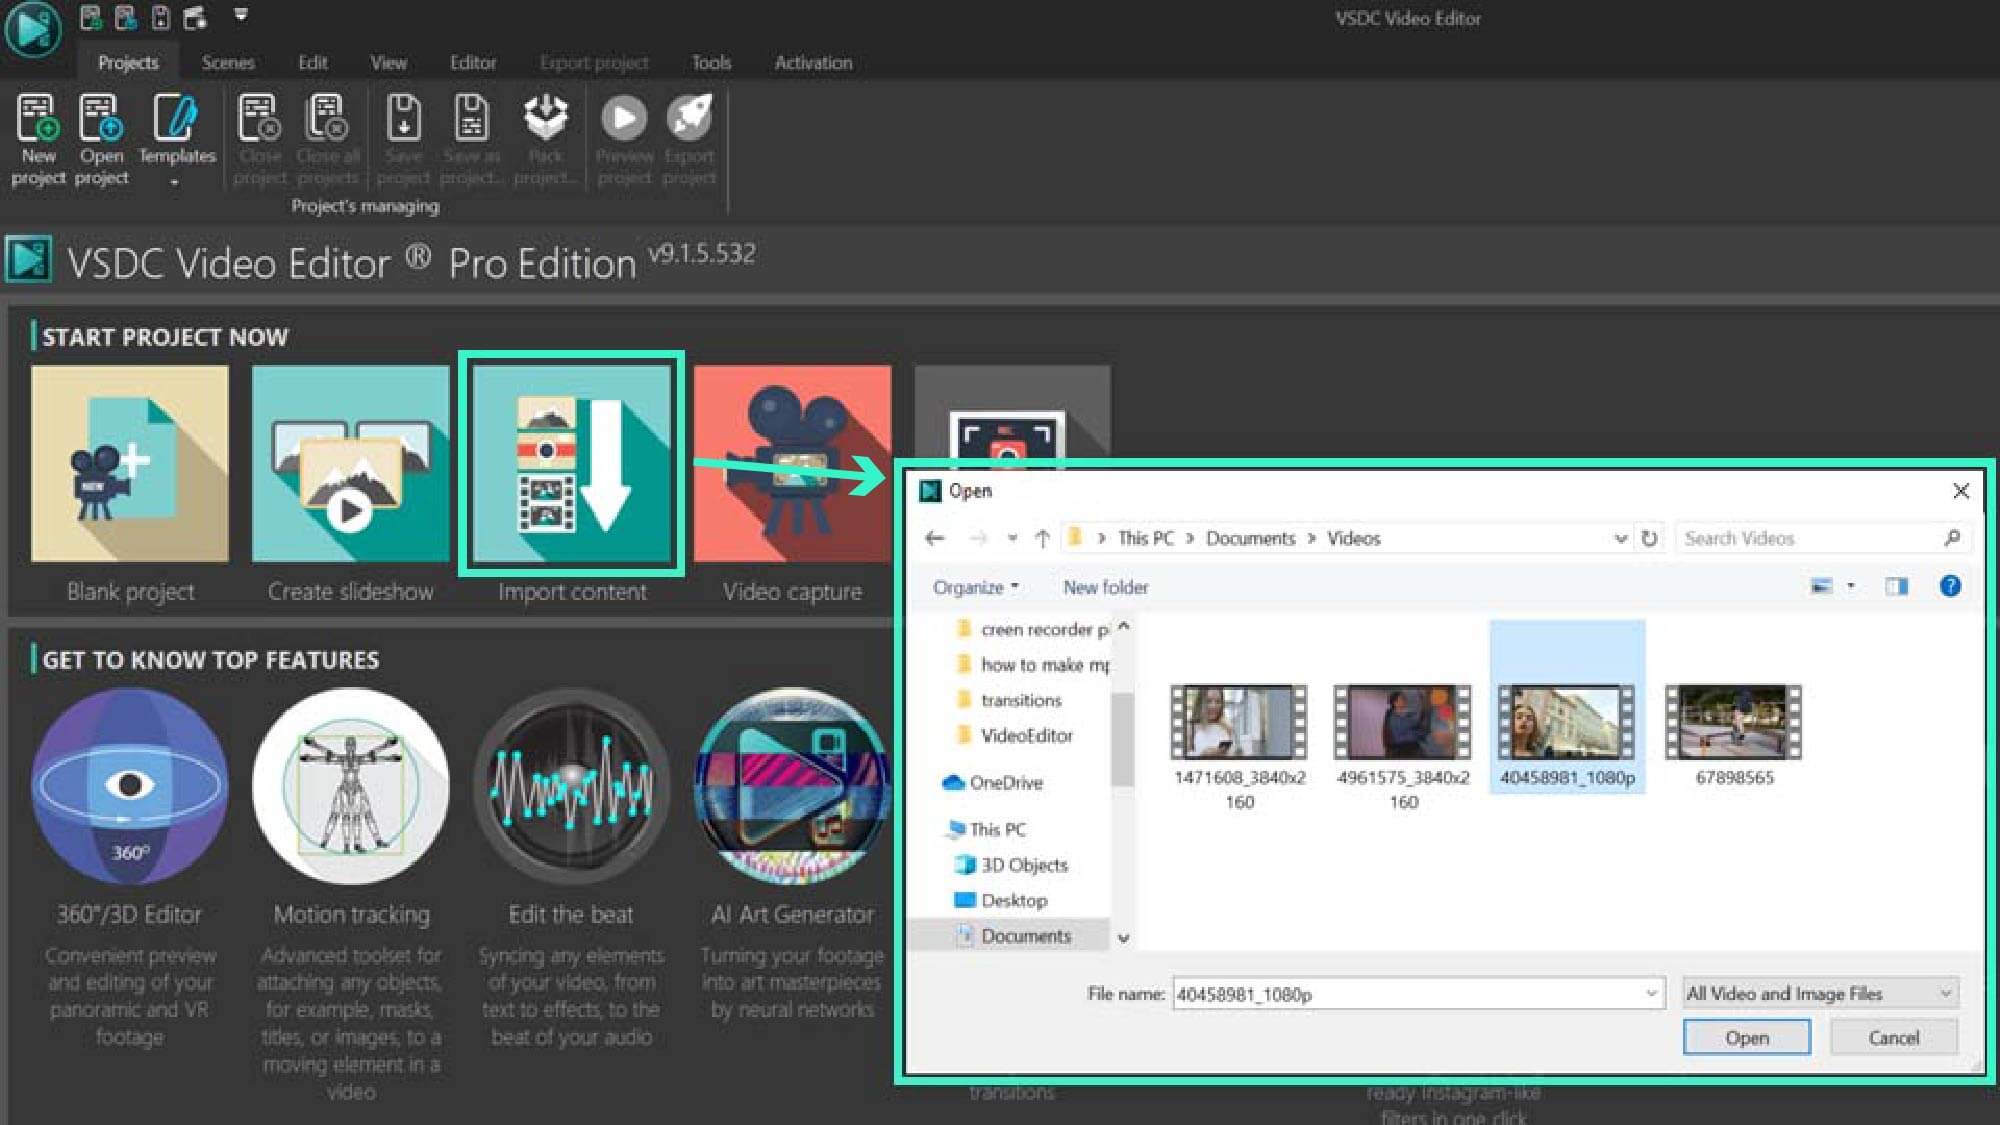


This program allows you to capture the video of your desktop and save it on your PC in various formats. Coupled with a video editor, the program is a great tool for creating presentations, tutorials and demo videos.

The program captures video from external devices and records it to computer in a free format. You can save video from video tuners, webcams, capture cards and other gadgets.

"VSDC Free Video Editor is a surprisingly powerful, if unconventional video editor"
- PC Advisor

"This video editor gives you tons of control and editing power"
- CNet

"The editor handles many common formats and boasts a good deal of capabilities when it comes time to alter lighting, splice video, and apply filters and transitions in post production"
- Digital Trends
© 2011-2024, www.videosoftdev.com, FLASH-INTEGRO LLC. Privacy policy | Terms of use | About us
All trademarks referenced herein are the sole property of their respective owners.
Copying any materials from this site allowed only with written consent of Site Administration.